Need Help? Call 1-800-598-2527
7
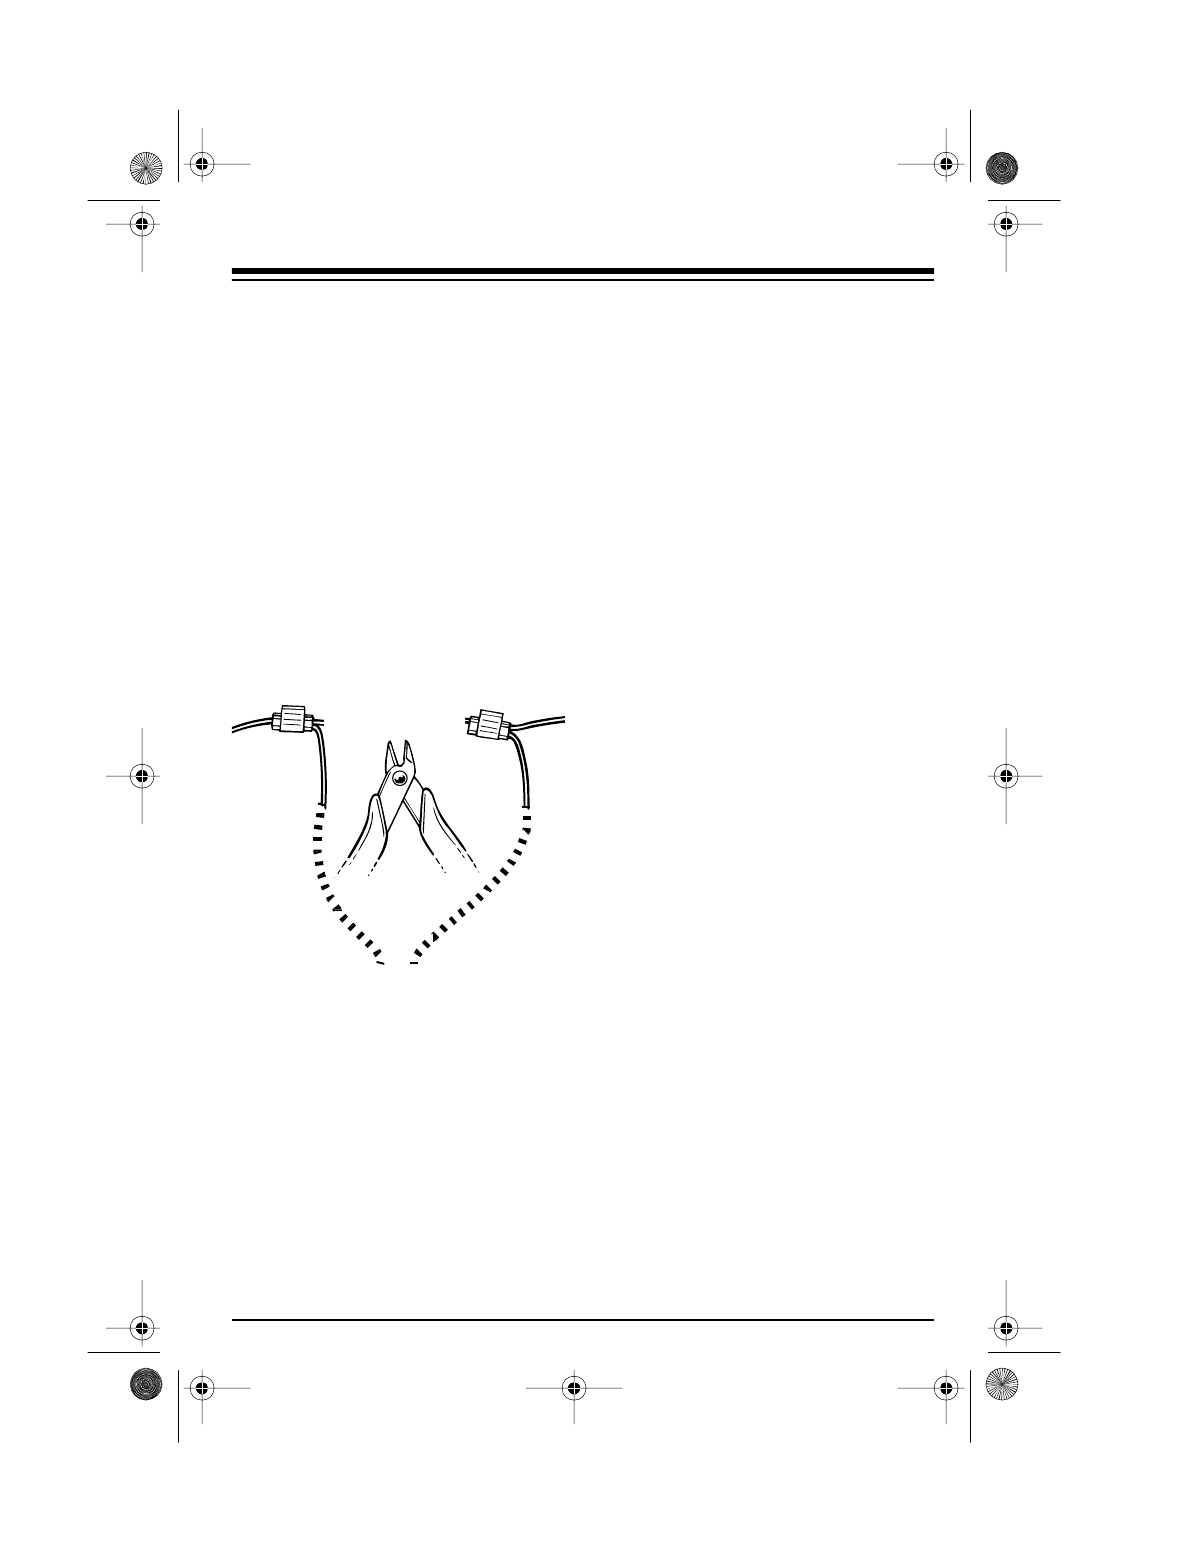
5. Turn off the engine. Then cut the
wire you located in Steps 2–4 at a
point where there are several
inches of wire on each side of the
cut.
Note:
After you cut this wire, you
are unable to start your vehicle
until you complete the installa-
tion.
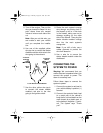
6. Use one of the supplied yellow
wire tap-ins to connect the starter
disable module’s white wire to the
wire going to the solenoid.
7. Use the other yellow wire tap-in
to connect the starter disable
module’s red wire to the wire
going to the ignition switch.
8. Route the main system’s orange
wire through an existing hole in
the firewall, or drill a
1
/
4
-inch hole
in the firewall, taking care not to
damage anything on the other
side of the firewall. Then plug the
starter disable module’s orange
wire into the main system’s
orange wire.
Note:
If you drill a hole, use a
rubber grommet to protect the
wire from abrasion.
9. Use a wire tie to secure the
starter disable module under the
dashboard.
CONNECTING THE
SYSTEM TO POWER
Warning:
We recommend that you
muffle the alarm’s speaker before you
connect the system to power. The
alarm is extremely loud.
Follow these steps to connect the
system to power.
1. Connect the system’s red lead to
your vehicle battery’s positive (+)
terminal.
2. Connect the system’s black lead
to a metal part of the vehicle’s
body that is not insulated from the
main chassis by a plastic part, or
to the battery’s negative (–) termi-
nal. The system says “Thank
you!”
White
Wire
Red
Wire
To Ignition
Switch
To Starter
Solenoid
To the Starter Disable Module
49-830.fm Page 7 Thursday, August 19, 1999 10:37 AM


