5.20
BODY / STEERING / SUSPENSION
9923142 - 2011 RANGER RZR / RZR S / RZR 4 Service Manual
© Copyright 2010 Polaris Sales Inc.
6. Disconnect all electrical dash components noting their
location and wire routing.
7. Remove the dash assembly from the vehicle.
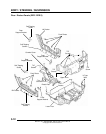
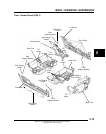
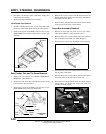
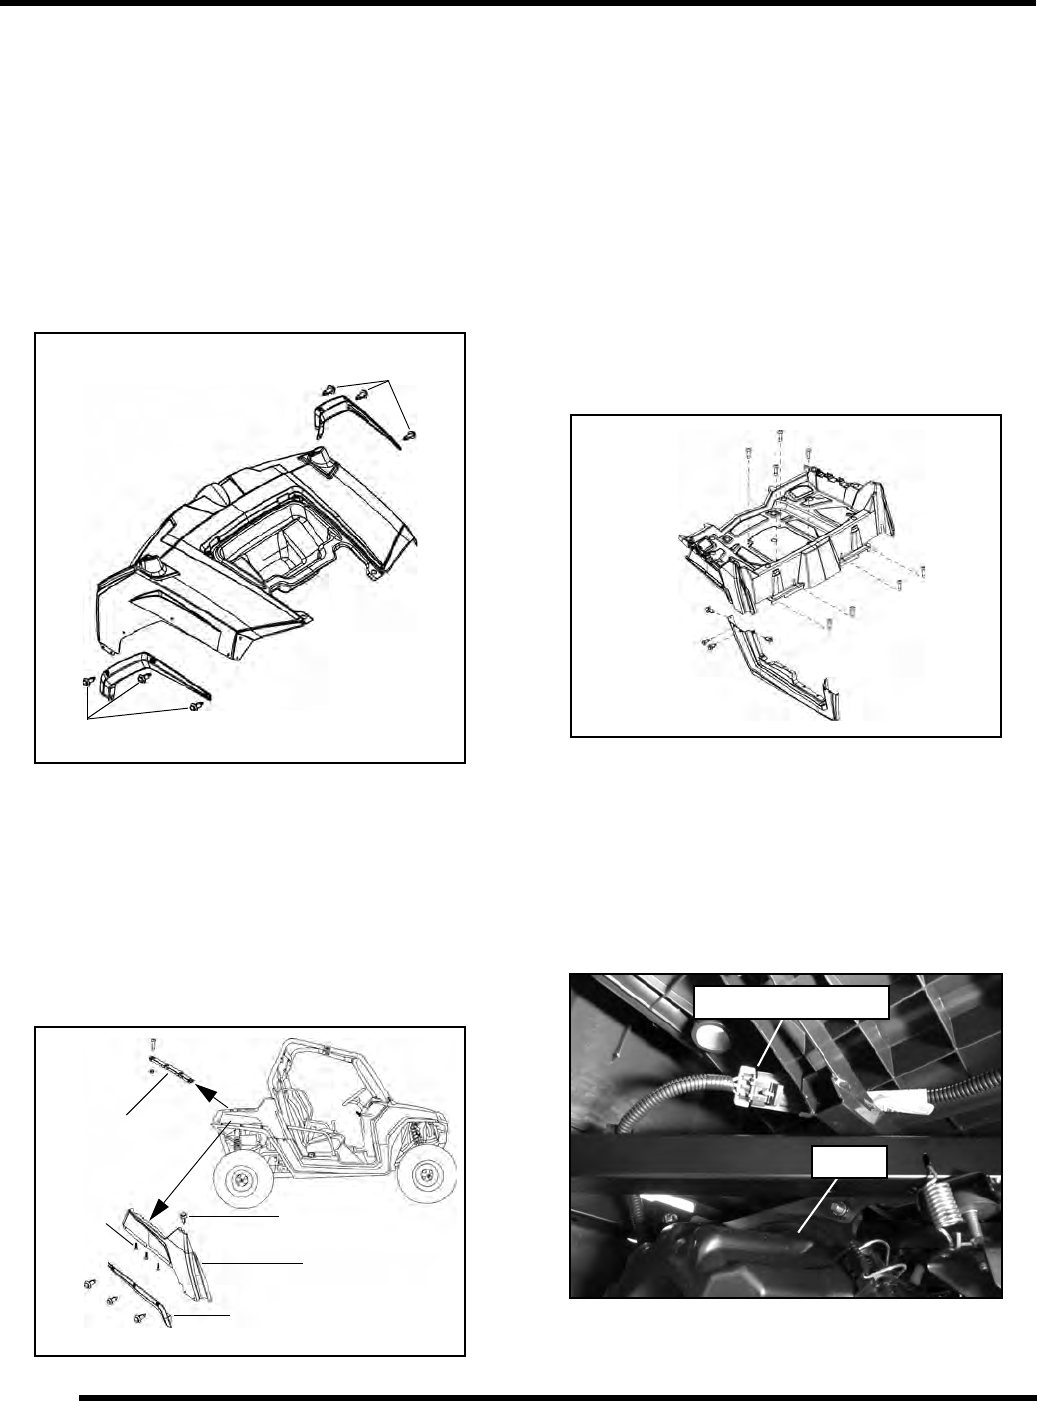
Front Fender Flair Removal
1. If dash is installed, remove the (2) push rivets that attach
the lower portion of the fender flair to the rocker panels.
2. Remove the (6) push rivets (RZR) or (8) T27 Torx screws
(RZR-S/RZR-4) and remove fender flairs from the dash
assembly.
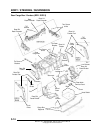
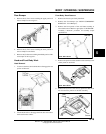
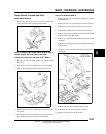
Rear Fender, Flair and Tie Down Removal
1. Remove the rear bumper (see “BODY COMPONENT
REMOVAL - Rear Bumper”).
2. Remove the push rivets that retain the rear portion of the
rocker panels to the rear fenders.
3. Remove the (3) push rivets (RZR) or (8) T27 Torx screws
(RZR-S/RZR-4) and remove the fender flair.
4. Remove the (3) Torx screws from the bottom side of the
fender and the upper push rivet from the top side. Remove
the fender from the vehicle.
5. Remove the (4) fasteners that retain the tie-down brackets
to the cargo box and remove from vehicle.
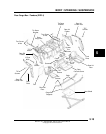
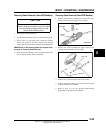
Cargo Box Assembly Removal
1. Remove the seats and rear panel or cover (see “Seats”,
“Rear Service Panel” or “Rear Console Cover”).
2. Remove the (4) Torx screws retaining the lower portion of
the rear bumper to the frame (see “Rear Bumper”).
3. Remove the (4) screws from the middle of the cargo box.
4. Remove the (4) Torx screws that attach the front portion of
the cargo box to the frame.
5. Remove the (6) Torx screws and (2) push rivets that attach
the rocker panels to the cargo box on each side.
6. Disconnect the taillight harness from the chassis harness
located above the airbox and remove the cargo box
assembly from the vehicle.
Remove
Remove
Standard RZR Shown
Fender
Fender
Flair
Tie-Down
Push
Rivets
Torx
Screws
Push
Rivet
Standard RZR
Shown
Disconnect Harness
Airbox


