


Installation 9
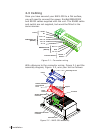
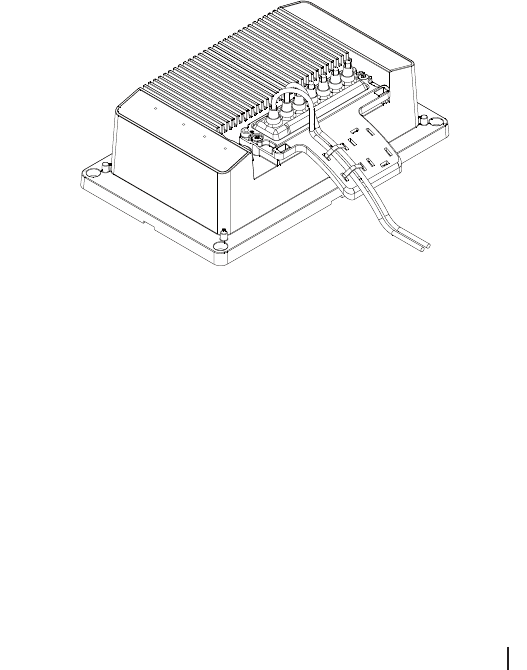
Choose the nipples directly above the parts of the
connector you want to wire into and cut off the top
section to the required diameter.
Pass the power and RS232 cables through the cradle
and then through the hole in the respective nipple.
Bare the ends of the cables and wire into the
correct section of the connector.
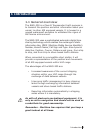
Once you have wired the two connectors, rmly
push them into their mating part in the main unit.
Slide the grommet down the cable until it is seated
on the main housing. Make sure that there is a little
excess cable beneath it, ensuring that the cable is
not pulled tight.
Place the clamp over the grommet and screw down
with the two screws supplied.
Make a small loop from the cables and cable tie
them down to the tongue of the clamp.
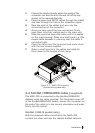
2.4 SimNet/NMEA2000 cable (supplied)
The NAIS-300 is connected to the SimNet/NMEA2000
databus using the cable supplied. Pull the splash cover off
of the SimNet/NMEA2000 socket, ensure the connector on
the end of the cable is in the correct orientation and press
firmly into the socket.
SimNet (300-N model only)
With the supplied cable connected to the NAIS-300,
connect the other end into the vessels SimNet network.
1
2
3
4
5
6
7
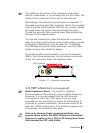
Figure 2.3 - NAIS-300 showing
finished wiring assembly