


6
Preparing for Flight
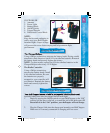
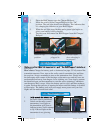
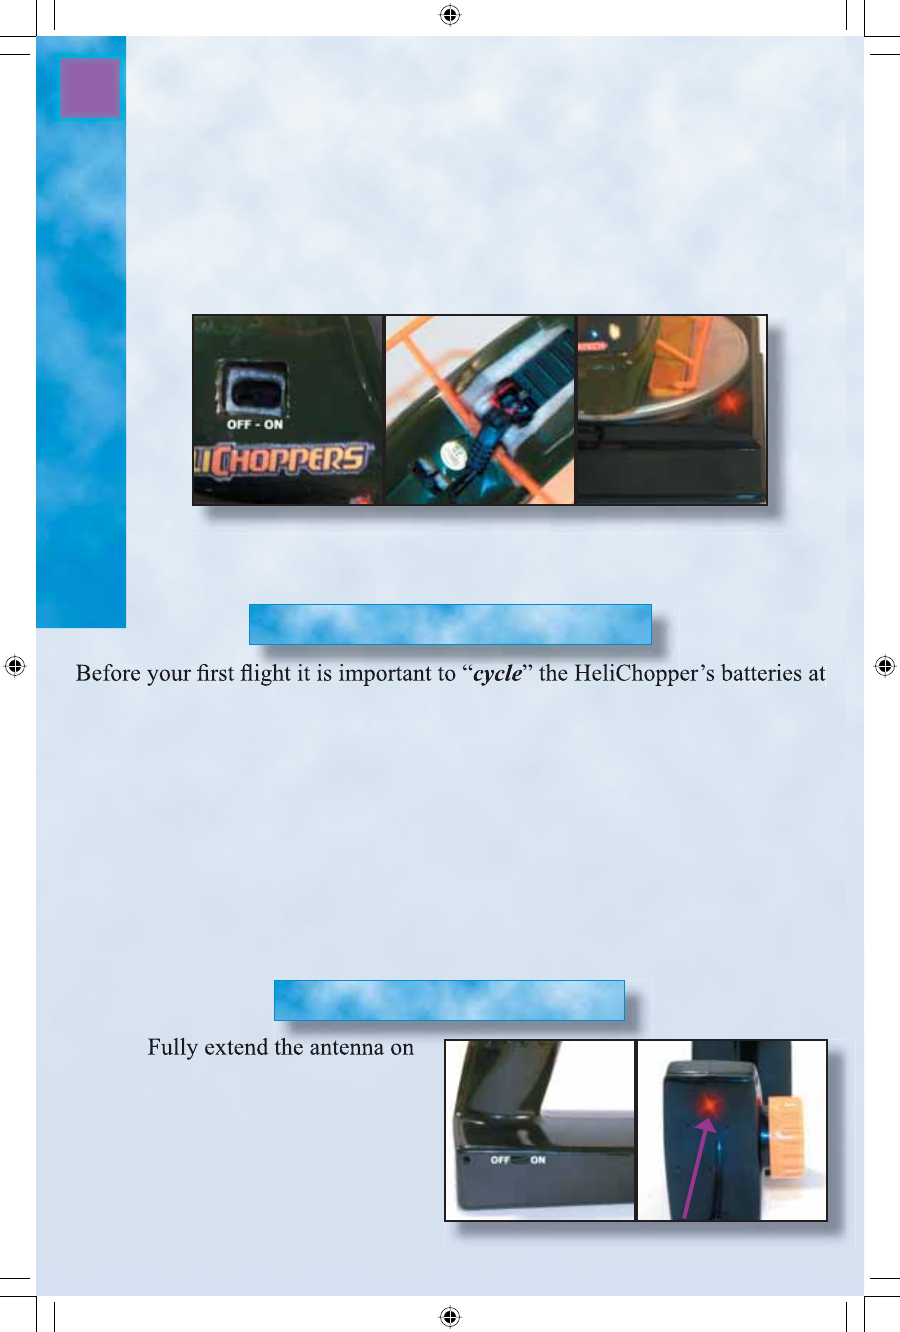
3. Place the HeliChopper onto the Charger/Heliport.
4. Move the switch on the Charger/Heliport to the “On”
position. The red light should start blinking. This indicates that
it is charging the batteries on your HeliChopper.
5. When the red light stops fl ashing and a green light begins to
glow, your battery is fully charged.
6. You may now disconnect the HeliChopper from the Charger/
Heliport.
Switch in Off Charger Link Charger lights
position. plugged in. show charging is
in progress.
least twice.
Here’s how: Charge the battery pack as instructed on page
5. Fully extend the
transmitter antenna. Next, turn on the radio control transmitter fi rst and then
the receiver. Always remember to turn on the transmitter fi rst. Firmly hold
the helicopter at the center of the fuselage so the main rotor and tail rotor are
unobstructed and away from fi ngers, loose clothing, etc. Now slowly squeeze
the throttle trigger on the transmitter to start the rotors spinning. Continue to
run the motor until it stops. Allow the battery pack to cool, and then recharge
it again. Perform this process of running the motor until the battery is drained
at least twice. The battery pack will now supply more power and your fi rst
fl ights will be much easier and safer!
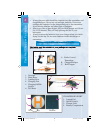
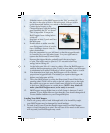
1
the radio control transmitter.
2 Switch on the radio control
transmitter. A red light on
the transmitter will glow to
indicate power. Never attempt
to fl y if the red light on the
transmitter is not glowing.
Preparing For Your First Flight
Flying Your HeliChopper
3
4
7
Radio turned on. Power Light
HeliChopper Manual.indd 6 10/14/2003, 12:45:31 PM