


5
Installing/Charging Batteries
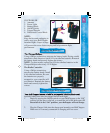
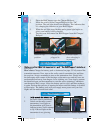
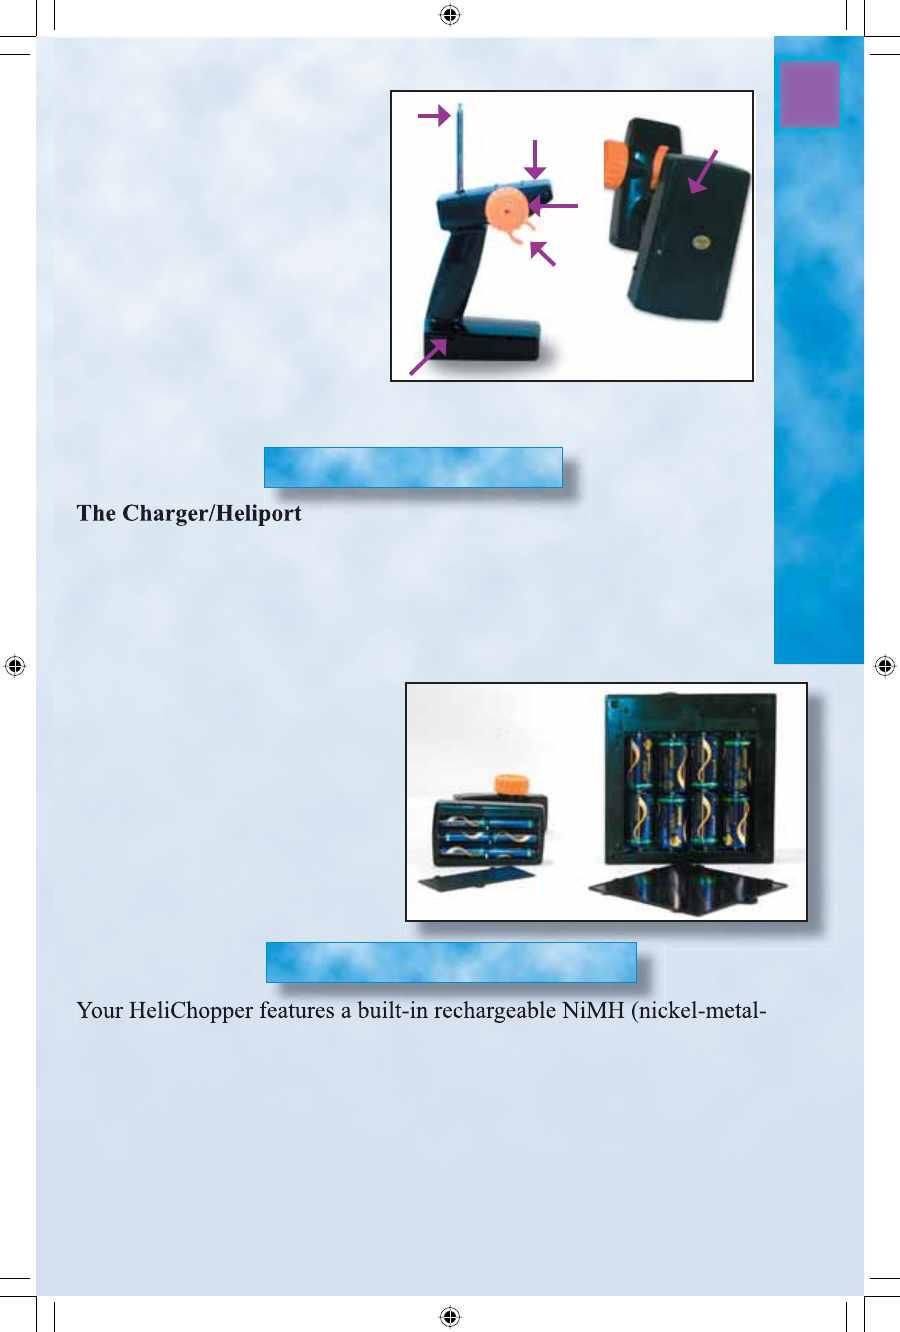
CONTROLLER
1. Antenna
2. Power Light
3. Battery Hatch
4. On/Off Switch
5. Trigger/Throttle
6. Directional Control Knob
NOTE:
Keep the box and packaging to
safely store your HeliChopper
between fl ights. Proper storage
will prevent the rotors from warping and help maintain fl ight
performance.
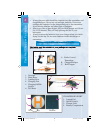
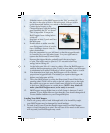
Using a Philips screwdriver, unscrew the battery hatch. Paying careful
attention to their direction, install 8 D-size alkaline batteries. Reattach
the battery hatch and securely tighten the screws.
NOTE: For best results, replace the 8 D-size alkaline batteries in the
Bottom
1
2
3
4
5
6
Installing the Batteries
Charger/Heliport after every 15-20 fl ights.
The Radio Controller
Using a Philips screwdriver,
unscrew the battery hatch. Install
6 AA alkaline batteries. Be sure
the batteries are properly
arranged or your controller will
not function. Reattach the battery
hatch and securely tighten the
screws.
hydride) battery that must be charged before each fl ight.
1. Begin by moving the Off/On switch on your HeliChopper to the “Off”
position (all the way to the left, or toward the tail of the helicopter). If
the switch is in the “On” position, your helicopter will not charge.
2. Plug the Charger Link into the charge port beneath your HeliChopper.
Make sure it is securely connected or charging will not occur.
Charging Your HeliChopper
HeliChopper Manual.indd 5 10/14/2003, 12:43:34 PM