5
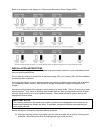
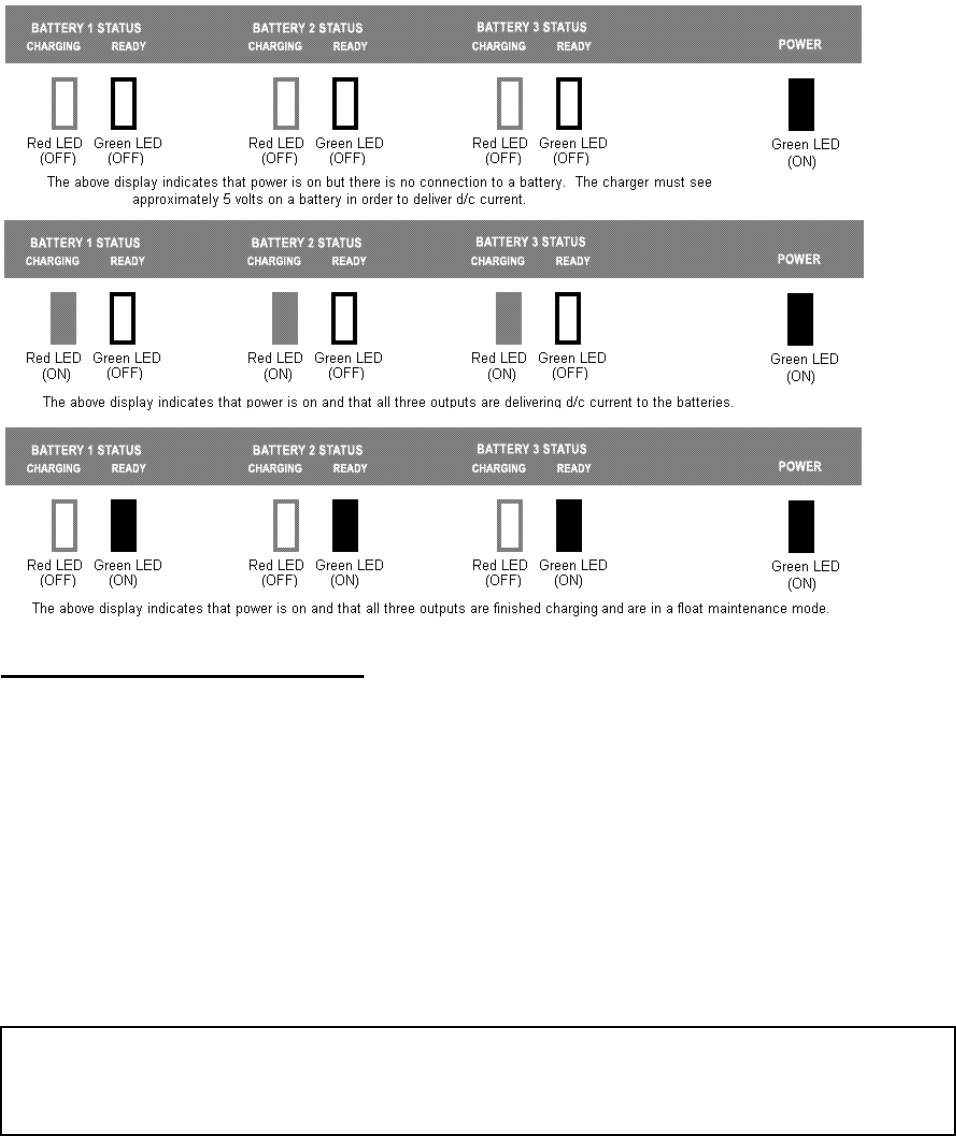
Below is an example of the display on a Three output Recreation Series Charger (RS3):
INSTALLATION INSTRUCTIONS
All PCS battery charging systems are designed to be permanently installed in a well-ventilated area and
have no mounting restrictions.
Do not make any electrical connections to the power supply (AC) or to a battery (DC) until the installation
process has been completed.
If mounting the charger in a boat, please choose a flat surface as high above the water level as possible.
If a compartment wall is chosen, make certain its strength is adequate to support the weight of the
charger.
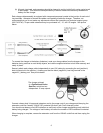
Use the mounting flanges of the charger to mark locations for starter holes. Drill a 1/16 inch hole at each
marked location. Then, utilize all stainless steel screws that have been provided and install the charger
securely, being cautious not to over tighten the screws. Silicon sealer should be used to secure and
waterproof the screw holes.
Before making any connections, prepare batteries as follows:
(a) With caps securely in place, thoroughly clean the case and posts with a solution of baking soda
and water. Be careful not to allow any baking soda to get inside the case.
IMPORTANT NOTICE
The mounting brackets of the system may contain keyholes that are designed so that screws can be
started before putting the charger into place. If applicable, the keyhole locations vary depending on
which model you own.


