9
Change the oil and oil filter as follows.
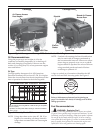
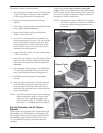
1. The drain plug is located on the starter side of the
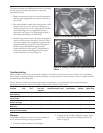
oil pan. See Figure 8. Clean the area around the
oil drain plug and the oil fill cap/dipstick.
2. Remove the drain plug and the oil fill cap/
dipstick.
3. Allow the oil to drain and then reinstall the drain
plug. Tighten 13.6 N·m (10 . lb.).
4. Remove the old filter and wipe off the filter
adapter with a clean cloth.
5. Place a new replacement filter in a shallow pan
with the open end up. Pour new oil, of the proper
type, in through the threaded center hole. Stop
pouring when the oil reaches the boom of the
threads. Allow a minute or two for the oil to be
absorbed by the filter material.
6. Apply a thin film of clean oil to the rubber gasket
on the new oil filter.
7. Install the new oil filter to the filter adapter. Hand
tighten the filter until the rubber gasket contacts
the adapter, then tighten the filter an additional
3/4-1 turn.
8. Fill the engine with the proper oil to the FULL or
“F” mark on the dipstick. Always check the oil
level with the dipstick before adding more oil.
9. Reinstall the oil fill cap/dipstick and tighten
securely.
10. Start the engine and check for oil leaks. Recheck
oil level before placing the engine into service.
Stop the engine, correct any leaks, and allow a
minute for the oil to drain down, then recheck the
level on the dipstick.
NOTE: To prevent extensive engine wear or damage,
always maintain the proper oil level in the
crankcase. Never operate the engine with
the oil level above the “F” or FULL mark, or
below the “L” or LOW mark on the dipstick.
Service Precleaner and Air Cleaner
Element
These engines are equipped with a replaceable, high
density paper air cleaner element. Some engines are
also equipped with an oiled, foam precleaner which
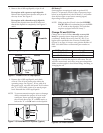
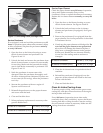
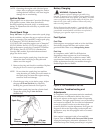
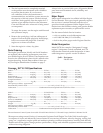
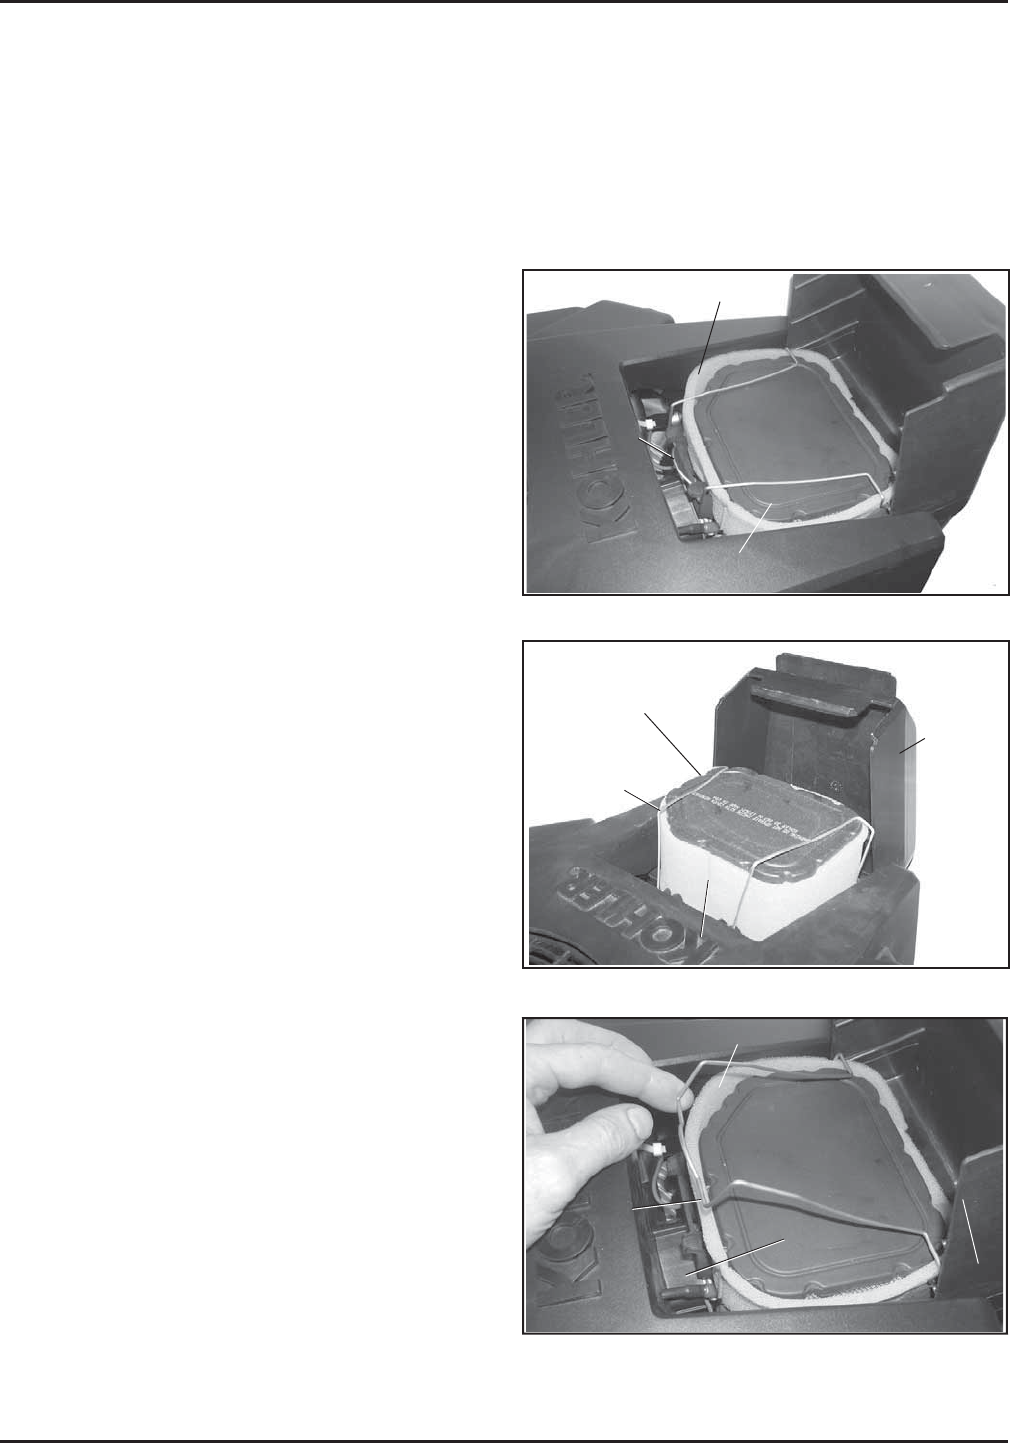
surrounds the paper element. See Figures 10 and
11. Two different capacity air cleaner systems are
available.
Check the air cleaner daily or before starting the
engine. Check for a buildup of dirt and debris around
the air cleaner system. Keep this area clean. Also check
for loose or damaged components. Replace all bent or
damaged air cleaner components.
NOTE: Operating the engine with loose or damaged
air cleaner components could allow unfiltered
air into the engine causing premature wear
and failure.
Figure 10. Courage Air Cleaner System.
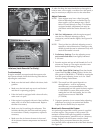
Figure 12. Unhooking Latch (Courage).
Figure 11. Courage PRO Air Cleaner System.
Latch
Door
Element (Taller)
Precleaner (Some Models)
Precleaner (Some Models)
Latch
Air Cleaner
Element
Door
Door
Latch
Precleaner (Some Models)
Air Cleaner Element


