


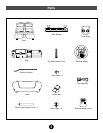
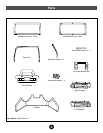
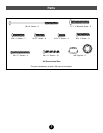
Assembly
7
13
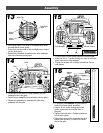
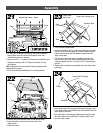
• Before applying labels to the dash, wipe the dash with a
clean dry cloth to make sure it is free of dirt and oils.
Make sure your hands are clean and dry.
• Apply labels as shown in the illustration. For best results,
avoid repositioning a label once it has been applied.
PLAY
STOP REV FWD
PAUSE
COMPACT DISC
TREB
BASS
COOL
HEAT
HI
LO KC
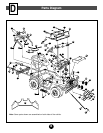
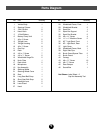
21
26
22
28
27
23
25
24
13
20
12
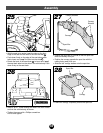
Dash View
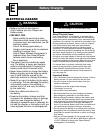
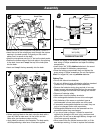
Battery Tips
• Do not mix old and new batteries.
• Do not mix different types of batteries: alkaline, standard
(carbon-zinc) or rechargeable (nickel-cadmium).
• Remove the batteries during long periods of non-use.
Always remove exhausted batteries from the sound box.
Battery leakage and corrosion can damage the vehicle.
• Dispose of batteries safely.
• Never short circuit the battery terminals.
• Non-rechargeable batteries are not to be recharged.
• Only batteries of the same or equivalent type as
recommended in these instructions are to be used.
• If removable rechargeable batteries are used, they are
only to be charged under adult supervision.
• Rechargeable batteries are to be removed from the
sound box before they are charged.
• If you use a battery charger, it should be examined
regularly for damage to the cord, plug, enclosure and
other parts. Do not use a damaged battery charger until
it has been properly repaired.
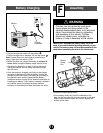
• When sound from the vehicle becomes faint, or if the
sound stops working, it’s time to replace the batteries.
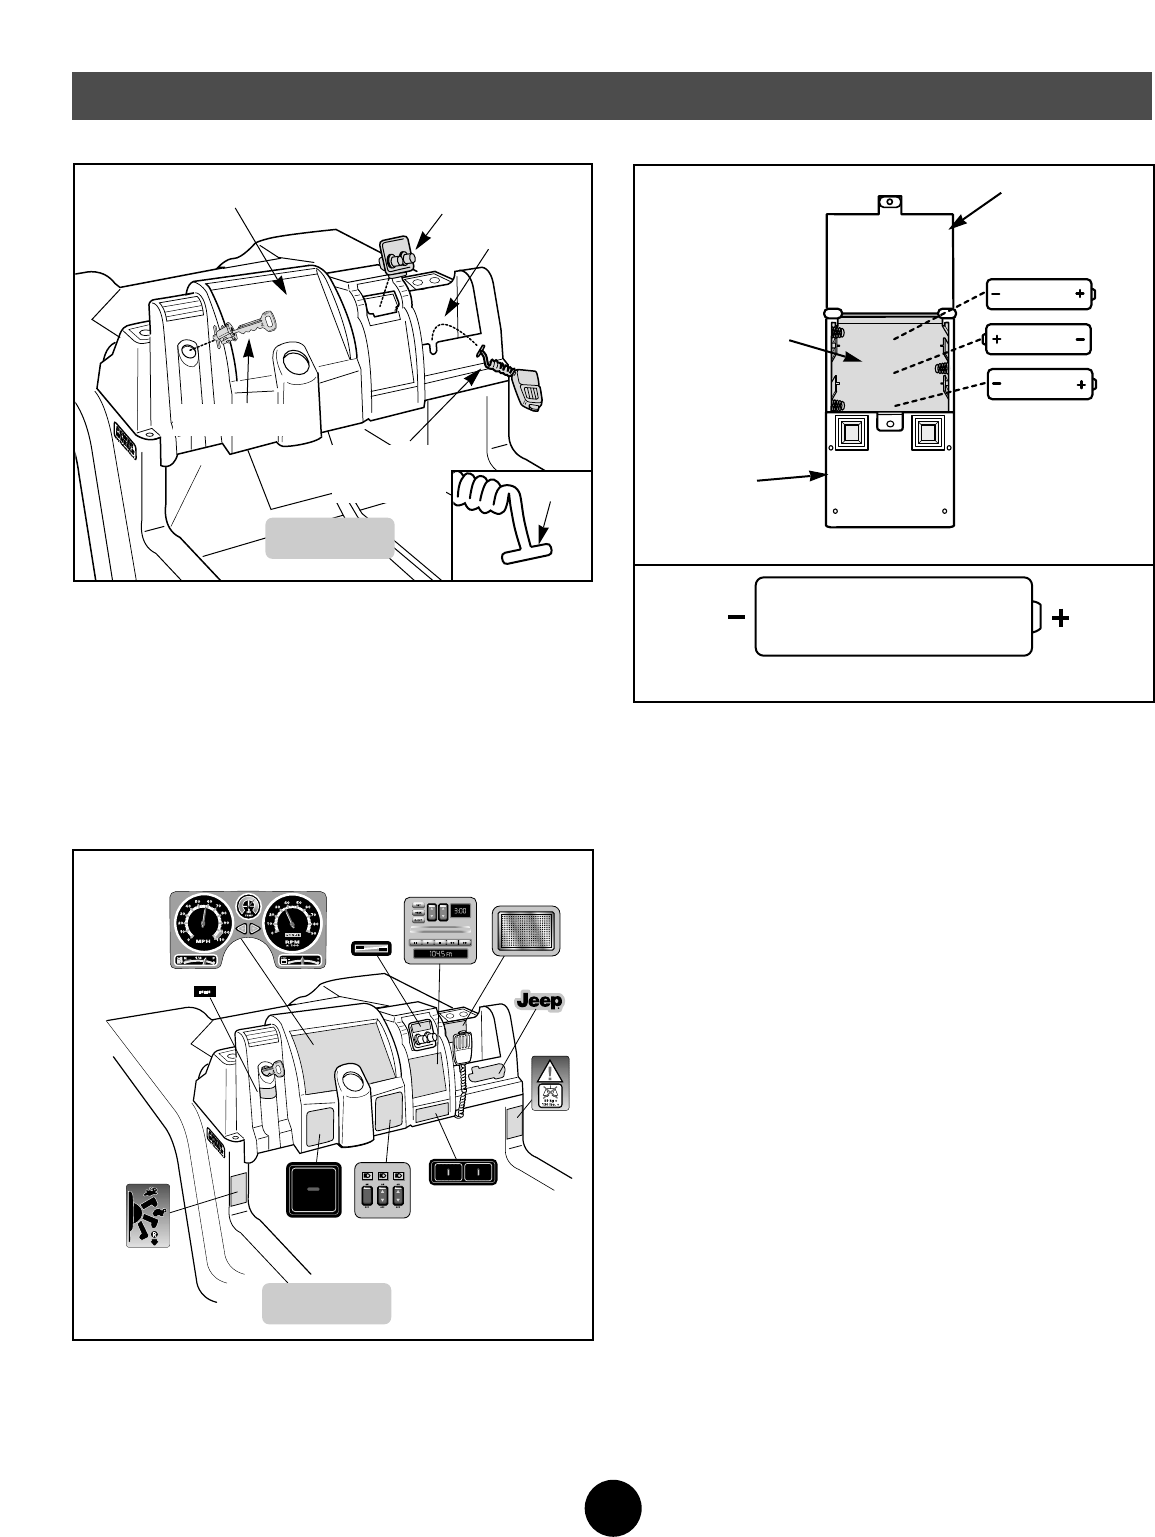
• Loosen the screw in the sound box’s battery compartment
door using a Phillips screwdriver and open the battery
compartment.
• Insert three “AA” (LR6) alkaline batteries in the sound
box as indicated in the battery compartment.
• Close the battery compartment door and tighten the
screw using a Phillips screwdriver. Do not over-tighten.
Hint: For longest life, use only alkaline batteries.
Sound Box
Battery
Compartment
Battery
Compartment
Door
8
SHOWN ACTUAL SIZE
1.5V x 3
“AA” (LR6)
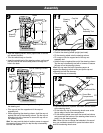
6
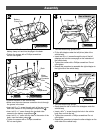
Dash
Knob Plate
Pocket
Key Assembly
Microphone
Cord
• Bend the end of the microphone cord sothat it forms a “T”.
• Insert the end of the microphone cord through the square
opening in the dash pocket. Pull gently on the cord to
make sure it is secure in the dash.
• Hook the microphone onto the “U” slot on the dash pocket.
• Position the bottom edge of the knob plate in the opening
in the dash. Insert and “snap” the top of the knob plate
into the dash.
• Insert and “snap” the key assembly into the dash.
T-End
Dash View