Assembly
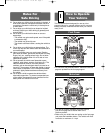
Foot Peg
Support
Curved
Arch
Rear
Wheel
Rear
Wheel
Screw
Pegs
Screw
Pegs
Guide
Ribs
Guide
Ribs
Bottom View
Wheel
Round
Bushing
Rectangular
Bushing
Square
Opening
Rectangular
Bushing with
Extension
Cap
Nut
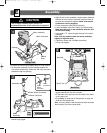
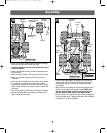
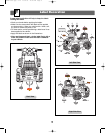
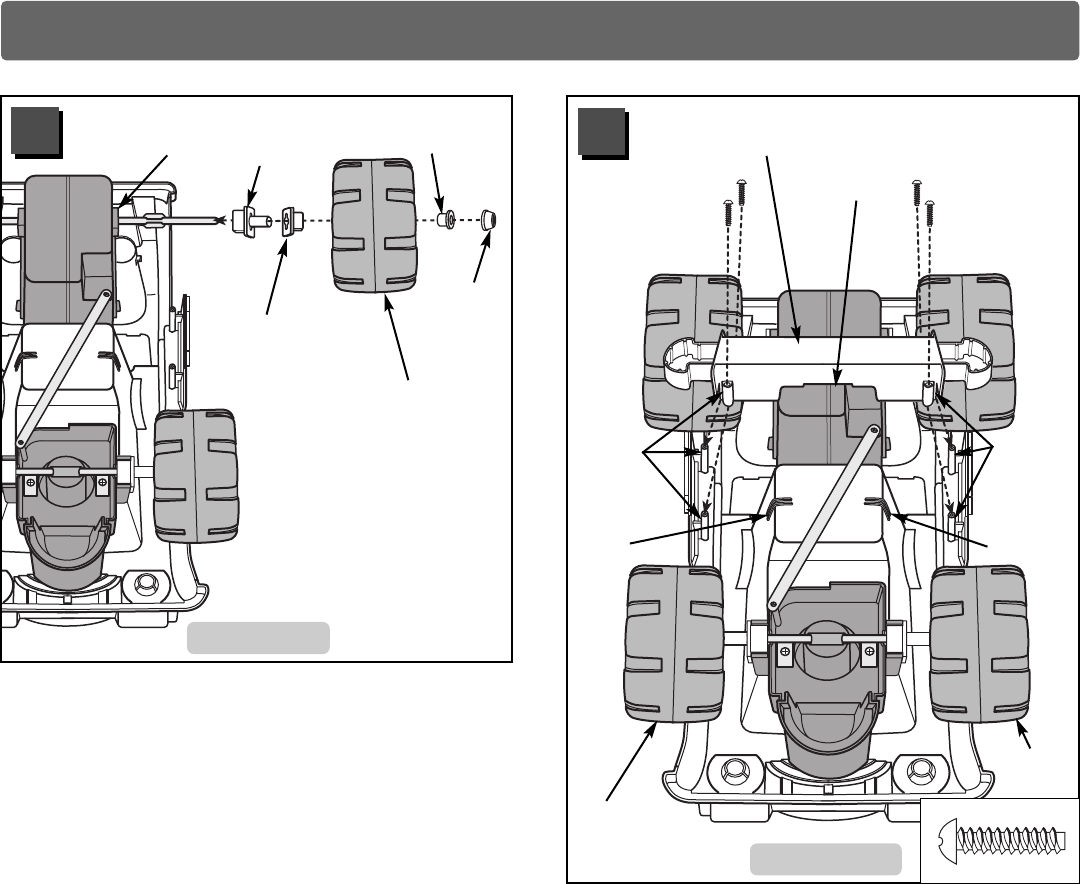
• Slide a rectangular bushing with extension (bushing
side first) onto one end of the front axle.
• Press the bushing into the square opening on the
motor assembly.
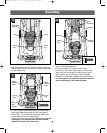
• Slide a rectangular bushing (without extension) onto
the front axle.
• Slide a wheel ("hubcap" side out) onto the front axle.
• Slide a round bushing (barrel side first) onto the
front axle.
• Press the round bushing into the center of the wheel.
• Fit a cap nut on the end of the front axle. While
supporting the opposite end of the front axle, tap the
cap nut with a hammer to secure it on the end of the
front axle.
• Pull on the wheel to make sure the cap nut is secure.
• Repeat this procedure to assemble a wheel on the
other side of the front axle.
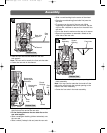
Bottom View
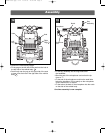
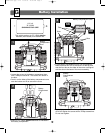
• Turn the foot peg support upside down (flat side up)
and position it over the center of the vehicle body so
that the side with the curved arch faces toward the
rear wheels.
• Align the four screw pegs on the foot peg support with
the four screw pegs on the vehicle body. Make sure
that the bottom edge of the foot support fits into
the two sets of guide ribs on the vehicle body.
• Insert four #8 x
3
/4" screws through the screw pegs and
into the vehicle body. Tighten the screws with a Phillips
screwdriver. Do not over-tighten.
9
10
11
74240b-0920 pgs. 6-12 11/30/01 12:20 PM Page 4


