


User's Manual
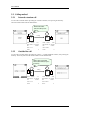
4.4. USB cable (option)
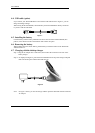
If you connect your WirelessIP5000 to a PC with the USB cable shown in Figure 3, you can
charge and change settings.
When setting the WirelessIP5000, check whether your WirelessIP5000 is directly connected
to your PC with the USB cable.
Figure 3
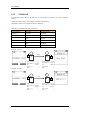
4.5. Installing the battery
Load the battery into the battery installation section at the rear of the WirelessIP5000, then
push in, in the direction of the release button until it clicks into place.
4.6. Removing the battery
While holding down the release button, pull the battery toward the bottom of the WirelessIP
5000 and remove it.
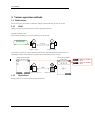
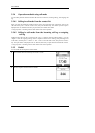
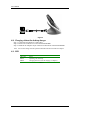
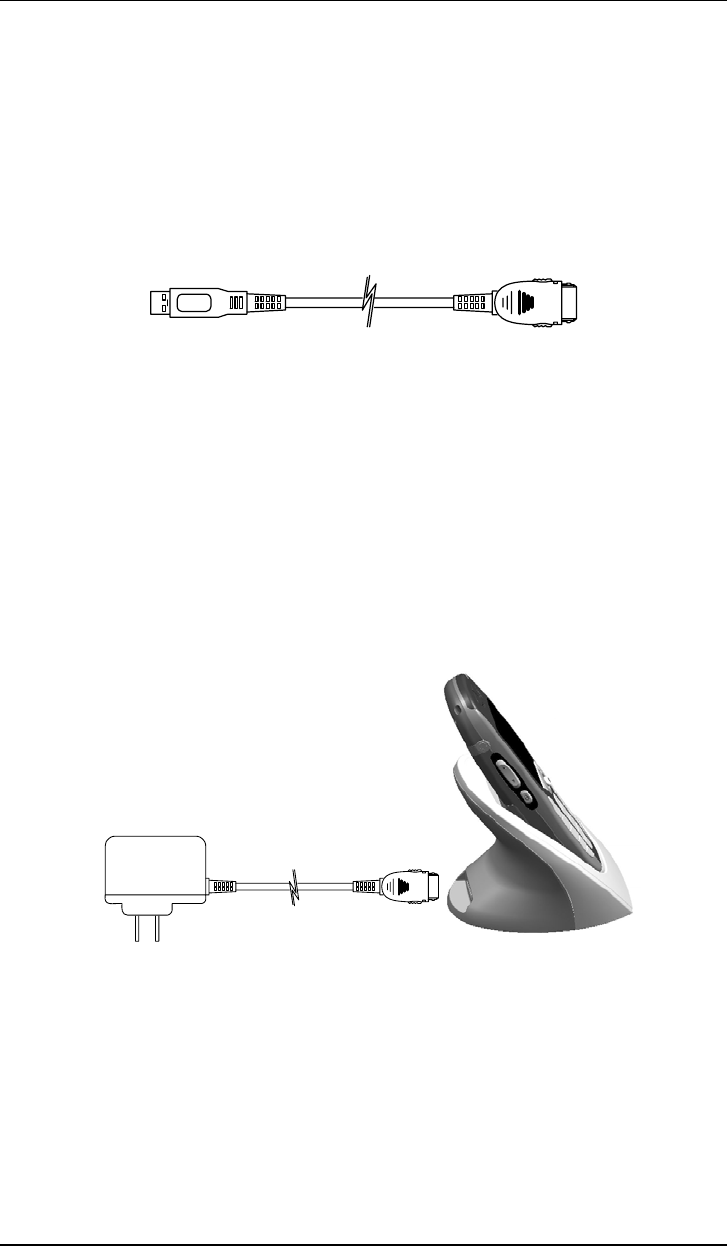
4.7. Charging with the desktop charger
Step 1: Plug the AC adaptor into a wall socket, then connect the connector to the rear of the
battery charger.
Step 2: As displayed in Figure 4, place the WirelessIP5000 into the top of the charger and push
until it clicks into place and the blue LED turns on.
Figure 4
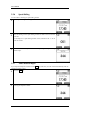
Note: As Figure 5 shows, you can also charge with the optional USB cable instead of with the
AC adaptor.
Hitachi Cable 80/84