


Mounting the GPSMAP 230 Unit
The GPSMAP 230’s water-resistant case is suitable for mounting in exposed
locations or at the nav station. The unit comes with a mounting bracket and a
gimbal mount to allow surface or overhead mounting. When choosing a location
for the display unit, make sure you consider the following conditions:
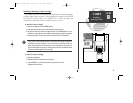
• There should be at least a 3” (7.5 cm) clearance behind the case to allow connection of
the antenna and power/data cables.
• The unit should not be mounted where it is exposed to excessive temperatures for
extended periods (see page 71).
• You should provide adequate clearance for the G-chart cartridge to slide out completely.
• The mounting surface should be heavy enough to support the unit and protect it from
excessive vibration and shock.
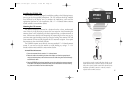
• For flush mounting, make sure the flat panel is between 0.04” and 0.30”
(1.0 to 7.6 mm) thick if you intend to use the cam lobe built into the mounting bracket.
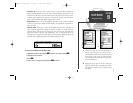
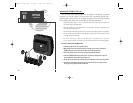
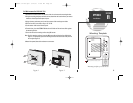
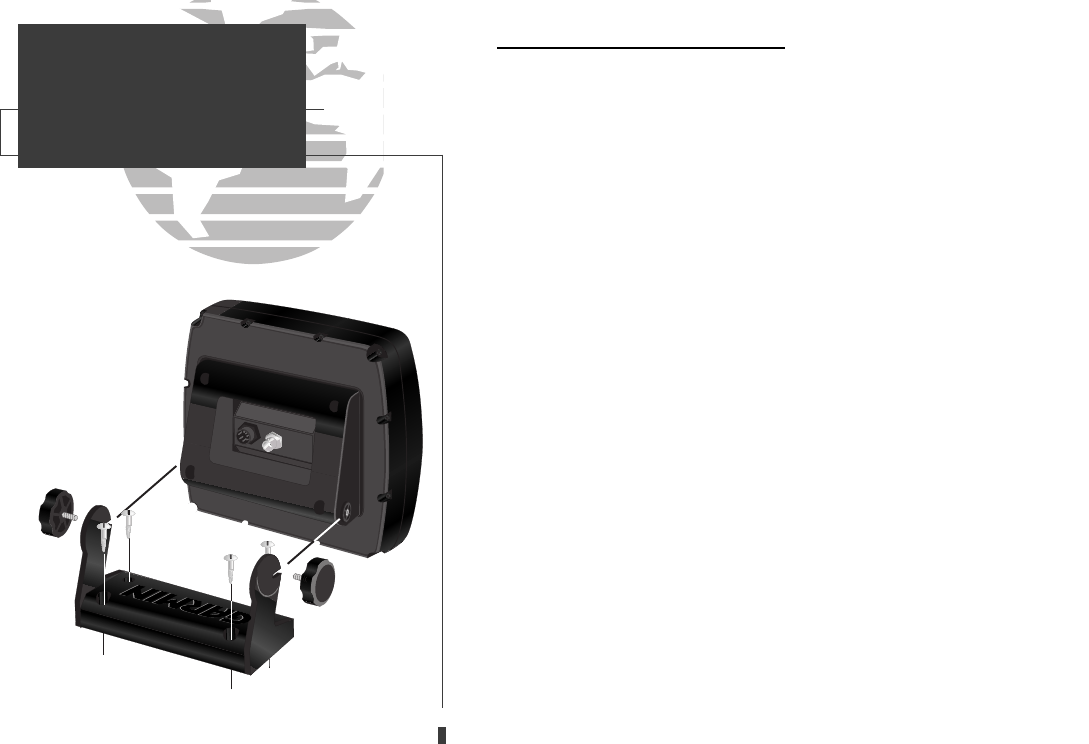
To surface mount the GPSMAP unit:
1. Place the gimbal mount in the desired location.
2. Mark and drill the four mounting holes for the fastener you are using. Note that the
GPSMAP 230 may also be used with a Johnny Ray JR-300 swivel mount.
3. Fasten the gimbal mount to the surface using the appropriate fasteners.
4. Insert the GPSMAP 230 into the gimbal mount. The mount is designed for a tight fit to
provide additional support when swiveling the unit.
5. Screw the two mounting knobs through the gimbal mount and into the mounting bracket.
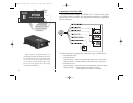
6. Connect the power/data and antenna cables to the back of the unit, making sure the
locking rings are tightened on both connectors.
68
SECTION
A
APPENDIX
Installation
update on 230.qxd 1/12/00 11:23 AM Page 68