Resetting to Factory Default Values
Before you reset the device to its factory default values, you
should back up all user data. This enables you to retrieve
important data, if necessary.
NOTICE
Data deleted through a factory reset cannot be restored from the
internal storage.
You can reset the device to its factory default values. This
removes all applications, accounts, and user data. If data
backup is enabled, some account and user data may be
restored from your backup account after the factory reset, but
many user data types are not included in this backup.
Select Settings > Backup & Reset > Factory Data Reset.
Appendix
Connecting to a Wireless Network
1
Select Settings > Wi-Fi.
2
If necessary, select the toggle switch to turn on wireless
network technology.
3
If necessary, select Scan to scan for available networks.
4
Select a wireless network.
5
If necessary, enter the encryption key.
The device connects to the wireless network. The device
remembers the network information and connects automatically
when you return to this location in the future.
Connecting to a Wireless Display
You can show the contents of the device screen on a compatible
external display using wireless technology.
1
Select Settings > Miracast.
2
If necessary, select the toggle switch to turn on wireless
display technology.
3
If necessary, select Search for Displays.
4
Select a wireless display.
5
If necessary, enter the PIN.
Connecting a Backup Camera
NOTE:
This feature is available only for the
Garmin fleet 670V
model.
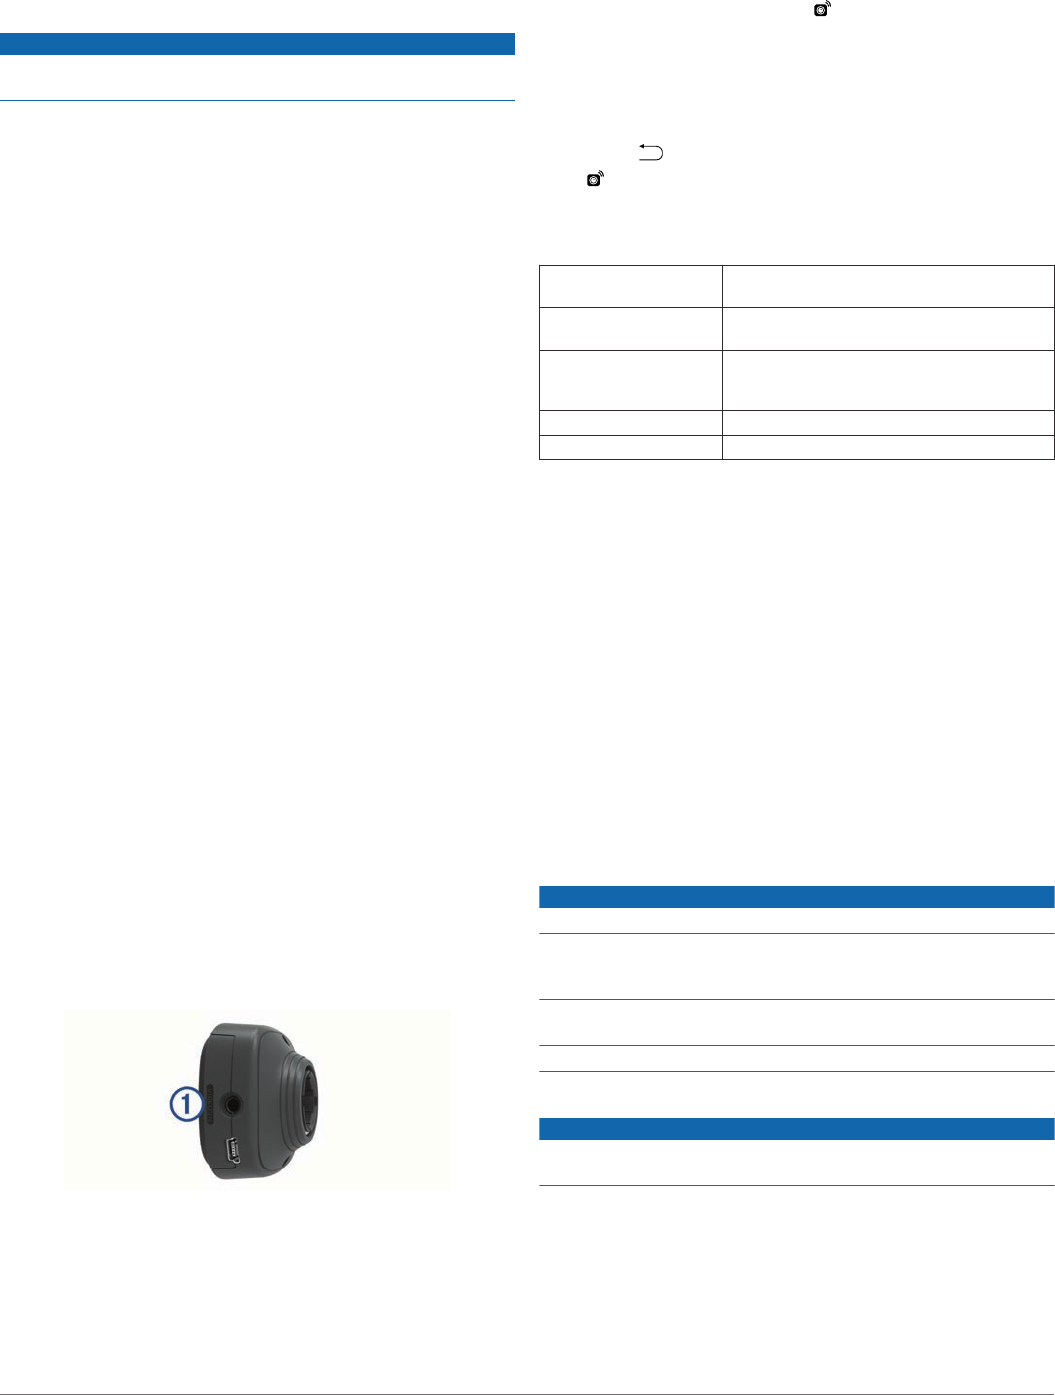
On supported models, the device mount includes a 3.5 mm
composite video input jack. You can connect a composite video
backup camera and view the output on the device screen.
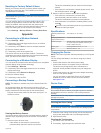
Plug the camera video cable into the video input jack
À
on
the device mount.
Viewing the Backup Camera
Your device shows video from the connected backup camera in
different ways, depending on how the camera is connected to
power.
1
Select an option to show video:
• If the camera is connected to a reverse lamp
(recommended), place the vehicle into reverse.
The device automatically shows video from the backup
camera.
• If the camera is connected to a steady power source, from
the notification panel, select .
2
Select an option to resume normal device operation:
• If the camera is connected to a reverse lamp
(recommended), take the vehicle out of reverse.
The device automatically resumes normal operation.
• If the transmitter is connected to a steady power source,
select .
remains in the notification panel as long as the device
receives a video input signal.
Specifications
Operating temperature
range
-20° to 60°C (-4° to 140°F)
Charging temperature
range (vehicle power)
0° to 40°C (32° to 104°F)
Power input type Vehicle power using an optional accessory.
AC power using an optional accessory for
home or office use only.
Battery type Rechargeable lithium-ion, 3.7 Vdc
Input Maximum DC 5 V, 2 A
Charging the Device
NOTE:
This Class III product shall be powered by an LPS power
supply.
You can charge the battery in the device using any of these
methods.
• Connect the device to the vehicle power cable.
• Connect the device to a computer using a USB cable.
The device may charge slowly when connected to a
computer. Some portable computers may not charge the
device.
• Connect the device to an optional power adapter accessory,
such as a wall power adapter.
You can purchase an approved Garmin
AC-DC adapter
suitable for home or office use from a Garmin dealer or
www.garmin.com.
Device Care
NOTICE
Avoid dropping your device.
Do not store the device where prolonged exposure to extreme
temperatures can occur, because it can cause permanent
damage.
Never use a hard or sharp object to operate the touchscreen, or
damage may result.
Do not expose the device to water.
Cleaning the Outer Casing
NOTICE
Avoid chemical cleaners and solvents that can damage plastic
components.
1
Clean the outer casing of the device (not the touchscreen)
using a cloth dampened with a mild detergent solution.
2
Wipe the device dry.
Cleaning the Touchscreen
1
Use a soft, clean, lint-free cloth.
2
If necessary, lightly dampen the cloth with water.
Appendix 15


