


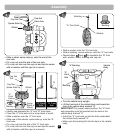
• Slide a washer onto the "A" front axle.
• Slide a bushing, narrow side up, onto the "A" front axle.
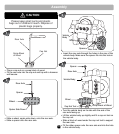
• Repeat steps and to assemble the "B" front
axle, washer, wheel, bushing and cap nut.
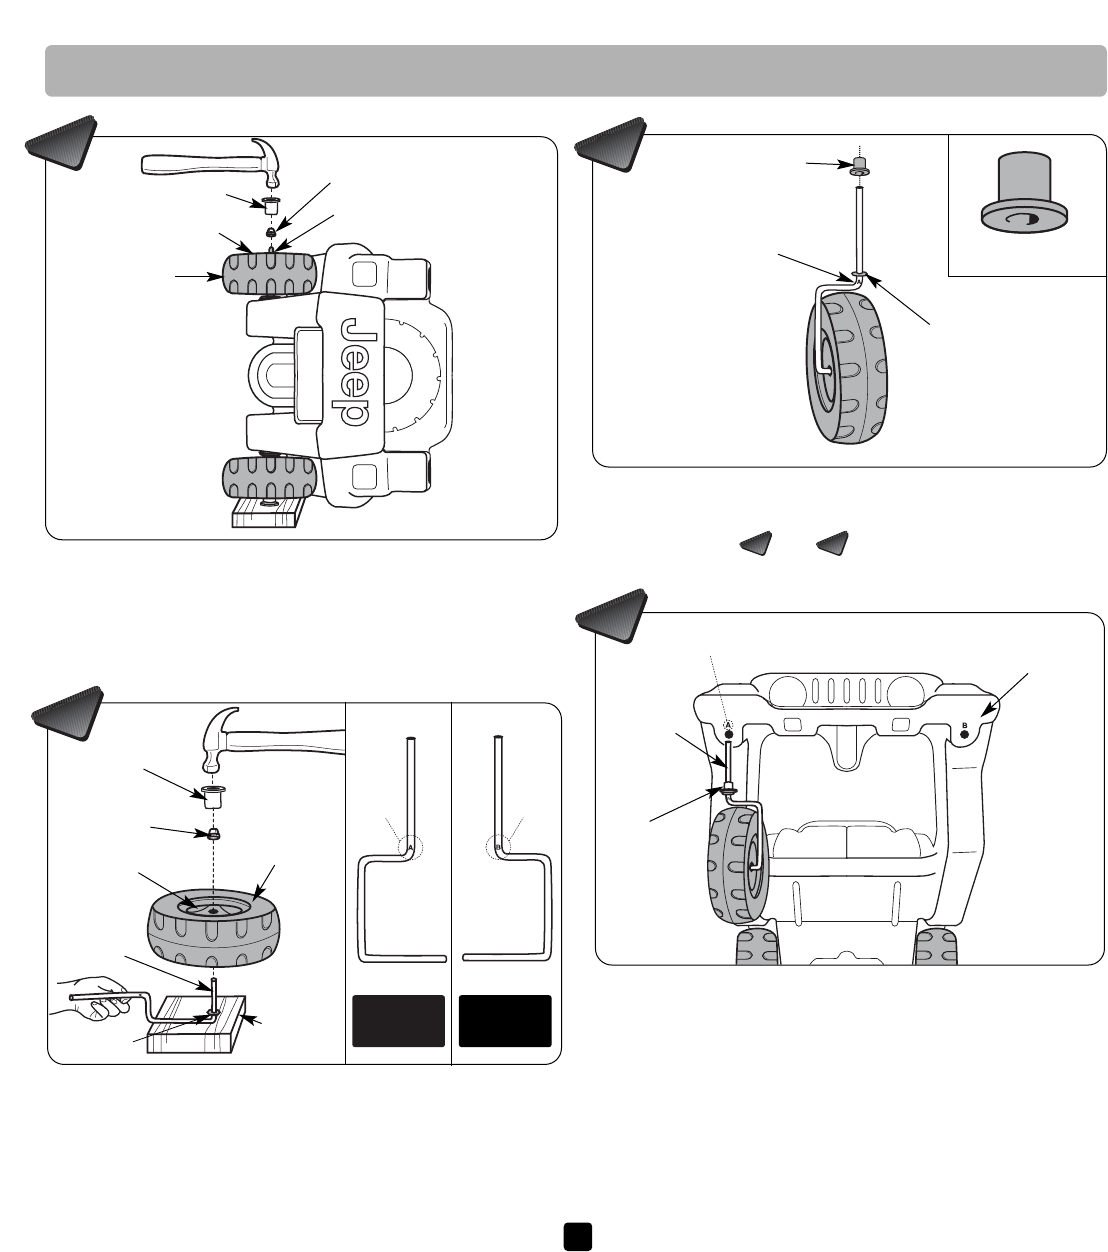
• Identify and separate the "A" and "B" front axles.
• Place the "A" front axle onto a scrap block of wood.
• Slide a washer onto the "A" front axle.
• Slide one of the wheels, spoke side up, onto the "A"
front axle.
• Fit a cap nut onto the end of the "A" front axle.
• Fit a cap nut tool over the cap nut and tap the center
with a hammer until the cap nut is secure.
6
A
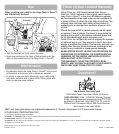
• Slide a wheel, spoke side up, onto the end of the
rear axle.
• Fit a cap nut onto the end of the rear axle.
• Fit a cap nut tool over the cap nut and tap the center
with a hammer until the cap nut is secure.
Cap Nut Tool
Spoke Side Up
Cap Nut
Rear Axle
Wheel
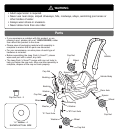
5
Assembly
6
7
7
Cap Nut
Cap Nut
Tool
Wheel
Washer
Spoke Side Up
Scrap
Block of
Wood
Bushing
Bushing
"A" Front Axle
Washer
"A"
Front
Axle
B
"A" Front
Axle
"B" Front
Axle
A
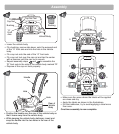
•Turn the vehicle body upright.
• Lift the front end of the vehicle body and locate the
side of the vehicle body marked "A".
IMPORTANT! For proper wheel position, the "A" front
axle assembly must be inserted into the hole in the
vehicle body marked "A".
•Insert the "A" front axle up into the hole underneath
the vehicle body marked "A".
• Make sure the bushing fits into the hole in the vehicle
body.
8
Bushing
"A"
Front
Axle
"A" Marking
Vehicle
Body
4