Ignition unit
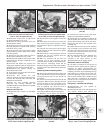
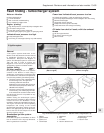
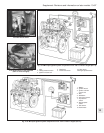
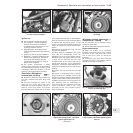
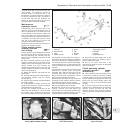
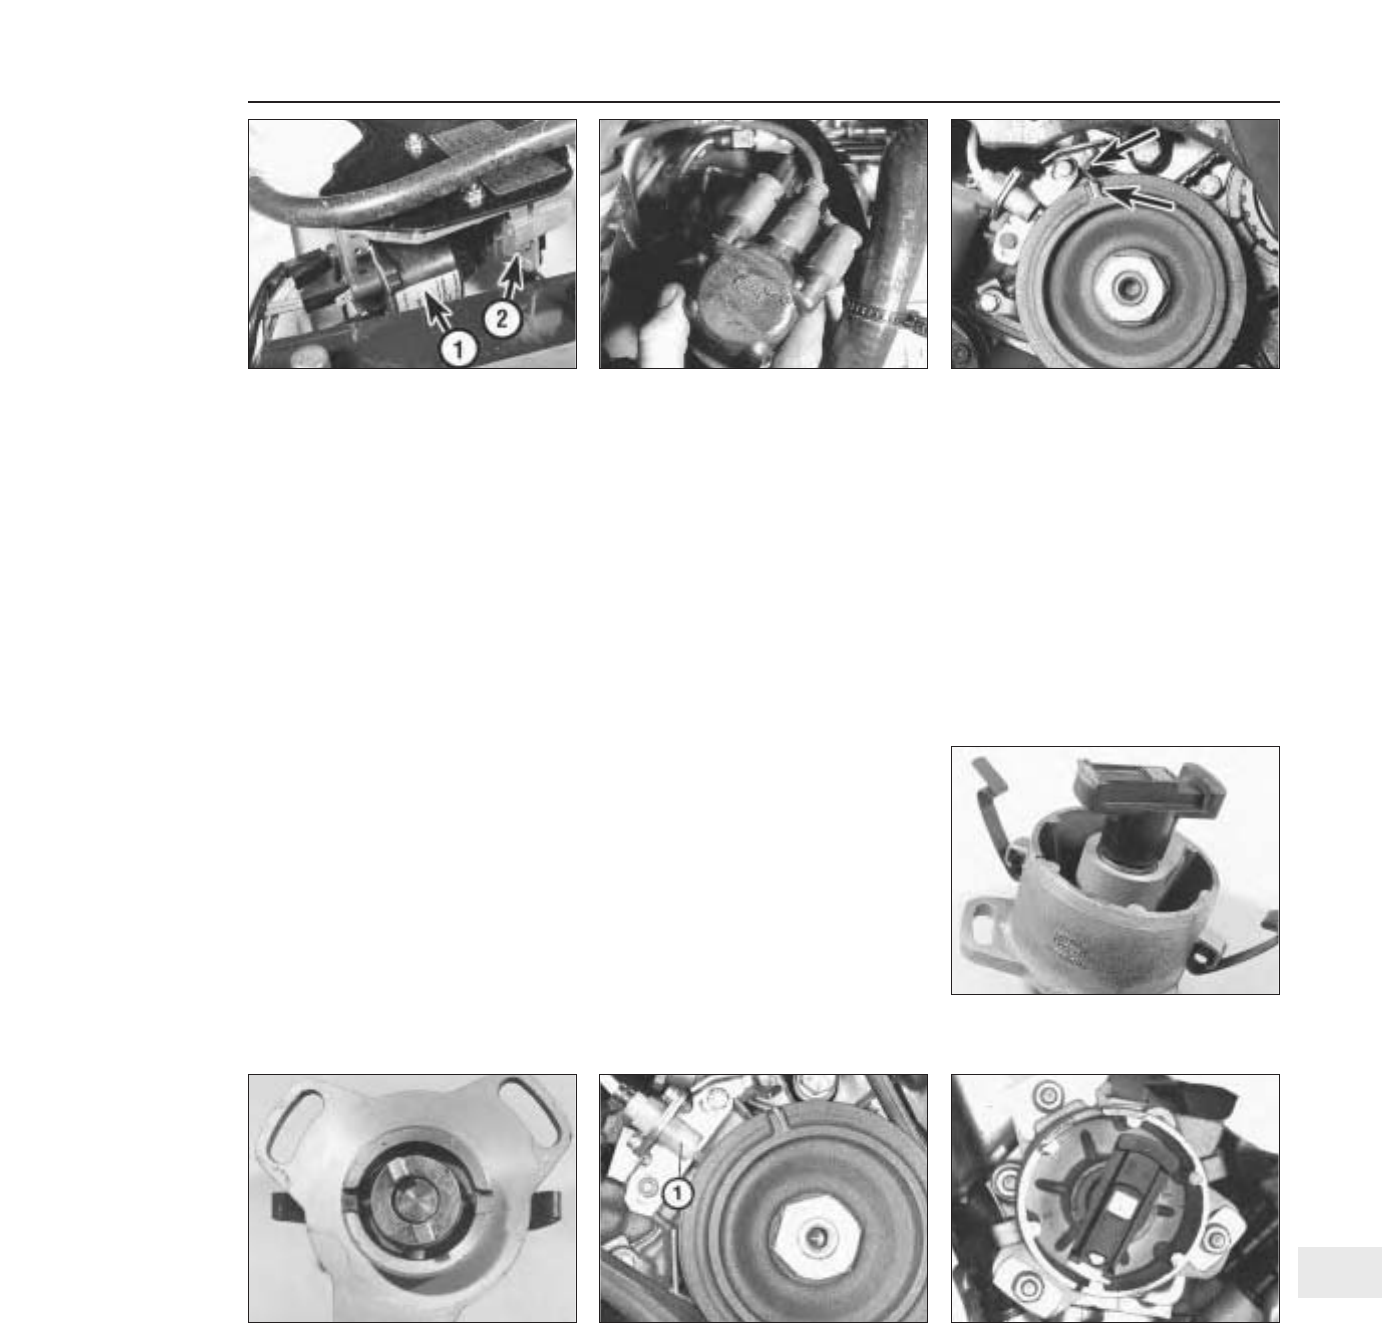
36 This comprises four elements (photo).
a) Power module - receives the ignition
advance command and controls the
conduction angle of the primary current
and energy stored in the coil.
b) Dissipater plate - eliminates the heat
which is generated by the high volume of
current.
c) Ignition coil with low primary resistance.
d) Distributor - a means of distributing high
tension to the spark plugs. The rotor is
driven in an anti-clockwise direction
(viewed from transmission) by a dog on
the end of the camshaft.
37 The system incorporates a safety
pressure switch, which cuts out the ignition if
the turbocharging pressure exceeds a value
of between 0.84 and 0.93 bars (12.2 and
13.5 lbf/in
2
) above atmospheric pressure.
Distributor (Microplex) -
removal and refitting #
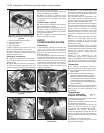
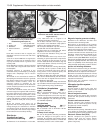
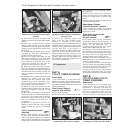
38 Remove the distributor cap and place it to
one side, complete with spark plug leads
(photo).
39 Turn the crankshaft by means of the
pulley nut, or by raising and turning a front
wheel with top gear engaged, until No. 4
piston is on its firing stroke. This will be
indicated when the contact end of the rotor
arm is aligned with the mark on the distributor
body rim, and the lug on the crankshaft pulley
is aligned with the timing pointer on the
engine. The right-hand underwing shield will
have to be removed in order to see the marks
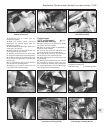
(photo).
40 Unscrew the distributor fixing nuts and
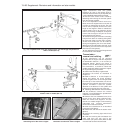
withdraw the distributor.
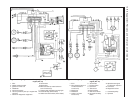
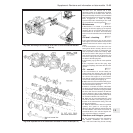
41 When fitting the distributor, the offset
drive dog will automatically locate the
distributor rotor in its correct position, but the
distributor body may require rotating in order
to align the rim mark with the rotor. The
elongated slots for the fixing studs are to
permit initial alignment, not for subsequent
adjustment, as advance angle alterations are
carried out automatically by the system ECU
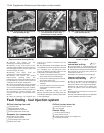
(photos).
42 Tighten the nuts and refit the cap with
leads.
43 Unless a stroboscope and a vacuum
pressure gauge are available, it will not be
possible to check the advance values with the
engine running. Where these instruments are
available, connect the vacuum gauge to the
inlet manifold, and the stroboscope in
accordance with the equipment manufac-
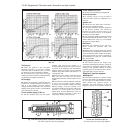
turer’s instructions. Refer to Fig. 13.79
according to the inlet manifold vacuum
pressure indicated.
Microplex ignition system
components - testing ™
44 An ohmmeter and a voltmeter will be
required for these tests.
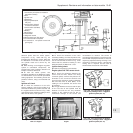
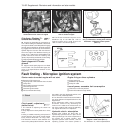
45 Remove the multipin plug from the ECU.
Engine speed sensor
46 Insert the probes of an ohmmeter
between terminals 3 and 16 of the multipin
connector; 618 to 748 ohms (1301 cc) or
578 to 782 ohms (1372 cc) should be
indicated.
47 If necessary, carry out a check of the gap
between the sensor and flywheel teeth as
described in Chapter 4, Section 10.
Supplement: Revisions and information on later models 13•89
10.39 Crankshaft pulley timing marks
(arrowed)
10.38 Removing the distributor cap10.36 Ignition coil (1) and power module (2)
on 1301 cc Turbo ie engine
Fig. 13.78 Rotor aligned with distributor
body rim mark - Microplex ignition system
(Sec 10)
10.41A Distributor body showing elongated
slots in the mounting lugs
Fig. 13.77 Crankshaft pulley timing mark
aligned with timing pointer - Microplex
ignition system (Sec 10)
1 TDC sensor
10.41B Distributor drive dog
13


