


©2005 Edelbrock Corporation
Brochure #63-0434
Catalog #71884
Rev. 12/05 - DC/mcPage 2 of 4
INSTALLATION INSTRUCTIONS
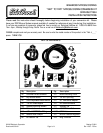
DRY COMPONENTS REMOVAL
1. Remove the 3AN nitrous line and 3AN fuel line
currently installed leading from the solenoids to the
wet nitrous nozzle.
2. Remove the wet nitrous nozzle and installed jets
from the nozzle collar. Leave the nozzle collar in
place, but plug using the supplied 1/8” NPT Pipe
Plug. Be sure to use Teflon Paste on the threads of
the pipe plug.
3. Disconnect the 4AN feed line from the nitrous
solenoid. Leave the line in place since this line will
be used for the dry system as well.
4. Disconnect the positive solenoid wires from the blue
wire coming from the relay wiring harness.
5. Disconnect the ground wires from the solenoids.
Make sure that you do not damage the ring terminal
on the nitrous solenoid because this ground will be
re-used when the solenoid is re-installed.
6. Disconnect the fuel solenoid supply hose from
wherever the hose was connected (Usually the test
port on the fuel rail).
7. Install the Fuel Pressure Safety Switch (Hobbs
Switch) in the fitting or port where your wet nitrous
system was getting fuel from (The port or fitting
referred to in step 6).
7. Remove the nitrous and fuel solenoids and brackets
from the engine compartment.
This concludes the removal and disassembly of the wet
nitrous system. From this point on, we will be installing
components for the dry nitrous system. This includes
using both the new components that are supplied with
this kit, as well as re-using certain components that
were supplied with your wet nitrous system such as the
nitrous solenoid and the previous nitrous system wiring.
WET COMPONENTS INSTALLATION
Be sure to ALWAYS use Teflon Paste, not Teflon Tape,
on ALL pipe threads unless directed not to.
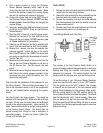
1. Using a 7/16” drill bit, drill a hole in the intake boot
next to where the wet nozzle collar is mounted. This
new hole will be where you install the dry nozzle
collar. Once the hole is drilled, be sure to clean out
any shavings, and install the new nut and collar in this
hole. Note the taper in the collar and be sure to install
with this taper facing into the intake boot so the nozzle
can be installed correctly. Tighten the nut onto the
collar securely and then install the dry nozzle into the
collar. Tighten securely, making sure that the nozzle
outlet is facing into the intake manifold.
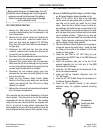
2. Take the Performer Nitrous Solenoid you are going to
re-use and remove the outlet fitting. Install the steel
tee fitting into the outlet of the solenoid, with the tee
female port facing down.
3. Install the blue 3AN to 1/8” NPT fitting you just
removed into the OUTLET side of the NEW Performer
Nitrous Solenoid.
4. Install the remaining male port of the tee of the
solenoid assembly into the inlet port of the NEW
Performer Nitrous Solenoid.
5. Install the 1/8” NPT nipple into the female port of the
tee of the solenoid assembly.
6. Install the Nitrous Pressure Regulator onto the
1/8” NPT nipple.
7. Install the 1/8” NPT to Barb fitting into the side port of
the Nitrous Pressure Regulator.
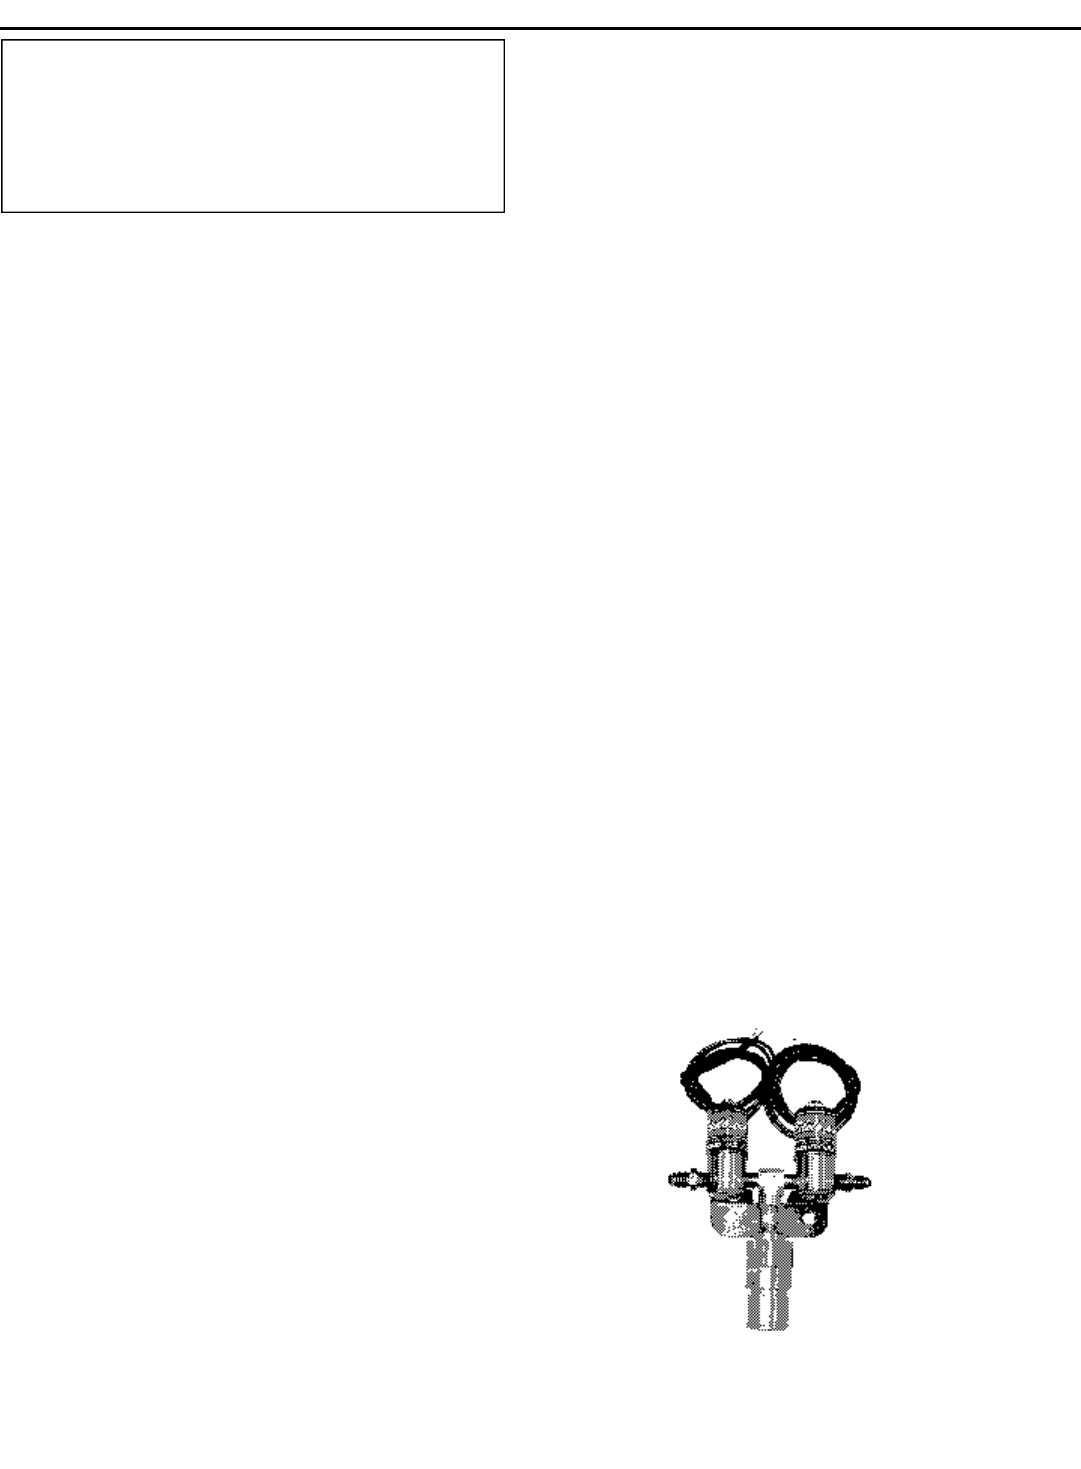
8. Install the EFI solenoid bracket to the solenoid
assembly using the supplied solenoid mounting
screws.
The assembly
should now look
like what is
pictured here.
WARNING!!!
Before performing any of these steps, turn off
the bottle valve and purge the nitrous system of
pressure as well as disconnect the battery.
Failure to do so may cause engine damage
and/or personal injury.