


4
Call 1-866-576-8388 for missing parts or assembly help
DO NOT RETURN TO STORE
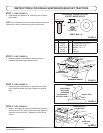
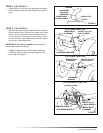
STEP 5: (SEE FIGURE 6)
Spread ends of bumper enough to t slots onto bolts •
in rear mounting holes in tractor frame.
The bumper has three mounting holes. The rear •
hole provides the most clearance while the forward
holes provide a neater appearance. Use a hole
that provides enough clearance for hood to stay in
raised position when opened. Insert a carriage bolt
and washer through tractor frame and into desired
mounting hole on each side of bumper and secure
with a whizlock nut.
IMPORTANT: Before fully tightening nuts, be sure
tractor hood will stay in raised position when opened.
HEX BOLT
AND WASHER
WHIZLOCK NUT
FIGURE 6
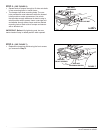
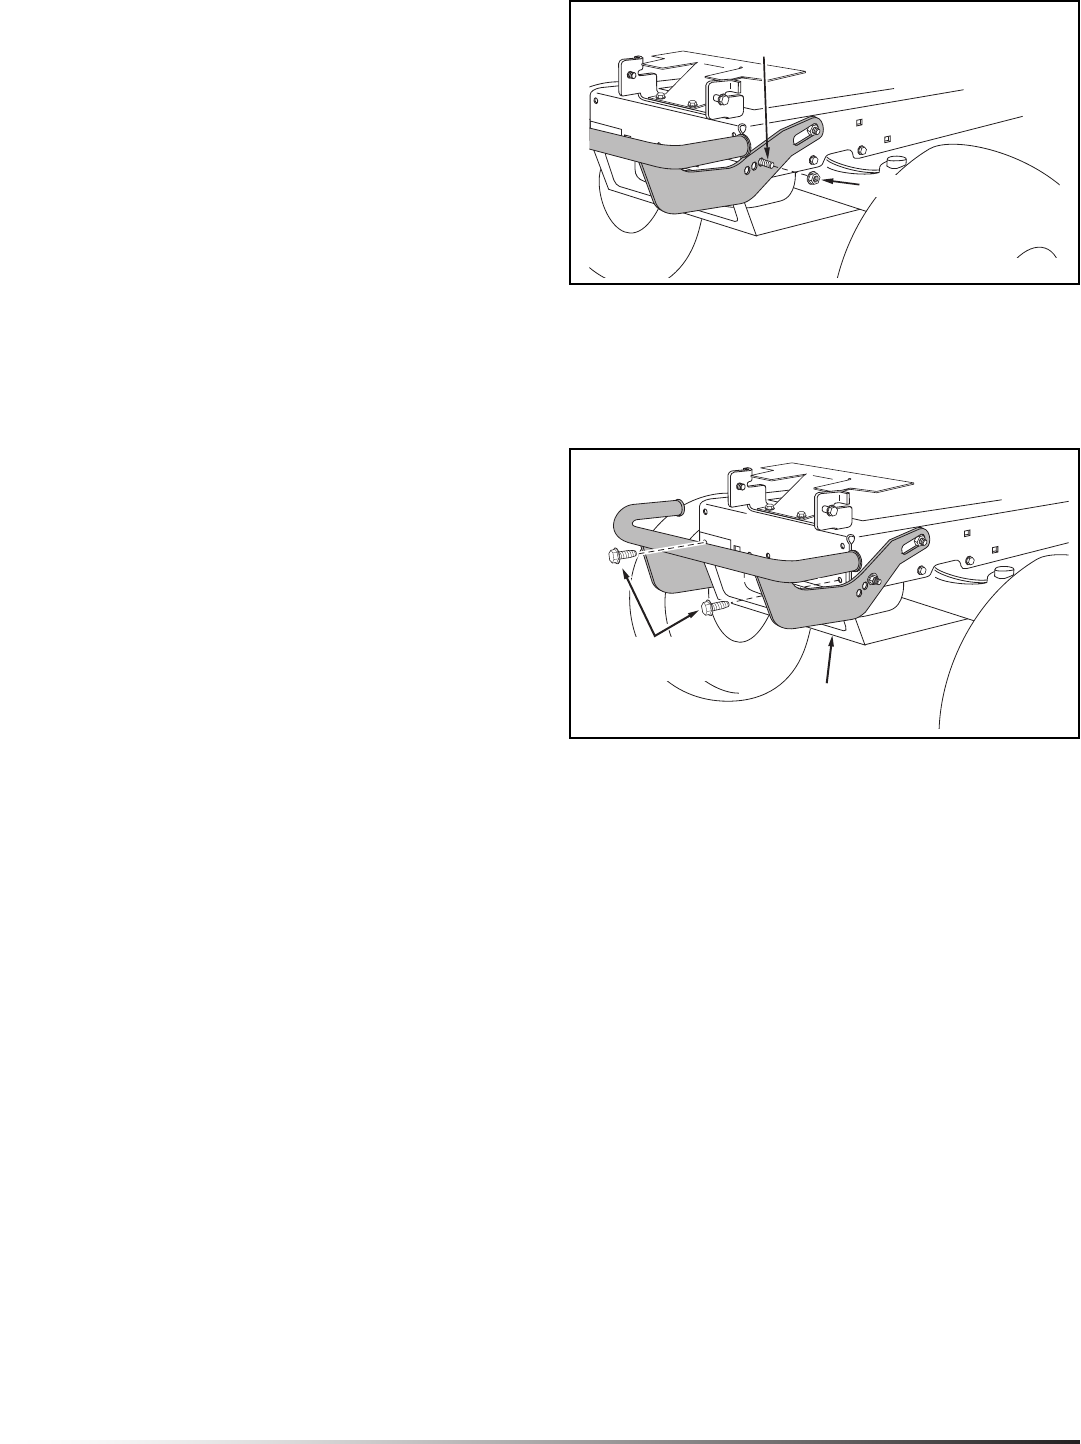
STEP 6: (SEE FIGURE 7)
Replace the browning shield using the front screws •
you removed in Step 2.
FIGURE 7
REPLACE
BROWNING SHIELD
REPLACE
FRONT SCREWS