To transmit either channel 1, 2, 3 or 4: Just press either button 1, 2, 3 or 4. For
instance, to transmit channel 3, press button 3. While you transmit, the LED
indicator will flash once every second: this indicates level 1.
To transmit either channel 5, 6, 7 or 8: Press the LevelShift button once. This
shifts buttons 1–4 to level 2 (channels 5–8). Then press the button within the
next 7 seconds. For instance, to transmit channel 5, press the LevelShift
button once, then press button 1. While you transmit, you’ll notice that the
LED indicator flashes twice, pauses, flashes twice, etc.: this indicates level 2.
To transmit channel 9, 10, 11 or 12: Press the LevelShift button twice. This
shifts buttons 1–4 to level 3 (channels 9–12). Then press the corresponding
button within the next 7 seconds. For instance, to transmit channel 10, press
the LevelShift button twice, then press button 2. While you transmit, you’ll
notice that the LED flashes three times, pauses, flashes three times, etc.: this
indicates level 3.
NOTE: One second after you stop transmitting level 2 or level 3 (channels 5–12),
the remote control automatically returns to level 1 (channels 1–4).
What each button/channel does
Your Eagle II remote controls are pre-programmed so that certain channels command
certain functions. If you wish, you can assign any channel to any function (see
User-selectable features on pages 14-15).. The following chart indicates what each
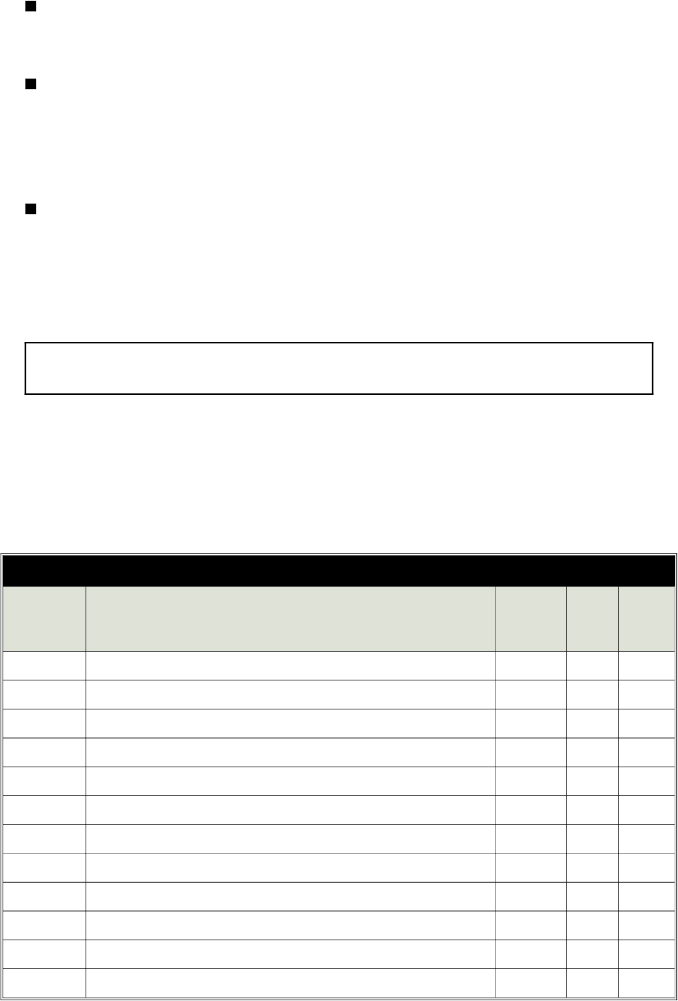
remote control channel number does, and how to transmit each channel number.
Factory settings of the 12 remote control channels
Transmitting
channel
number:
Causes the system to:
Press the
LevelShift
button?
How
many
times?
Press
button
number
1
arm or disarm and lock or unlock the doors no — 1
2
optionally pop the boot (if the system is disarmed) no — 2
3
silently arm or disarm no — 3
4
activate optional accessory function #1 no — 4
5
remotely enter or exit valet mode (see page 15) yes once 1
6
activate optional accessory function #2 yes once 2
7
activate optional accessory function #3 yes once 3
8
activate optional accessory function #4 yes once 4
9
activate optional accessory function #5 yes twice 1
10
activate optional accessory function #6 yes twice 2
11
activate optional accessory function #7 yes twice 3
12
activate optional accessory function #8 yes twice 4
7
