


CH-222 User Manual 5 2005-07-22/17:40
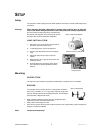
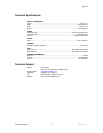
Remove screws on both sides.
Figure
2
–
CH
-
222 Lamp installation
Lamp exposed
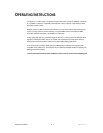
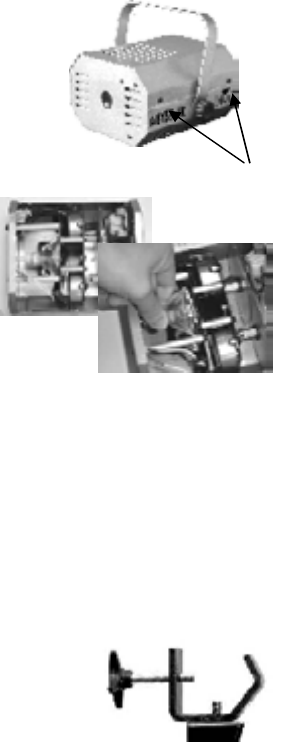
Figure
3
-
Hanging Clamp
SETUP
Lamp
You will need to install a lamp prior to the initial operation of the fixture. An EFP 100W halogen lamp
is included.
Warning! When replacing the lamp, please wait 15 minutes after powering down to allow the
unit to cool down! Always disconnect from main power prior to lamp replacement.
Do not touch the envelope (glass area) of the bulb with
bare hands. If this happens, clean the lamp with alcohol
and wipe it with a lint free cloth before installation.
LAMP INSTALLATION
1) Remove the four screws located on both sides of
the fixture and remove fixture cover.
2) If replacing the lamp, remove old lamp first.
3) Reach in and slide the lamp out of the retaining
cage.
4) Detach the lamp from the lamp socket and
replace.
5) Replace fixture cover, align the screw holes and
fasten the screws.
6) No lamp alignment is necessary for this fixture
since the lamp is already optimized inside the
reflector.
Mounting
ORIENTATION
This fixture may be mounted in any position provided there is adequate room for ventilation.
RIGGING
It is important never to obstruct the fan or vents pathway. Mount the
fixture using, a suitable “C” or “O” type clamp. Adjust the angle of the
fixture by loosening both knobs and tilting the fixture. After finding the
desired position, retighten both knobs.
When selecting installation location, take into consideration lamp
replacement access and routine maintenance.
Safety cables should always be used.
Never mount in places where the fixture will be exposed to rain, high humidity, extreme temperature
changes or restricted ventilation.
Note! Clamps sold separately!