38
Snapshot Tutorial
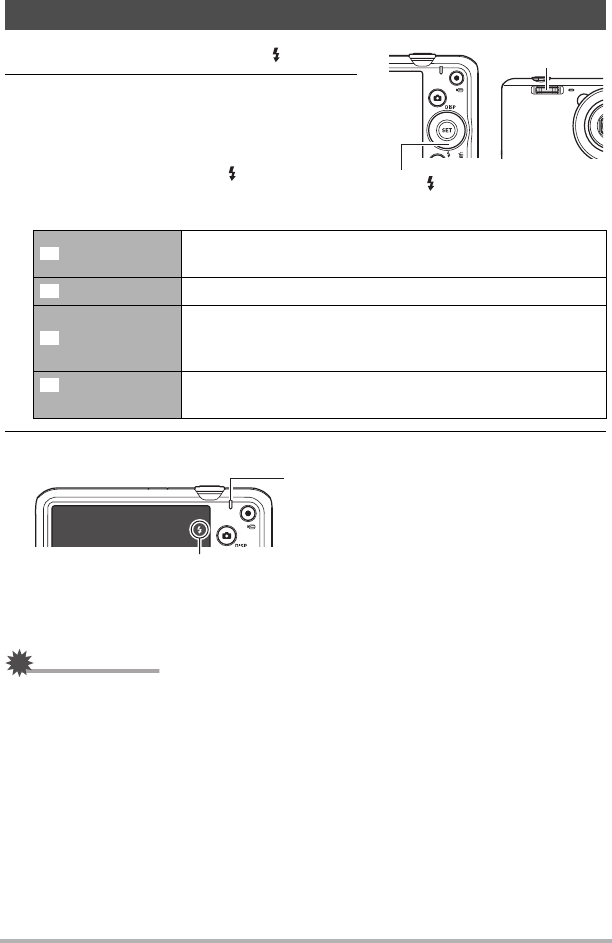
1. In the REC mode, press [2] ( ) once.
2. Use [4] and [6] to select the flash
setting you want and then press [SET].
• If there are no indicators on the monitor
screen, you can cycle through the flash
modes by pressing [2] ( ). You can turn
display information on or off by pressing
[8] (DISP) (page 12).
3. Press the shutter button to shoot.
• For information about Flash Range, see page 135.
IMPORTANT!
• Foreign matter on the flash window can react with the light of the flash, producing
some smoke and abnormal odor. Though this does not indicate malfunction, oil
from your fingers and other foreign matter when left on the flash window can
become difficult to clean off later. Because of this, you should make it a regular
habit to wipe the window clean regularly with a soft, dry cloth.
Using Flash (Flash)
Auto Flash
Flash fires automatically in accordance with exposure
(amount of light and brightness) conditions.
Flash Off Flash does not fire.
Flash On
Flash always fires. This setting can be used to brighten a
subject that normally comes out dark due to daylight or
backlight (daylight synchro flash).
Red Eye
Reduction
Flash fires automatically. This type of flash can be used to
reduce the chance of redness in the subject’s eyes.
Flash
[2] ( )
Back lamp
Flashes orange while the flash is charging to
indicate that image recording is disabled.
• You will not be able to take another flash
snapshot until the lamp stops flashing
orange, which indicates that charging is
complete.
< indicates the flash will fire.
B
