


6
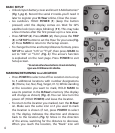
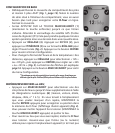
COMPASS CALIBRATION
• To ensure directional accuracy, hold the D-Tour out
in front of you and move it in a “Figure 8” pattern
a few times to re-calibrate the compass (Fig. 9). A
compass calibration video is available at: http://www.
bushnell.com/products/gps/instruction-videos/.
• For best results, we recommend holding the D-Tour
in a horizontal position (not tilted) during use (Fig.
10).
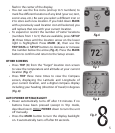
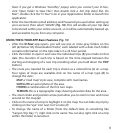
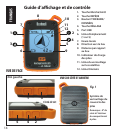
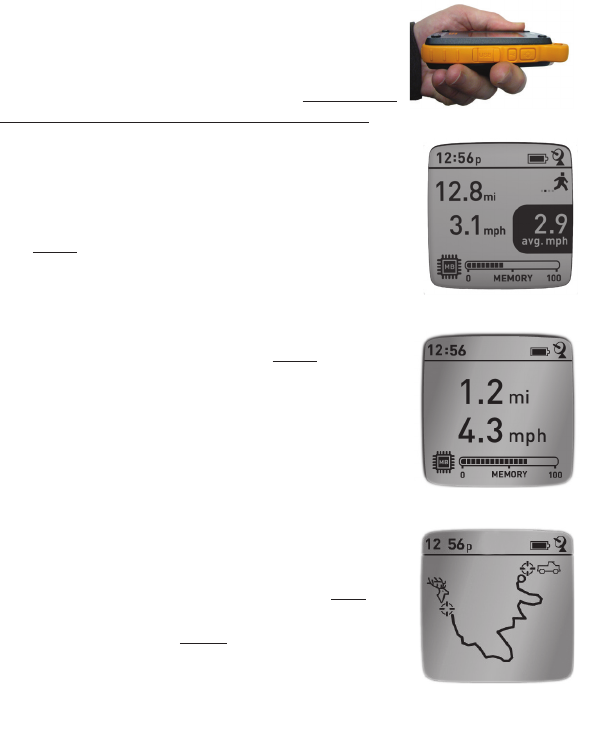
RECORDING A NEW TRIP (ROUTE)
• Press TRIP (3) until you see the Trip Mode screen (Fig.
11). HOLD the TRIP button for a few seconds to start
recording new trip data. The display shows a moving
“hiker” icon, along with updated readouts of elapsed
distance and average speed during your trip. Keep
the D-Tour powered ON during your trip.
• To stop recording the trip data, HOLD the TRIP
button again.
• The D-Tour automatically saves the data it collects
between the time you start and stop recording your
trip, including the date and time of the trip, total
distance traveled, your average speed, and changes
in altitude and temperature.
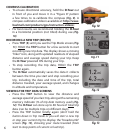
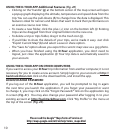
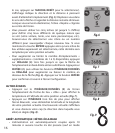
VIEWING THE TRIP DATA SCREENS
• Press the TRIP button to view the distance and
average speed of your last trip, along with a remaining
memory indicator (% of trip data memory used) (Fig.
12). The D-Tour can store up to 48 hours of total trip
data (can be multiple trips on different days).
• Press the TRIP button briefly again (don’t hold the
button down in Trip mode or you will start a new trip
or stop your current trip) to display the “breadcrumb”
screen (Fig. 13), showing your route traveled (from
start to stop points of current or last trip).
Fig. 12
Fig. 10
Fig. 11
Fig. 13