


THE GUIDE TO SMALL ENGINES 5
Tools & materials:
Socket wrench set, box\wrench or adjustable wrench,
screwdriver or hex key, oil filter or pipe wrench
(for models with filters), oil drain pan, funnel.
Time required:
30 minutes.
Checking the oil
Make it a habit to check the oil level and
appearance each time you’re about to start a
small engine. Checking the oil while the
engine is cold and most of the oil is in the
crankcase yields the most accurate reading.
You won’t need to change or add oil every
time. But you’ll ensure a better-running
engine and avoid problems down the road if
you keep the crankcase full and change the
oil on schedule and any time the oil loses its
amber hue.
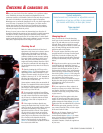
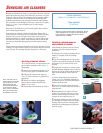
1. Start by locating the oil fill cap on the
crankcase (photo A). Fill cap locations vary,
depending on the make and model of your
engine. On newer models, look for an oil can
symbol or the word “oil” or “fill” stamped on
the plug. On small tractors, you may have to
lift the hood to locate this cap.
Some engines contain either an extended oil
fill tube or a standard fill hole with a dipstick
for inspection. Others require you to remove
the fill cap to check that the oil is at the fill
line or the top of the fill hole.
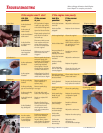
2. To prevent dirt and debris from falling
into the crankcase, wipe the area around the
cap with a clean cloth before removing the
cap. If there is no dipstick, dab the oil with
a clean tip of the cloth to inspect the oil
(photo B).
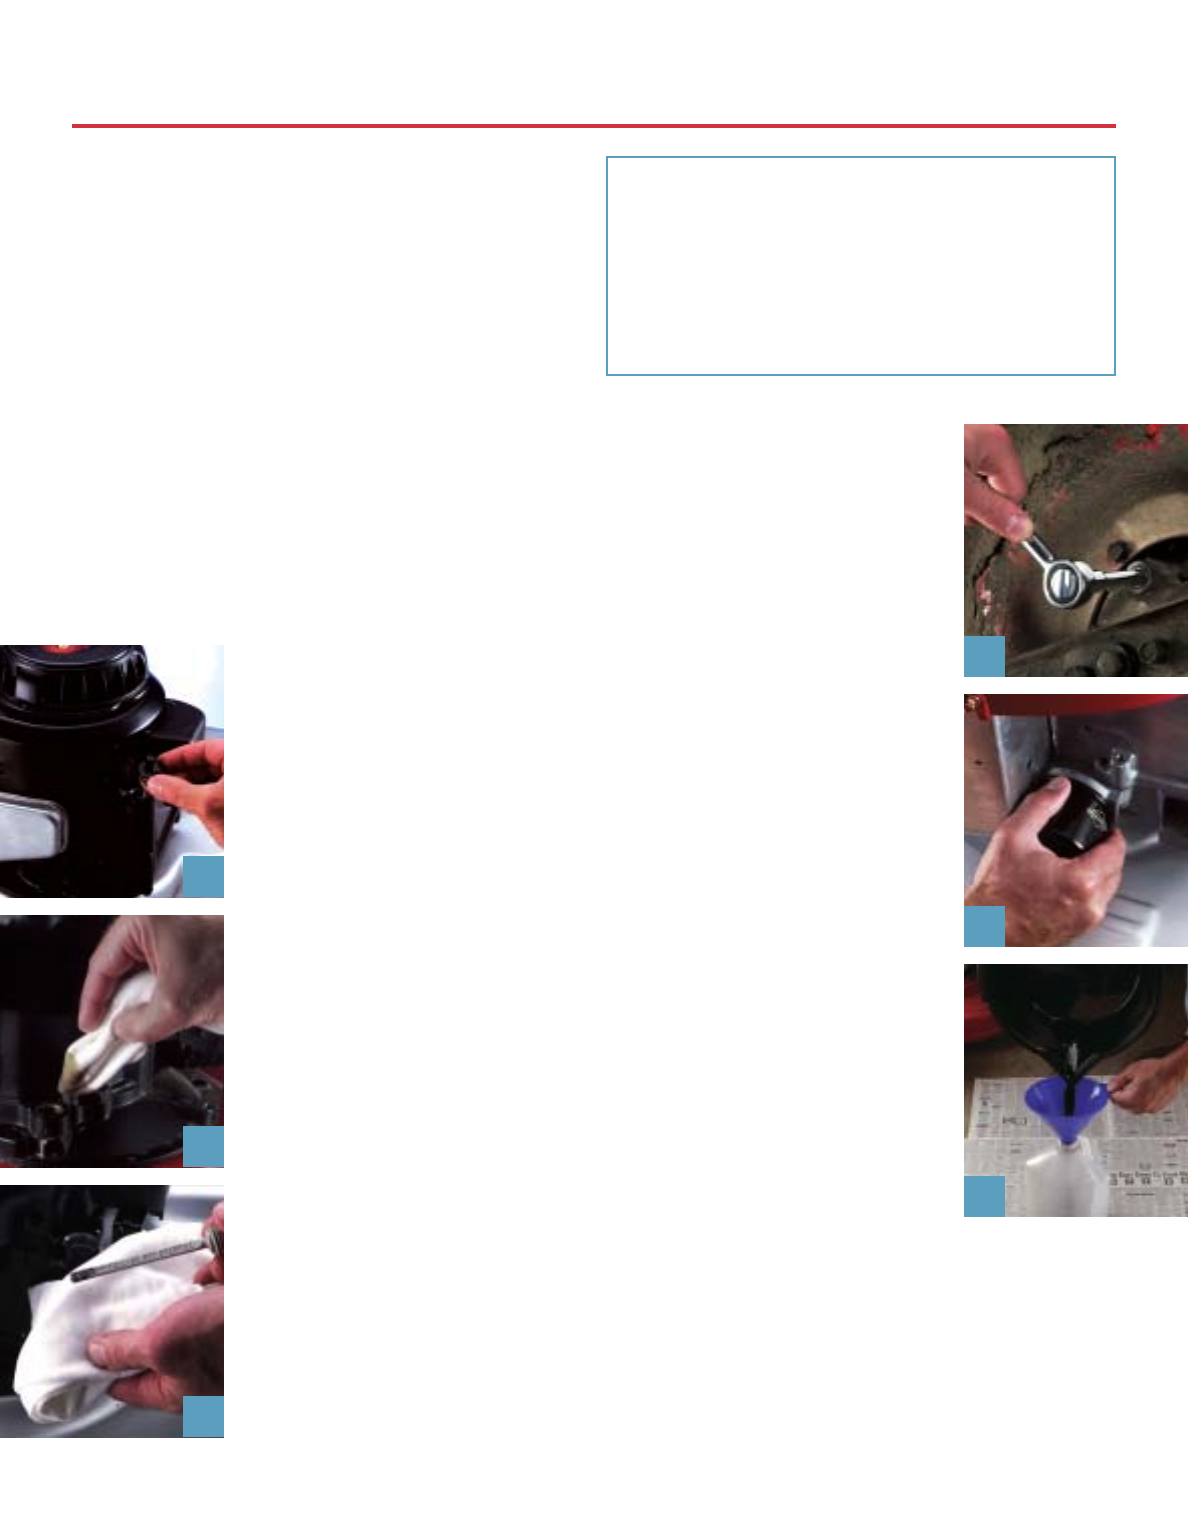
3. If the engine includes a dipstick cap,
remove the dipstick and wipe it with a clean
cloth. To ensure an accurate reading, reinsert
the dipstick completely. Then, remove it
again and check the oil level. If the dipstick
cap is a screw-in type, ensure an accurate
reading by screwing it in all the way before
remov-ing it a second time to check the level.
The oil mark on the dipstick should be
between the lines shown on the dipstick
(photo C). It should never be above the FULL
line or below the ADD line.
Changing the oil
Once you decide the oil needs changing,
check your owner’s manual to determine the
type of oil, and make sure you have enough
on hand. Then, run the engine for several
minutes. Draining the oil while it’s warm will
carry off many floating particles that would
otherwise settle in the engine.
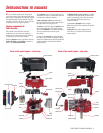
1. Stop the engine, disconnect the spark
plug lead and secure it away from the spark
plug. Then, locate the oil drain plug. On
mowers, the plug is typically below the deck
and may be obscured by a layer of grass and
debris.
2. Wipe the area with a rag to prevent debris
from falling into the crankcase when you
open the drain plug. Tilt the mower deck and
position some newspaper and an oil pan or
jug beneath the mower. Use a socket wrench
to turn the plug counterclockwise, allowing
the old oil to drain (photo A). If the plug also
serves as a fill cap, it may have two prongs so
you can loosen it by hand or use a
screwdriver or hex key for additional torque.
Replace the drain plug by twisting clockwise
and tightening with a box wrench or
adjustable wrench.
3. If your engine has a filter, replace it at
least once a season, more often under heavy
use. Replace the filter by twisting counter-
clockwise on the body, using a filter wrench
or pipe wrench.
4. Lightly oil the filter gasket with clean
engine oil. Install a new filter rated for your
engine. Screw in the filter by hand until the
gasket contacts the filter adapter (photo B).
Tighten the filter an additional 1⁄2 to 3⁄4 turn.
5. Add the appropriate quantity of oil (see
your owner’s manual). Then, run the engine
at idle and check for leaks.
6. After an oil change, dispose of oil and
soiled rags in accordance with local
environmental statutes (photo C). In many
areas, oil can be left at curbside with other
recyclables, provided it is sealed in a
recyclable container. Check the regulations
in your area.
C
B
A
CHECKING & CHANGING OIL
C
B
A
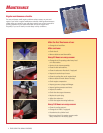
W
hen you pour fresh oil into the crankcase, it’s a golden or amber
color. Gradually, the heat, dirt particles and agitated air in the
crankcase cause the oil to darken. Dark oil is not only dirty; it has also
lost much of its ability to coat and protect engine components.
Manufacturers recommend changing the oil in your small engine after
every 25 hours of operation. For a new engine, you’ll also need to
change the oil after the first five hours of operation. New engines
require this extra step to flush out small particles that accumulate
naturally during the break-in period.
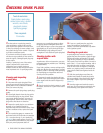
Hours of use are just one factor in determining how often the oil
should be changed; the amount of wear and tear is equally important.
Just like the oil in a vehicle operated in extremely dirty or dusty
conditions or at high speeds, the oil in a lawn mower or other small
engine breaks down faster under tough conditions, such as wet grass,
heavy dust, high temperatures and rough or hilly terrain.