P.14 Installation Guide AS-6105 SH
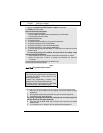
Table 5
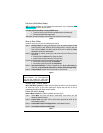
Multi-Speed Tach Programming
No manual adjustments are necessary. However, you should go through the Tach
programming procedure every time a new Unit is installed.
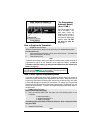
1. FLASH the Hood Pin Switch.
2. Press and hold the Brake Pedal.
x Press the LOCKand UNLOCK buttons simultaneously on the Transmitter.
x The Parking Lights will flash 4 times the Horn/Siren will sound 4 times (if
programmed).
x Release the Brake Pedal.
3. Start the vehicle and let it to reach regular Engine-idle speed.
4. Once the vehicle is idling properly, press and hold the Brake Pedal until the Parking
Lights flash five times, release the Brake Pedal: the Tach signal is now programmed.
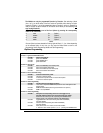
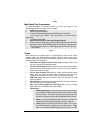
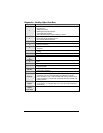
x The Horn/Siren will sound1, 2 or 3 times depending on the Tach mode which has
been detected.
Table 6
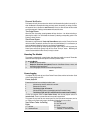
Testing
Before putting back the vehicle together, it is recommended to check that the system
operates properly. The following testing procedures should be used to verify proper
installation and operation of the system. Before testing, make sure that all connections are
soldered and that the unit is plugged in.
1. Remote-start the Engine and listen for Starter drag. If the Starter cranks for too
long, carry out another Tach learning procedure.
2. Test Hood Switch shutdown: with the vehicle running under the Remote Starter,
open the Hood; the vehicle should shut down. If it does not shut down, check the
Hood Pin-switch and its connector.
3. Test the Brake shutdown circuit: With the vehicle running under the Remote
Starter, press and release the Brake Pedal. The Engine should shut down
immediately. If the Engine continues to run, check the Brake Switch connection.
4. OEM Alarm Control: Make sure the Module is able to arm and disarm the OEM
Alarm (if applicable).
5. Alarm Testing: Arm the vehicle and test the Hood Pin and each Door to make sure
that each one of these points triggers the Alarm.
6. Door Locks, Auxiliary Outputs and Trunk Testing: Make sure each of these
options respond to the Transmitter (if they were installed).
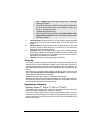
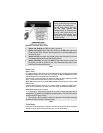
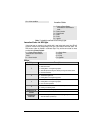
7. Shock sensors:
x Mounting Shock Sensor: Mount the sensor in the most central location
on the vehicle as to allow the sensor to detect vibration equally from each
side of the vehicle. Two common places to mount the sensor are Wire
harnesses or metal braces located under the Dashboard/Center Console.
x Setting: Turning the dial clockwise increases the sensor’s sensitivity and
turning the dial counter-clockwise decreases the sensor’s sensitivity.
x Testing: Make sure the Hood and the Doors are closed. Arm the Alarm
and wait approximately 10 seconds to let the vehicle “settle”. A light
“tap” on the vehicle should NOT trigger either the Alarm or the Warn


