6
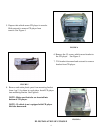
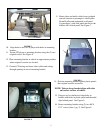
17. Remove and discard the front (2) two screws of the
VCP cabinet. See Figure 10.
18. Insert VCP into mounting bracket and make all
necessary wiring connections. Check function of
VCP. See operating instructions included with
components. For further assistance, refer to the video
system manual for the technical support phone number
listed for your area.
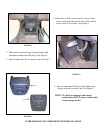
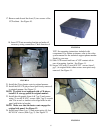
19. Slide VCP inward until rear of VCP contacts tab in
rear of mounting bracket. See Figure 11.
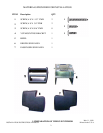
20. Secure VCP with (2) two #8 X 3/4" screws (item 2
pg.2 ) in original holes where screws were previously
removed. See Figure 11.
21. Install the (2)two heater vents in original manner.
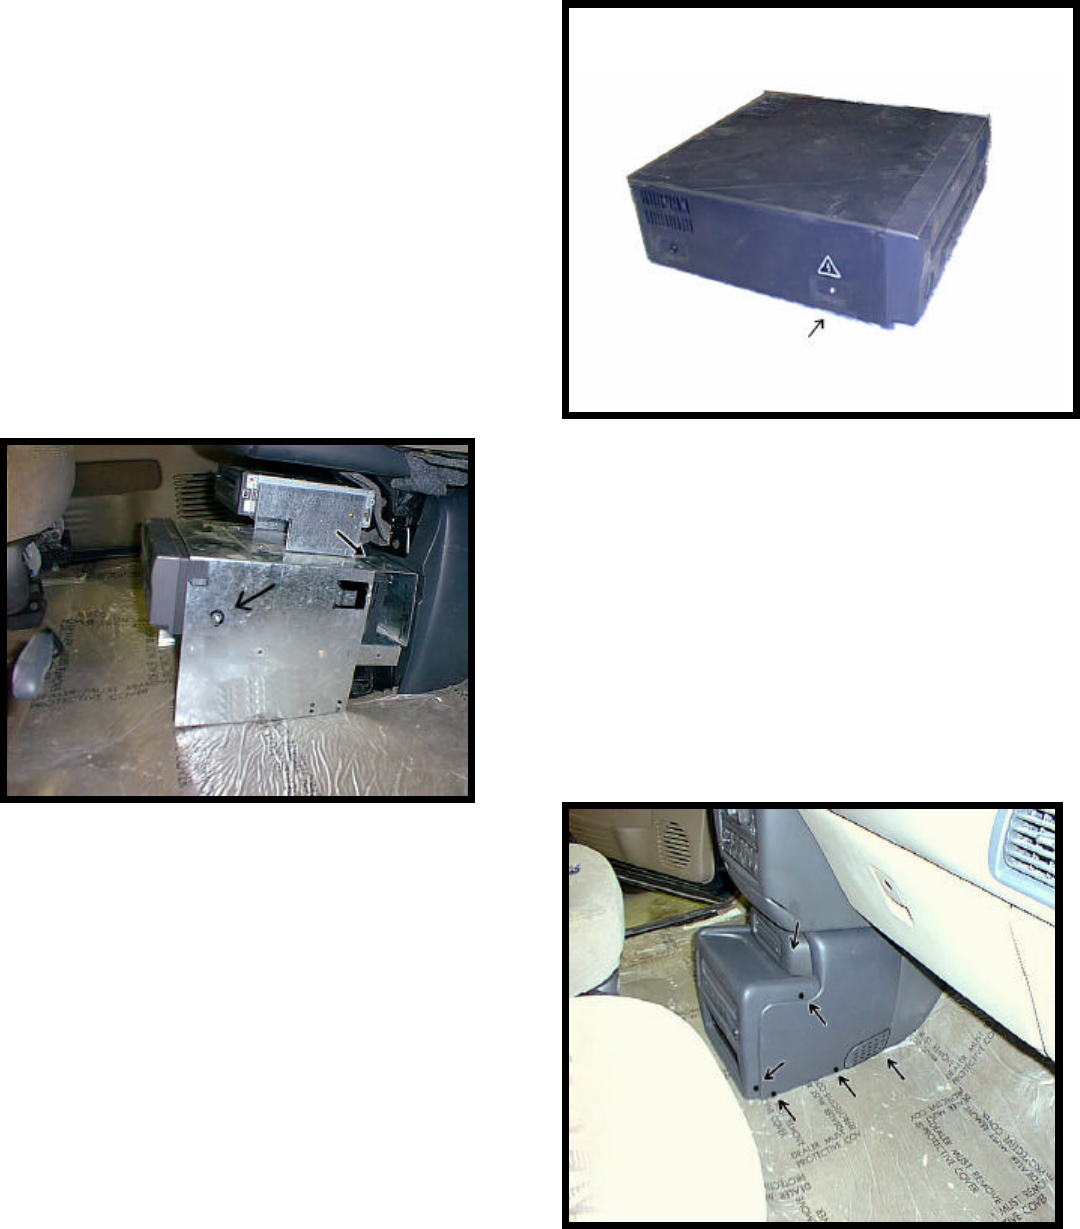
22. Install the O.E. CD player bezel (previously removed)
in original manner. See Figure 12.
NOTE: If vehicle is not equipped with a CD player,
install O.E. storage pocket in original manner.
23. Install the side panels (items 6 & 7 pg.2) and secure
using (2) two #8 X 9/16” screws (item 3 pg.2) on each
side. Use an awl or similar tool to align holes in side
panel with holes in bracket.
NOTE: Make sure that the heater vents engage the
original side panel. See Figure 12.
24. Install bezel (item 5 pg. 2.) and secure using (4) four
#8 X 9/16" screws (item 3 pg. 2). See Figure 12.
FIGURE 10
FIGURE 12
FIGURE 11


