3-2 Car Problems
If your scan tool is having difficulty “link-
ing” with the vehicle computer, be sure
that you have double checked all scan
tool interfaces, including the power con-
nectors and the DLC connection. When
you are sure that the scan tool is not
malfunctioning (run scan tool Self-Tests),
then the problem may be with the vehicle’s
electrical system or with the vehicle com-
puter itself. Check the following:
• If you are using the cigarette lighter
power adapter, verify that the vehicle’s
cigarette lighter and fuse are OK.
• If the cigarette lighter adapter is used to
power-up the scan tool, then make sure
the vehicle’s battery has a minimum 8
volt charge. The scan tool requires a
minimum of 8 volts to power-up.
• Verify the ignition key is ON and not in
the accessories (ACC.) position.
• Check the vehicle’s on-board computer
for a blown PCM fuse. The PCM fuse is
located on the fuse block in the passen-
ger compartment. If the PCM fuse is
blown, the vehicle’s on-board computer
cannot transmit data.
• Check to be sure your vehicle’s calibra-
20
tion PROM matches the vehicle setup.
Some GM vehicles have had replace-
ment PROMs installed from newer ve-
hicles to correct driveability problems.
Check the scan tool Application Car-
tridge manual for applicable models
and years.
• Make sure the vehicle’s on-board com-
puter has a good ground. If your
vehicle’s on-board computer has a
ground going directly to the computer’s
case, then clean up this connection
and apply a conductive grease to the
mating surfaces.
• On some carbureted engines, the igni-
tion key must be ON and the engine
OFF in order to establish communica-
tion between the scan tool and the
vehicle’s on-board computer. If the en-
gine was running when the Operating
Error occurred, then turn the ignition
key OFF and then ON, but
do not start
the engine
.
• As a last resort, the vehicle’s on-board
computer or calibration PROM may be
defective. Check vehicle service manual
to determine correct computer tests for
your particular vehicle.
3-3 Scan Tool Self-Tests
Scan tool Self-Tests are used to test the
operation of the scan tool’s display, key-
board, and internal memory. The Tool
Self-Tests menu can be accessed when
the scan tool is initially powered-up, and
from the Function List. Convenience is the
reason the Tool Self-Tests menu is acces-
sible in two ways. If the scan tool has a
display problem on power-up, you do not
want to enter vehicle set-up information
just to get to the Function List to run the
Display Self-Test. It is far more convenient
to have the Tool Self-Tests menu acces-
sible during scan tool power-up. If a key-
board problem happens while you are
Viewing Data, it is easier to run a Key-
board Self-Test from the Function List
than to remove and then re-apply power
to the scan tool.
After the ENTER key is pressed, the dis-
play on power-up looks like this:
Select Function
1)New Vehicle
2)Tool Self-Test
21
The screen below is how the Tool Self-
Tests option appears on the Function List
(NOTE: This is a GM Function List. Func-
tion Lists for other manufacturers may
differ slightly):
GM Function List
7)Tool Setup
8)Tool Self-Test
9)Code Lookup
To select Tool Self-Tests on either screen,
use the UP and DOWN arrow keys to
move the cursor so it is pointing to the Tool
Self-Tests option, then push the ENTER
key to select this option.
After selecting the Tool Self-Tests option,
you will be given a menu of scan tool self-
tests to choose from:
Tool Self-Test
1)Display Test
2)Keyboard Test
3)Memory Test
From the above menu, use the UP and
DOWN arrow keys to move the cursor so
it is pointing to the Self-Test option of your
choice, then push the ENTER key to select
this option.
Display Test
After you have selected Display Test as
your choice, a screen detailing the test is
displayed. The Display Test will fill every
pixel of the ScanTool’s LCD display with
a solid black character. Press ENTER to
display solid black characters.
ENTER To Test. Look
For Missing Spots
In Display. Press
BACKUP When Done
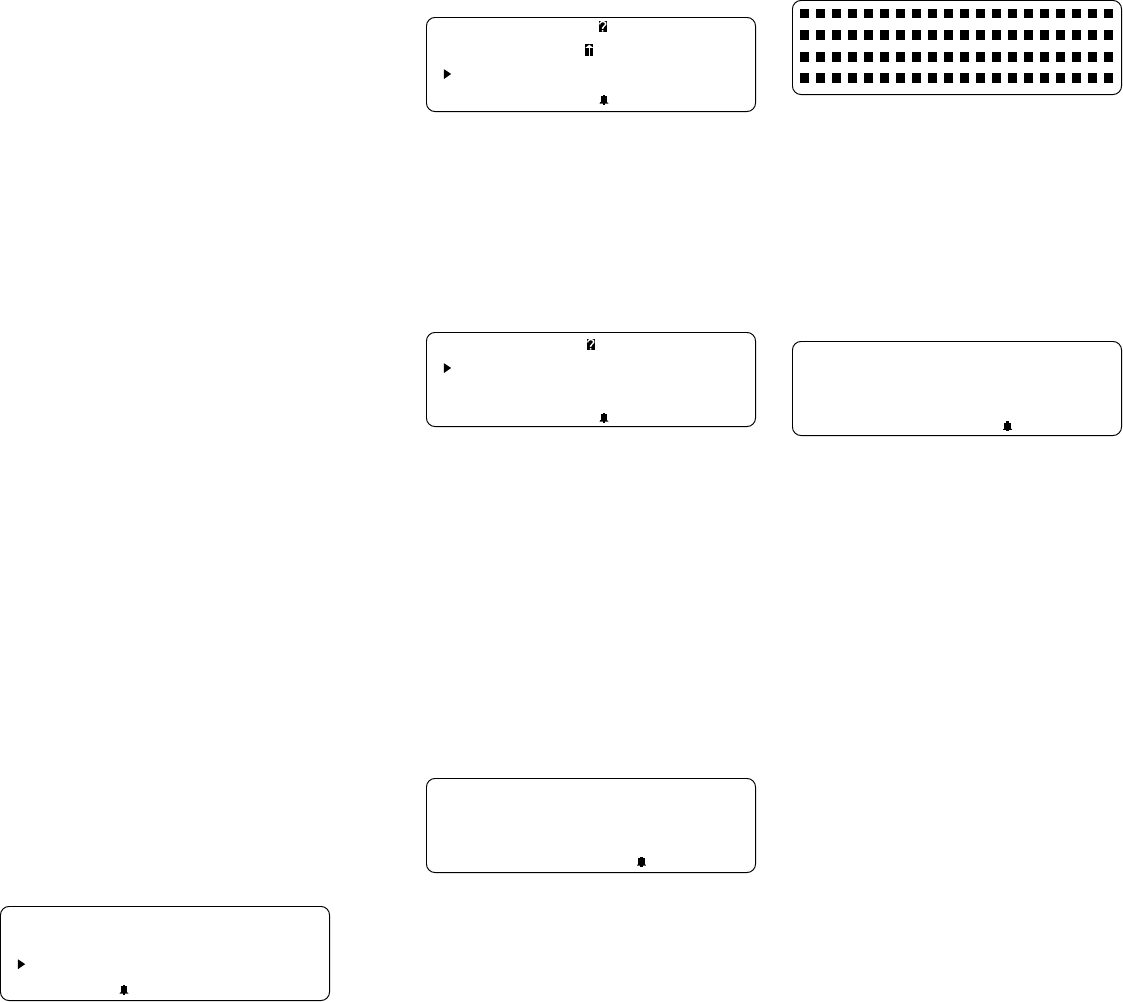
The Display Test Screen is shown below.
Look for pixels that are not black. In other
words, look for missing spots in the solid
black characters. Press the BACKUP key
to return to the Tool Self Test Menu when
done. If you selected Tool Self-Test from
the Function List, then press the FUNC-
TION key to return to the function list at any
time.
NOTE:
The beeper is disabled while the
Display Test Screen is visible. Therefore
any key press will not register a beep.
Keyboard Test
The Keyboard Test is used to check the
functionality of the scan tool’s keyboard.
After you select Keyboard Test from the
Tool Self-Test Menu, the Keyboard Test
screen with instructions is displayed.
Push Button To Test
Key And Display
Name Key:
BACKUP When Done.
Each time you press a key, check scan tool
display. The key name should appear and
the scan tool should beep. For example,
if you press the UP arrow, the screen will
display “Key: UP ARROW.” If the button
name is not displayed, the key is not
working. The only exception is the BACKUP
key. When the BACKUP key is pressed,
the scan tool returns to the Tool Self-Test
Menu. If you are not returned to the Tool
Self-Test Menu, then the BACKUP key is
not working.
NOTE:
The FUNCTION key
will not return you to the Function List
while you are keyboard testing.
Memory Test
The scan tool has already run a Memory
Self-Test during power-up. It is assumed
that the scan tool passed the Memory Self-
Test on power-up, because you should
not have proceeded any farther if it failed.
Once you have reached the Function List,
the scan tool may have trouble playing


