Operation flow from starting the application to closing it
MOX6/MOX8 Remote Editor Owner’s Manual
5
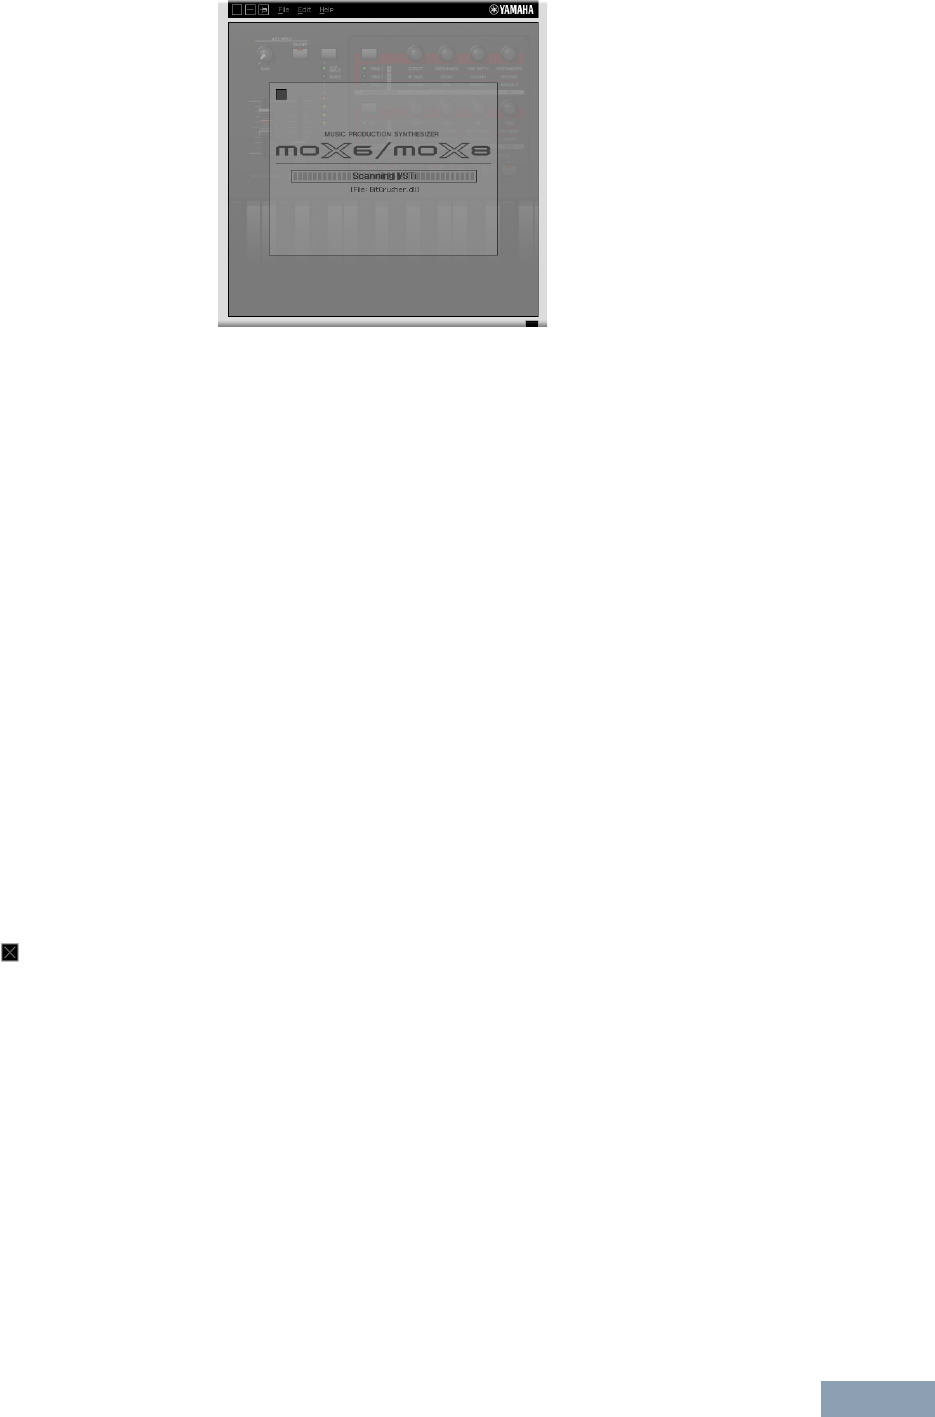
4.Click [OK] to start the Scan operation.
The VSTi plug-ins registered to the specified DAW software will be scanned and the information
necessary for editing will be obtained.
After the scanning is completed, the previous display will appear. The setup of the MOX6/MOX8 Remote
Editor is finished.
n If the VSTi scanning is not performed when you click [OK] in step 4, select [File] [VSTi Database] [Full
Scan] to execute scanning.
5.Start the DAW software (for example, Cubase).
6.Press the [DAW REMOTE] button on the MOX6/MOX8 instrument to enter the Remote
mode.
7. Select the Control Template, then edit the selected Control Template on the Edit window.
Perform the editing referring to the “MOX6/MOX8 Remote Editor Window (
page 6
)” and “Menu (
page 9
).”
When the ONLINE status is turned on (when the MOX6/MOX8 and the MOX6/MOX8 Remote Editor are
connected properly via USB), setting the parameters on the MOX6/MOX8 Remote Editor affects the
settings of the same parameters on the MOX6/MOX8 in real time. This gives you a convenient and useful
way to edit while actually controlling the VSTi.
n Make sure to execute the [STORE] (page 6) operation before turning off the MOX6/MOX8 instrument.
Otherwise the editied Template data in the instrument will be lost.
8.After your editing session is finished, select [File] [Save] (or [Save As...]) to save the
bank to a file.
9.Click at the top left corner to quit the MOX6/MOX8 Remote Editor.
If the edited Bank data has not been saved yet, messages appear prompting you to save it. Save a Bank
file to quit the MOX6/MOX8 Remote Editor.
