11
GB
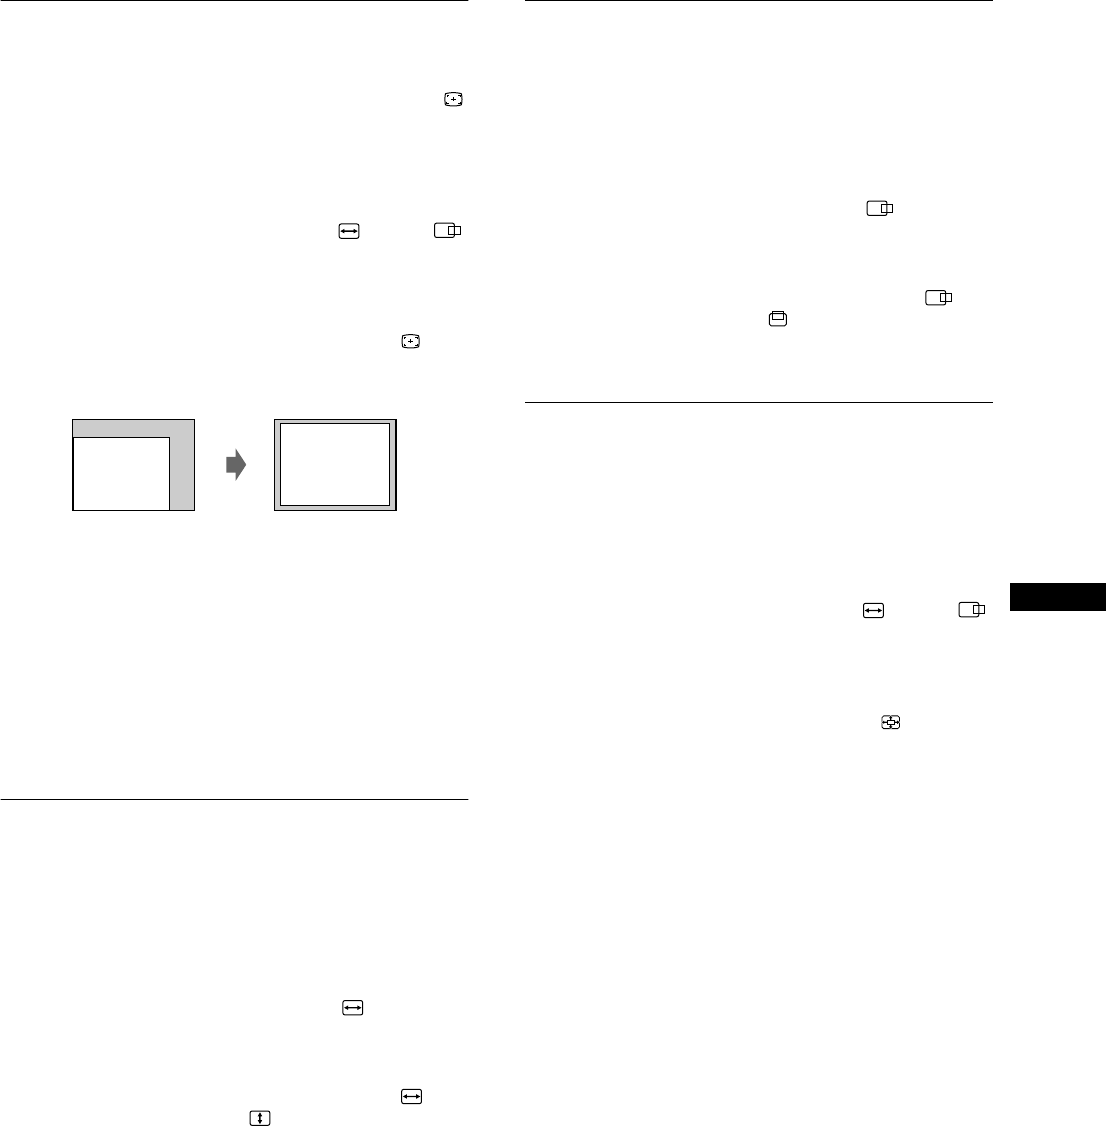
Automatically sizing and centering
the picture (AUTO)
You can easily adjust the picture to fill the screen by using the
(AUTO) item in the SIZE/CENTER menu.
1
Press the center of the control button.
The main MENU appears on the screen.
2
Move the control button to highlight SIZE or
CENTER and press the center of the control button
again.
The SIZE/CENTER menu appears on the screen.
3
First move the control button m
mm
m/M
MM
M to select
(AUTO). Then move the control button ,
,,
,.
The picture automatically fills the screen.
Notes
• This function is intended for use with a computer running Windows or
similar graphic user interface software that provides a full-screen
picture. It may not work properly if the background color is dark or if
the input picture does not fill the screen to the edges (such as an MS-
DOS prompt).
• Pictures with an aspect ratio of 5:4 (resolution: 1280 × 1024, 1600 ×
1280) are displayed at their actual resolution and do not fill the screen
to the edges.
• The displayed image moves for a few seconds while this function is
performed. This is not a malfunction.
Adjusting the size of the picture
(SIZE)
This setting is stored in memory for the current input signal.
1
Press the center of the control button.
The main MENU appears on the screen.
2
Move the control button to highlight SIZE and
press the center of the control button again.
The SIZE/CENTER menu appears on the screen.
3
First move the control button m/M to select for
horizontal adjustment, or for vertical
adjustment. Then move the control button </, to
adjust the size.
Adjusting the centering of the
picture (CENTER)
This setting is stored in memory for the current input signal.
1
Press the center of the control button.
The main MENU appears on the screen.
2
Move the control button to highlight CENTER
and press the center of the control button again.
The SIZE/CENTER menu appears on the screen.
3
First move the control button m/M to select for
horizontal adjustment, or for vertical adjustment.
Then move the control button </, to adjust the
centering.
Enlarging or reducing the picture
(ZOOM)
This setting is stored in memory for the current input signal.
1
Press the center of the control button.
The main MENU appears on the screen.
2
Move the control button to highlight SIZE or
CENTER and press the center of the control button
again.
The SIZE/CENTER menu appears on the screen.
3
Move the control button m/M to select (zoom),
and move </, to enlarge or reduce the picture.
Note
Adjustment stops when either the horizontal or vertical size reaches its
maximum or minimum value.


