16
BEFORE USING THE MACHINE
CHANGING A TRAY’S PAPER SIZE SETTING
Follow these steps to change a tray’s paper size setting.
1
Hold down the [PAPER SIZE ENTER]
key for more than 5 seconds to set the
selected paper size.
The currently selected
paper feed location
indicator will light and the
corresponding paper size
(which is currently set)
indicator will light steadily.
All other indicators will go
out.
2
Use the [TRAY SELECT] key to select
the paper tray for which you wish to
change the paper size setting.
Each time the [TRAY
SELECT] key is pressed,
a paper tray will be
indicated with a blinking
paper feed location
indicator.
3
Use the [ORIGINAL SIZE ENTER] key
to select the paper size.
The indicator of the
selected paper size lights
up. To select 5-1/2" x
8-1/2" size, select
"SPECIAL".
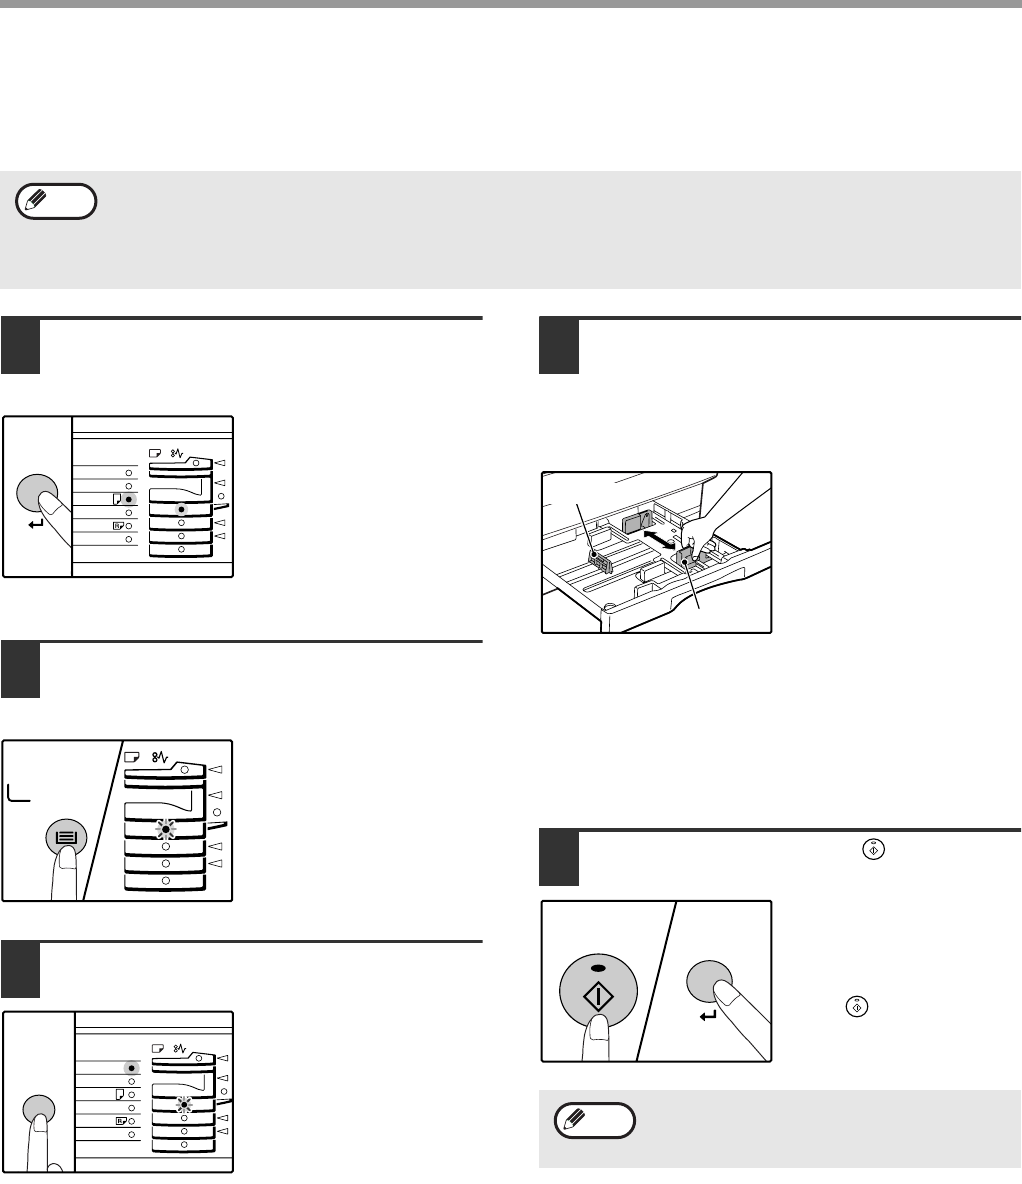
4
Squeeze the lock lever of the front
guide and slide the front guide to
match the width of the paper, and
move the left guide to the appropriate
slot as marked on the tray.
• The front guide is a slide-type guide. Grasp the
locking knob on the guide and slide the guide to the
indicator line of the paper to be loaded.
• The left guide is an insert-type guide. Remove it and
then insert it at the indicator line of the paper to be
loaded.
5
Press the [START] key ( ) and then
the [PAPER SIZE ENTER] key.
To change the paper size
setting of another tray,
repeat steps 2 to 3 after
pressing the [START]
key ( ).
• The paper size setting cannot be changed when the machine has stopped temporarily due to running out of
paper or a misfeed, or during interrupt copying.
• During printing (even in copy mode), the paper size setting cannot be changed.
• 5-1/2" x 8-1/2" size paper can only be selected in paper tray 1.
• Do not load paper that is a different size than the paper size setting. Copying will not be possible.
Note
GINAL
PAPER
SIZE
11
X
17
8½
X
14
8½
X
11
8½
X
11
8½
X
5½
EXTRA
GINAL
PAPER
SIZE
11
X
17
8½
X
14
8½
X
11
8½
X
11
8½
X
5½
EXTRA
Affix the paper size label for the paper size
selected in step 4 to the label position on the
right end of the tray.
Left guide
Front guide
Note


