Copying from the Bypass Tray
27
2
When copying onto special paper
A Press the {
{{
{#}
}}
} key.
B Select paper type in "Special
paper".
C Press [OK].
D
DD
D
Place the originals, and then press
the {
{{
{Start}
}}
} key.
Note
❒ When the Sort function is set,
press the {
{{
{#}
}}
} key after all origi-
nals have been scanned.
E
EE
E
When your copy job is finished,
press the {
{{
{Clear Modes}
}}
} key to
clear the settings.
When Copying onto
Envelopes
Note
❒ When placing an original on the
exposure glass, place the original
with the bottom line aligned to the
left scale.
❒
When placing originals in the ADF,
place the originals with the bottom
line inserted in the ADF.
❒ When inserting envelopes, be sure
to unfold the flaps and position
them opposite to the paper feed di-
rection.
Reference
For more information about sup-
ported size of envelope, see "Rec-
ommended Paper Sizes and
Types", General Settings Guide.
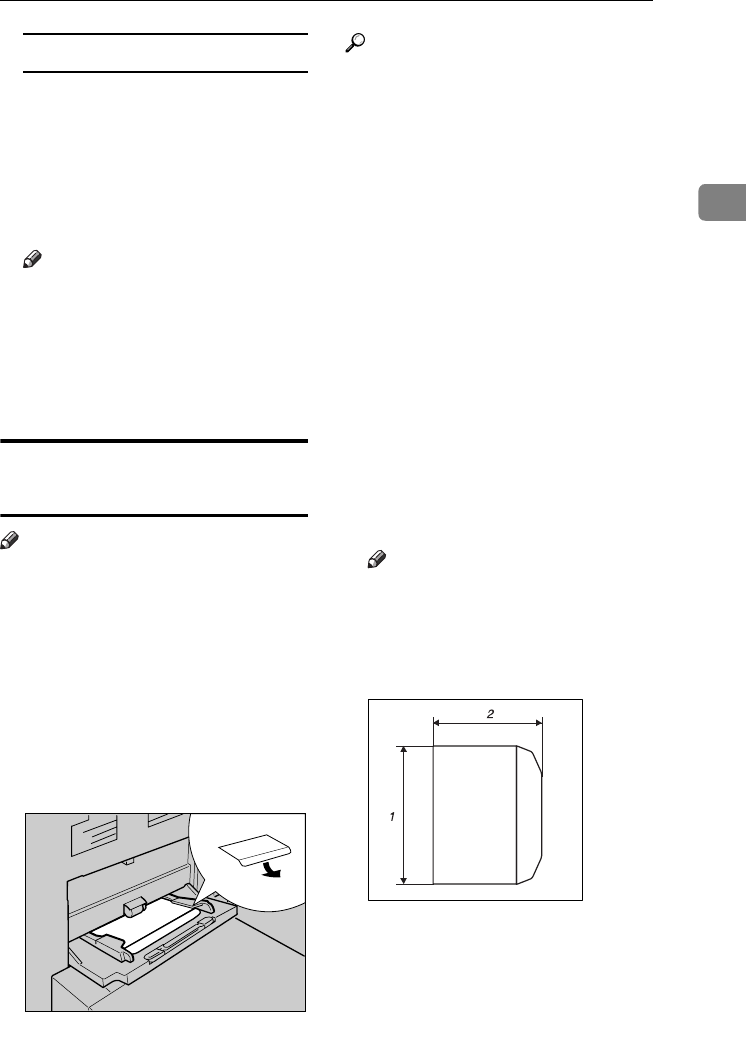
A
AA
A
Open the bypass tray, and then
insert the envelopes with the side
you want to copy face up until the
beeper sounds.
B
BB
B
Align the paper guide to the enve-
lope side.
C
CC
C
Press the {
{{
{#}
}}
} key.
D
DD
D
Press [Custom Size].
E
EE
E
Enter the vertical size of the enve-
lope using the number keys, and
then press [
#
].
F
FF
F
Enter the horizontal size of the
envelope using the number keys,
and then press [
#
].
Note
❒ When entering the horizontal
size for envelopes, including the
opened-out flap in the measure-
ment.
1.
Vertical
2.
Horizontal
G
GG
G
Select [Thick Paper 2] for the paper
type.
H
HH
H
Press [OK].
AFU131S
AFU147S
VenusC1_GB_Copy_F1_FM.book Page 27 Tuesday, January 17, 2006 3:43 PM


