5
Quick start guide
ATTENTION! WINDOWS 98SE USERS:
TO AVOID INSTALLATION PROBLEMS, DO NOT CONNECT THE JUKEBOX
TO THE PC'S USB PORT UNTIL AFTER
YOU COMPLETE STEP 1.
Welcome to Philips hdd100 Recording Audio Jukebox.To get started,
follow the steps as shown.
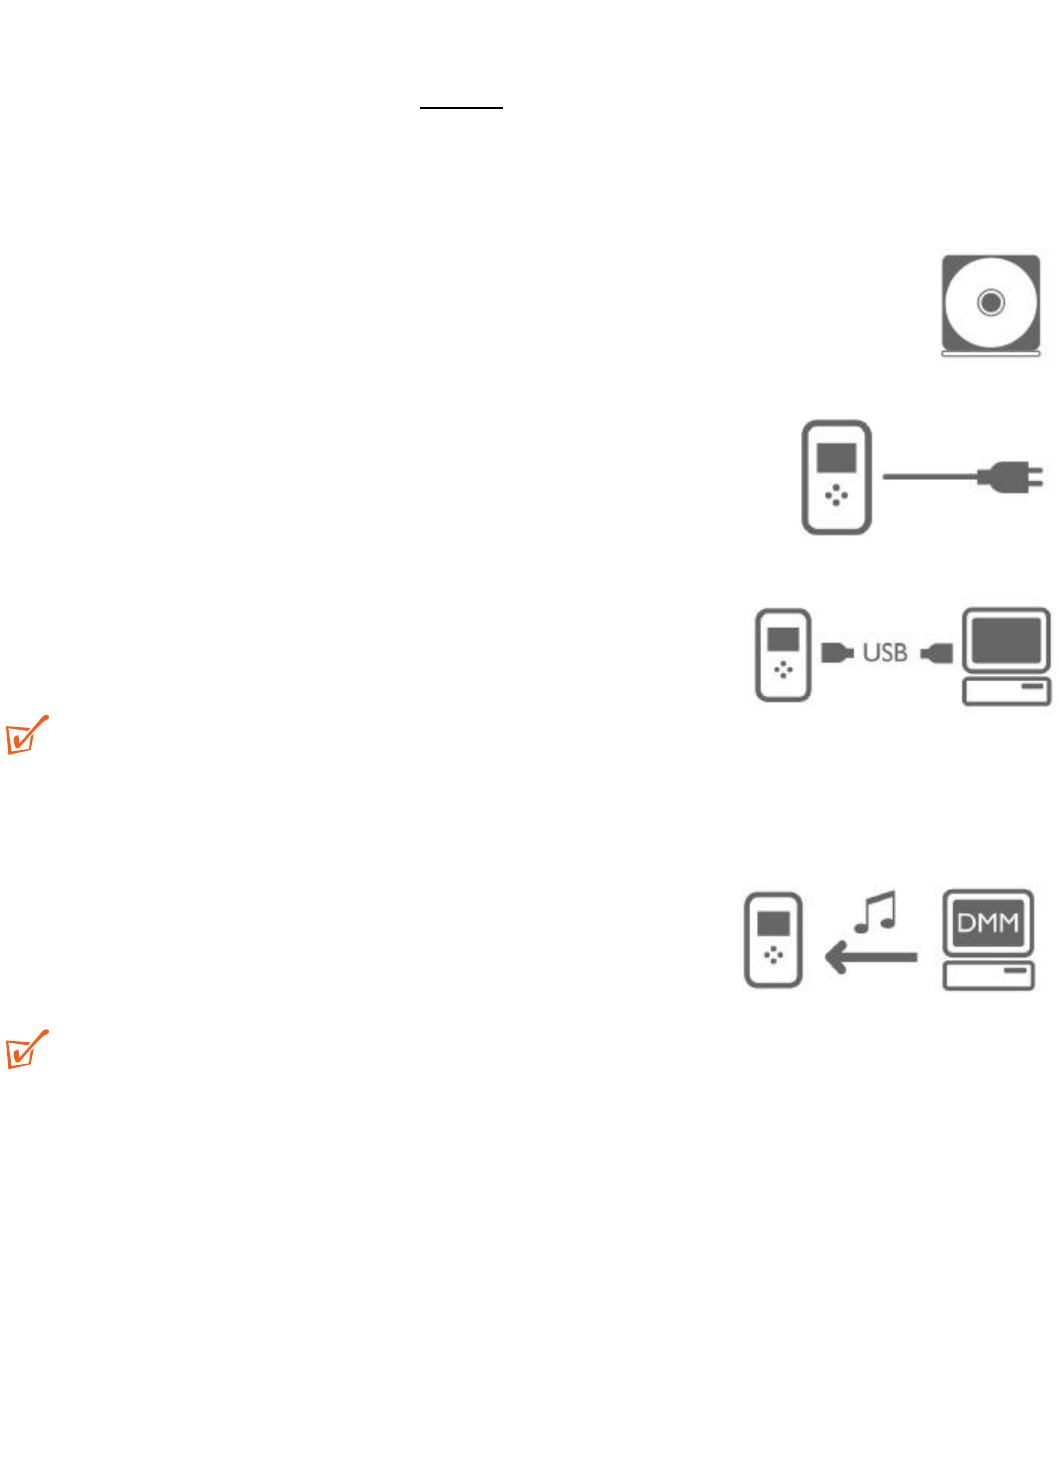
Step 1 Software installation
● Insert the installation CD-ROM into your CD-ROM drive. Digital Media
Manager (DMM) is necessary for music file transfer and will be installed
automatically for first time users.
Step 2 Charging
● Connect the supplied multi-voltage adapter/charger to the 5V
DC jack on your hdd100 and your power supply. Charge your
Jukebox for approx. 4 hours.
Step 3 Connect your hdd100 and PC
● Connect your hdd100 to your PC using the supplied USB
2.0 cable.You can do this while the hdd100 is still charging.
TIP:
– Make sure your hdd100 is powered by the supplied power adapter when connecting
to your computer, in case battery power is low or needs charging.
Step 4 Transfer your music and enjoy
● Before you fill in your details to register for the Digital
Media Manager (DMM), please read the DMM user
manual to enable you to manage and transfer your music.
TIP:
– Manage (transfer, delete, etc.) your files only through DMM to avoid problems!
– If your Jukebox appears to hang up or the controls do not respond, press VOLUME
+ and 5, 4 simultaneously for 2 seconds to reset.Then press POWER 2; for 1
second to switch on again. (File content e.g. your songs, recordings or downloaded
files on your Jukebox is not affected when resetting in this way.)
HDD100_ENG 19/8/03 16:31 Page 5


