9
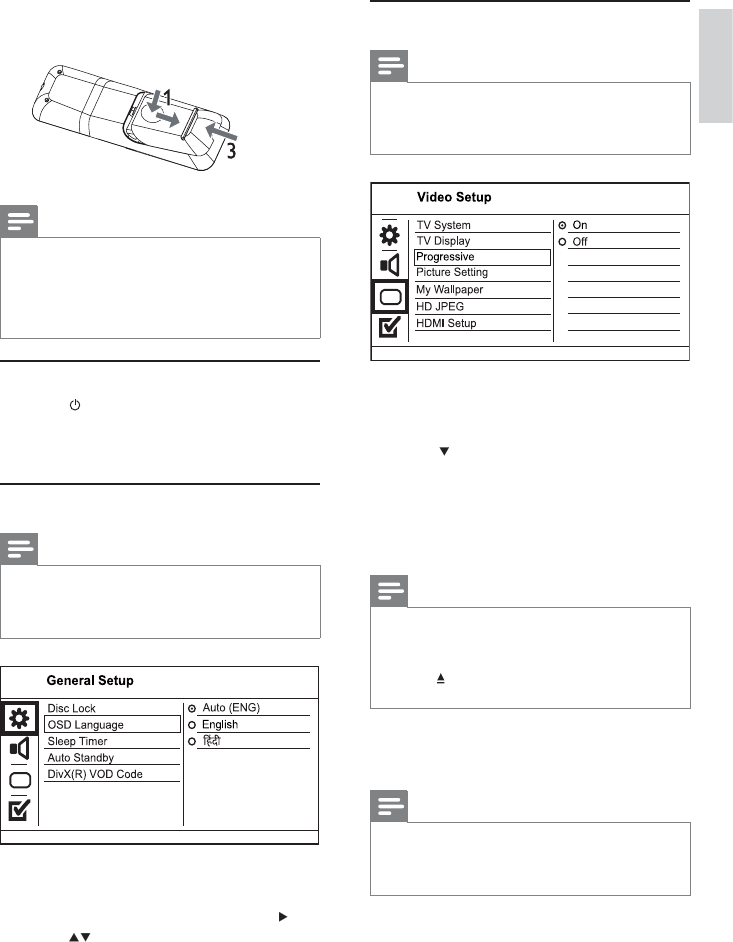
Turn on progressive scan
Note
To use the progressive scan feature, you must connect a •
progressive scan TV with the component video jacks (see
“Connect” > “Connect audio/video cables” > “Option 2:
Connect to the component video jacks” for details).
1 Turn on the TV to the correct viewing channel
for this product.
2 Press SETUP.
3 Press to select [Video Setup].
4 Select [Progressive] > [On], and then press
OK.
A warning message is displayed.»
5 To proceed, select [Ok] and then press OK.
The progressive setup is complete.»
Note
If a blank/distorted screen is displayed, wait for 15 •
seconds for the auto recovery.
If no picture is displayed, turn off the progressive scan
•
mode as follows:
1) Press
to open the disc compartment.
2) Press the Numeric button ‘1’.
6 Press SETUP to exit the menu.
7 You can now turn on the progressive scan
mode on the TV (see the TV user manual).
Note
During play, when the progressive scan mode is on for •
both this product and the TV, distorted picture may
display. In this case, turn off the progressive scan feature
on both this product and the TV.
3 Push and slide back the battery compartment
(see “3” in the illustration).
Note
If you are not going to use the remote control for a long •
time, remove the batteries.
Do not mix batteries (old and new or carbon and
•
alkaline, etc.).
Batteries contain chemical substances, so they should be
•
disposed of properly.
Find the TV input channel
1 Press to turn on this product.
2 Turn on the TV and switch to the video input
channel (refer to the TV user manual on how
to select the A/V input channel).
Select menu display language
Note
If this product is connected to a HDMI CEC compliant •
TV, skip this setting. It switches automatically to the
same OSD menu language as per your TV setting (if the
language set on TV is supported by this product).
1 Press SETUP.
» [General Setup] menu is displayed.
2 Select [OSD Language], and then press .
3 Press to select a language, and then press
OK.
English
EN


