14
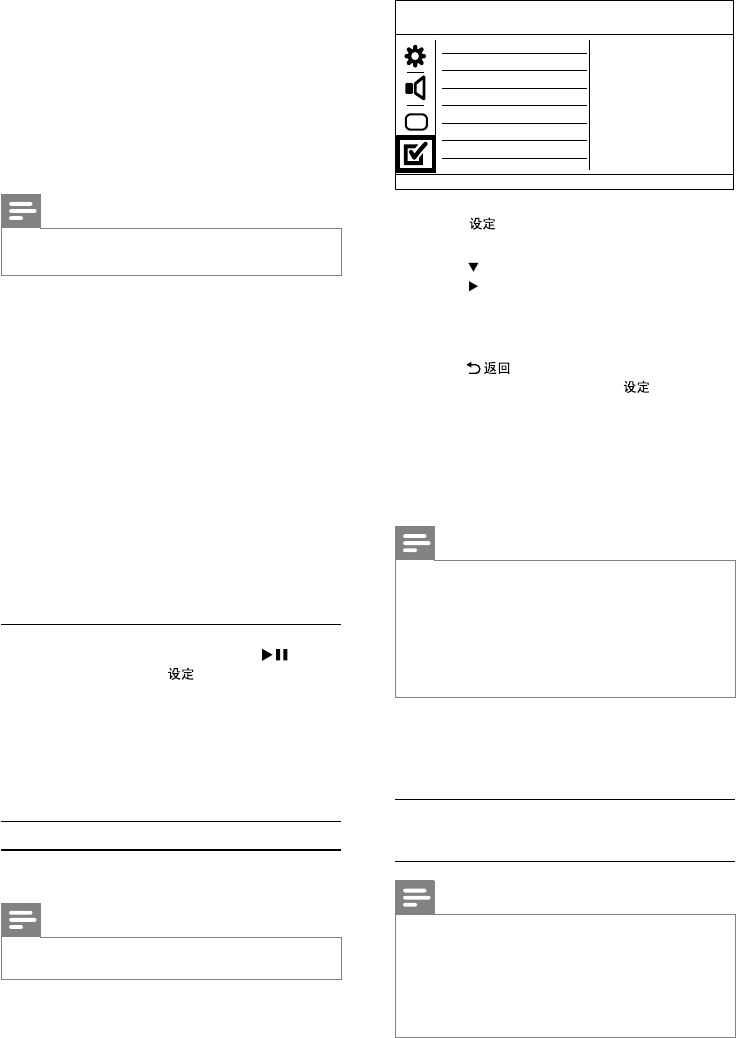
1 Press .
» [General Setup] menu is displayed.
2 Press to select [Preferences], and then
press
to enter the submenu.
3 Select an option, and then press OK.
4 Select a setting, and then press OK.
To return to the previous menu, press •
.
To exit the menu, press •
.
[Audio]
Select an audio language for disc play.
[Subtitle]
Select a subtitle language for disc play.
[Disc Menu]
Select a disc menu language.
Note
If the language you have set is not available on the disc, •
the disc uses its own default language.
For some DVDs, the subtitle/audio language can only
•
change from the disc menu.
To select the languages that are not listed in the menu,
•
select [Others]. Then check the Language Code list at
the back of this user manual and enter the respective
language code.
[Parental Control]
Restrict access to discs that are unsuitable for
children. These types of discs must be recorded
with ratings.
1. Press OK.
2. Select a rating level, then press OK.
3. Press the numeric buttons to enter the password.
Note
Rated DVDs above the level you set in • [Parental
Control] require a password to be played.
The ratings are country-dependent. To allow all discs to
•
play, select ‘8’.
Some discs have ratings printed on them but are not
•
recorded with ratings. This function has no effect on
such discs.
Preferences
Parental Control
Mp3/Jpeg Nav
PBC
Subtitle
Audio
Disc Menu
DivX Subtitle
Password
• [4:3 Letter Box] - For a 4:3 screen TV: wide-
screen display with black bars on the top and
bottom of the screen.
• [16:9] - For a wide-screen TV: display ratio
16:9.
[Progressive]
If a progressive scan TV is connected to this
product, turn on the progressive scan mode.
• [On] - Turn on progressive scan.
• [Off] - Turn off progressive scan mode.
Note
For more detailed description, see “Get started” > •
“Turn on progressive scan”.
[Picture Setting]
Select a predefined set of picture color settings or
customize the personal setting.
• [Standard] - Original color setting.
• [Bright] - Vibrant color setting.
• [Soft] - Warm color setting.
• [Personal] - Customize the color setting. Set
the level of brightness, contrast, tint and color
saturation, then press OK.
[My Wallpaper]
Select a picture as the wallpaper.
• [Default picture] - The default wallpaper
preset as the Philips logo.
• [Saved picture] - A captured video image or
JPEG photo.
• [Current picture] - Capture a video image or
JPEG photo and save it on the product.
1. Play a video or photo slideshow.
2. Select a video image or photo: press
to
pause, and then press
.
3. Navigate to the option ([Video Setup] >
[My Wallpaper] > [Current picture]).
4. Press OK to confirm.
One video image or JPEG photo is saved as »
wallpaper.
A newly saved image or photo replaces the »
earlier one.
Preferences
Note
Stop disc play before you can access to • [Preferences].
EN


