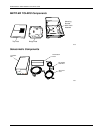
NCR RealScan 7883 Installation and Owner Guide
497-0424789 Release F 04/04
29 of 75
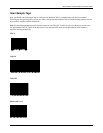
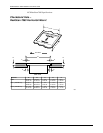
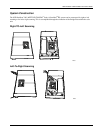
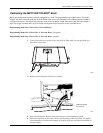
Checkstand Cutout
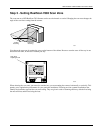
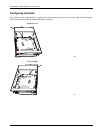
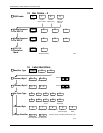
1. Put the RealScan 7883 into the hole in the checkstand. Diagrams in NCR
RealScan 7883 Specifications show the various dimensions of the hole.
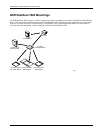
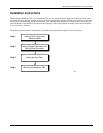
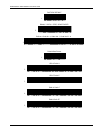
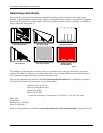
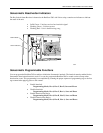
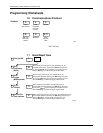
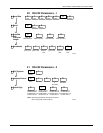
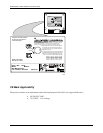
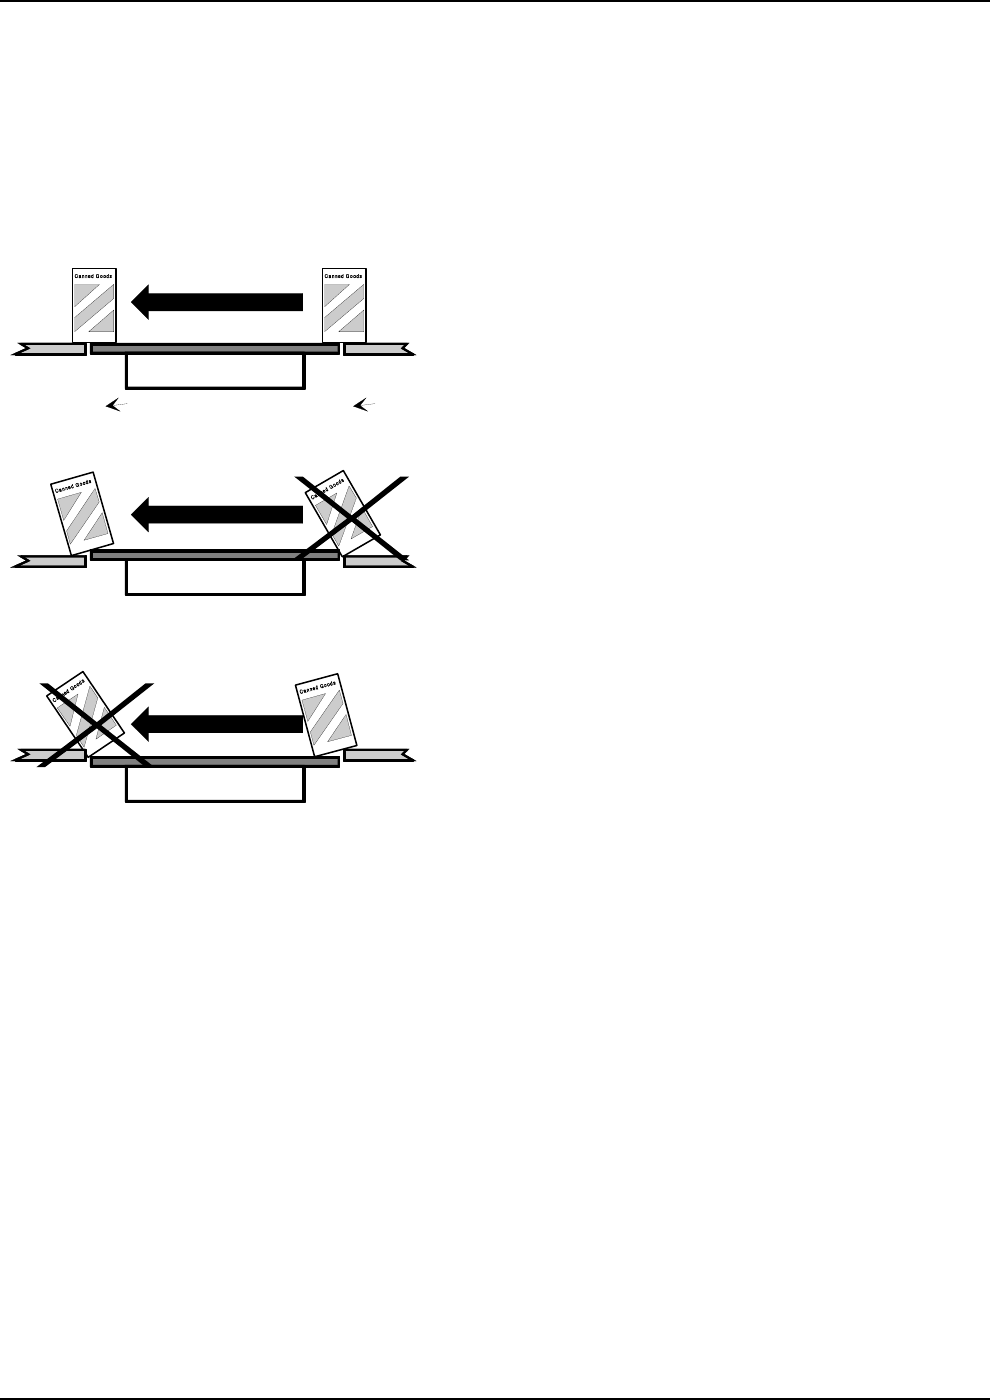
2. Align the RealScan 7883 to the Checkstand. The leading edge of the Top Plate must
be flush or up to 1/16 in. (0.15 cm) below the top of the checkstand. The trailing
edge of the Top Plate must be flush or up to 1/16 in. (0.15 cm) above the top of the
checkstand.
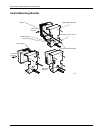
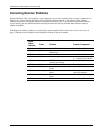
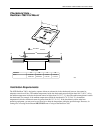
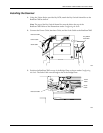
Correct Alignment
High Surface
Low Surface
High Surface
Low Surface
14231
Scanner Too Low
Bad Alignment
Bad Alignment
Scanner Too High
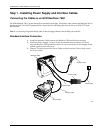
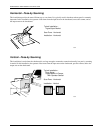
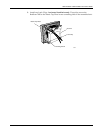
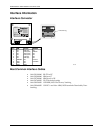
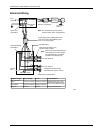
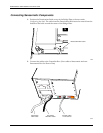
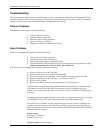
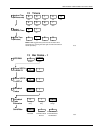
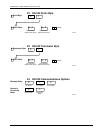
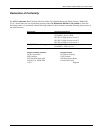
Checkpoint Cable
If you are installing a RealScan 7883 Scanner, with the Checkpoint feature, on a Vertical Mounting Bracket, route the
Checkpoint Cable along side the Interface Cable.
Note: If the installation includes the Checkpoint feature, a representative from Checkpoint must connect the Checkpoint
Cable to the Checkpoint equipment after you install the RealScan 7883.
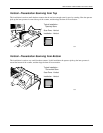
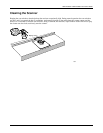
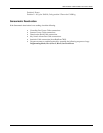
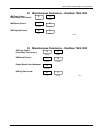
Cable Clamps
The RealScan 7883 is supplied with two Cable Clamps (006-0687102). Install these
clamps under the checkstand as needed to support the cables and keep them out of the
operator’s way.