(Continued)
■ Sound synchro recording
When music is played on another piece of equipment, such as
a stereo, that is connected to this unit, this unit will automatically
start recording on the MD.
1 Insert a recordable MiniDisc.
2 Press the INPUT SELECT button to select the input. (Page
16)
● If you will be recording from the analog input, adjust the
recording level after selecting the input.
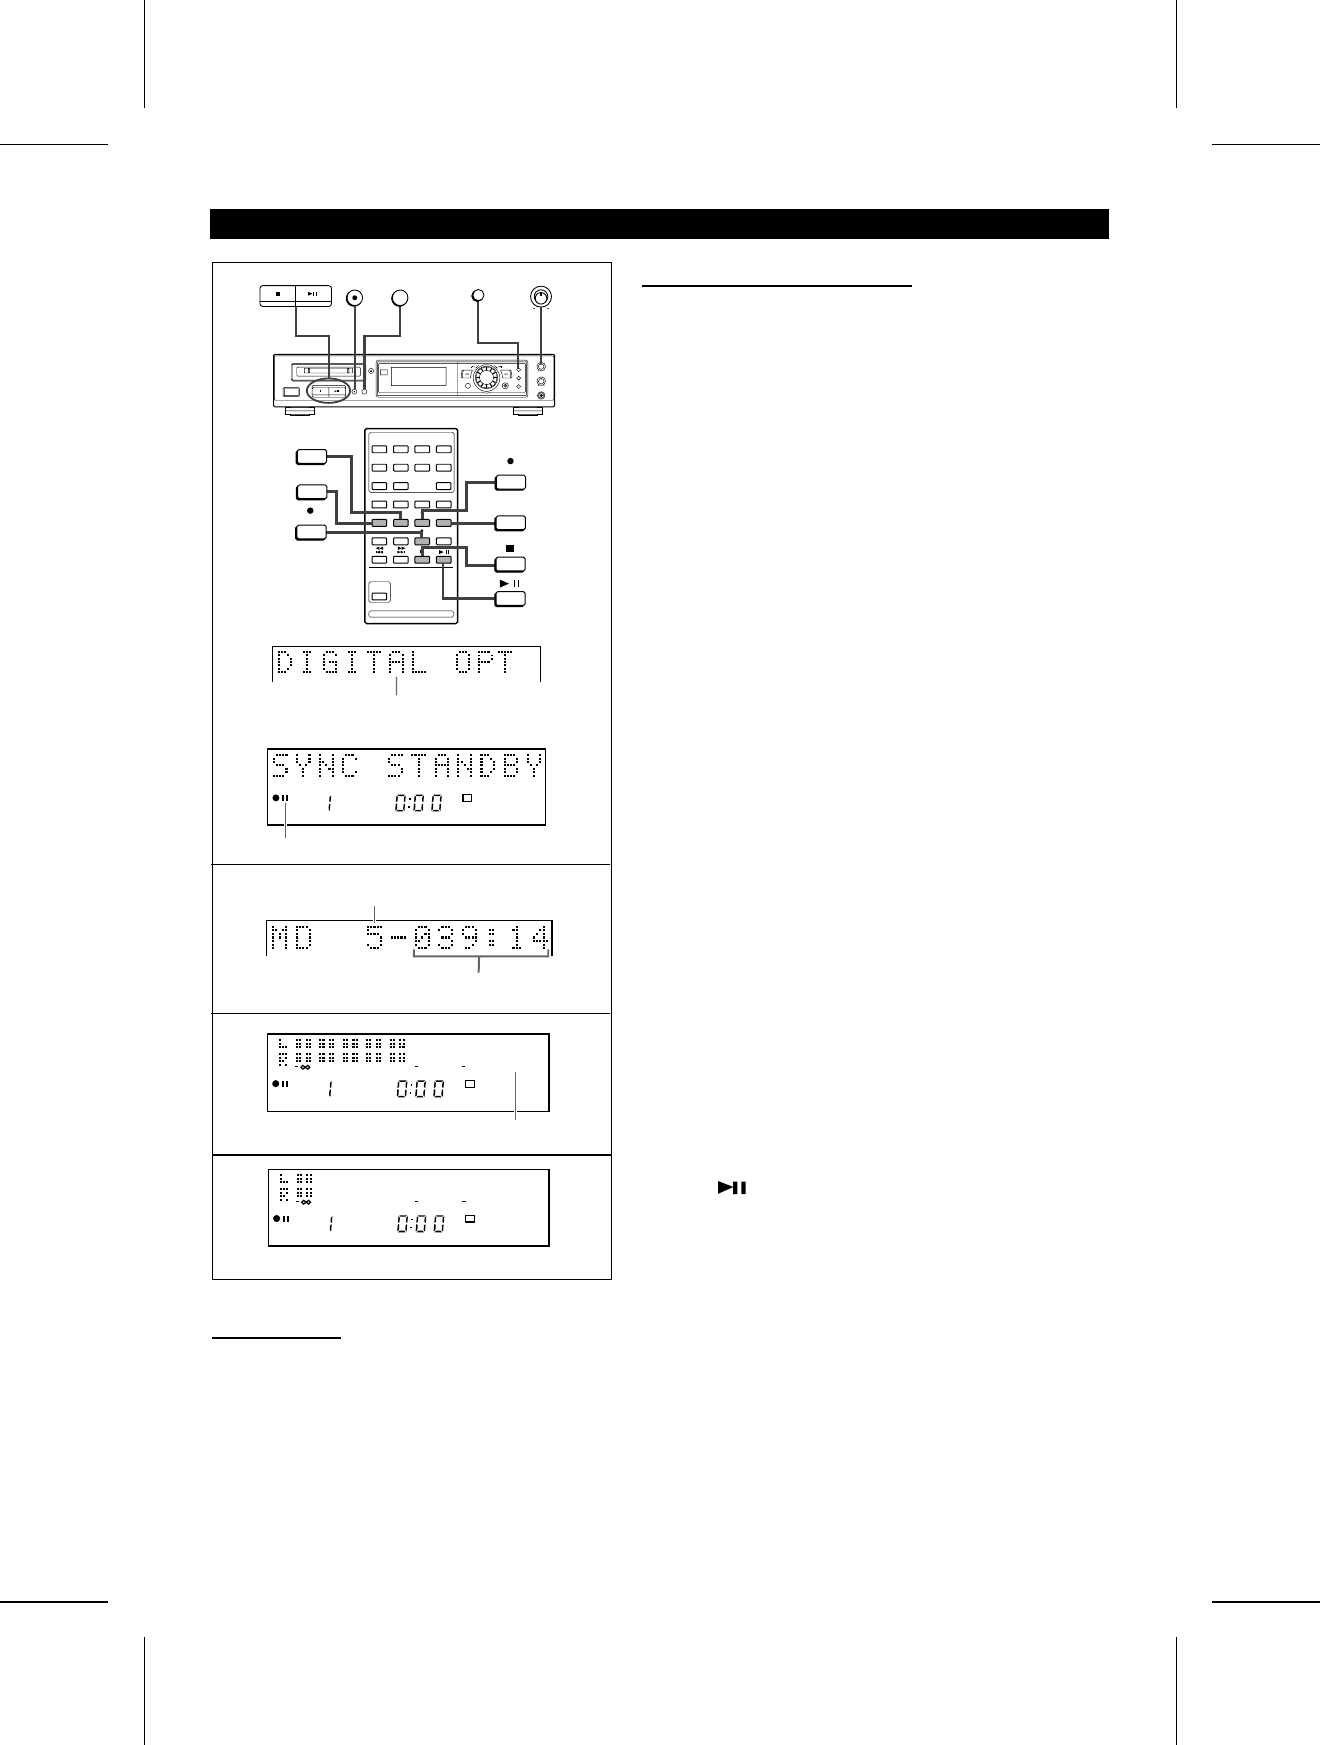
3 Press the SYNC REC button on the remote control.
● The unit will enter the recording standby mode.
“SYNC STANDBY” will appear.
4 Start playing the music you want to record using the other
equipment.
● This unit will automatically start recording. When the other
equipment has finished playback, this unit will enter the
recording standby mode. Press the ■ button to cancel it.
● To stop recording at any time, press the ■ button.
To check the remaining recordable time:
Press the DISPLAY/CHARACTER (DISPLAY) button after insert-
ing a recordable MiniDisc.
To adjust the recording level: (Analog input only)
After you select analog input in step 2, press the RECORD (REC)
button, and then play the music on the other equipment.
↓
Adjust the recording level using the REC LEVEL control.
● Adjust the recording level so that the maximum level does not
exceed “0 dB”.
● After the level is adjusted, stop the other equipment, and go
to step 3.
Manual recording:
Select the input, and then press the RECORD (REC) button.
● The unit will enter the recording standby mode.
Press the button.
● This unit will start recording.
● The space cut function will not work.
Space cut function:
● During sound synchro recording, if there are more than 3
seconds of silence in the playback sound, this unit will auto-
matically enter the recording standby mode. ("SYNC
STANDBY" will appear.) Then, when further playback is
started on the other equipment, this unit will resume recording.
(A silence of up to 3 seconds can be created between tracks.)
● If there is noise between the tracks on the original recording,
the sound synchro recording or space cut function may not
work properly. If this happens, use manual recording.
● When recording tracks or sounds in which there are 3 seconds
or more of very small continuous sounds that you want to
record, use manual recording.
DISPLAY/CHARACTER
RECORD INPUT
SELECT
REC LEVEL
MAXMIN
DISPLAY
REC
INPUT
SELECT
REC
CANCEL
SYNC REC
TOC
1
“PAUSE” indicator
3
12
4 0dB OVERDISC TRACK DATE
Number of tracks
already recorded
Recordable time
(39 minites and 14 seconds)
12
4 0dB OVER
1
0dB
■ Rec cancel
When the REC CANCEL button on the remote control
is pressed during sound synchro recording or while the
auto marker function is turned on and normal recording
has been started, the recorded contents of the track
will be erased and the unit will revert to the recording
pause mode. (The unit will enter the normal recording
standby mode.)
To start a sound synchro recording again, press the
SYNC REC button on the remote control.
12
4 0dB OVER
1
2
When the digital optical input is selected
MD-R2
17


