27
Off
On
Standby/On
Power
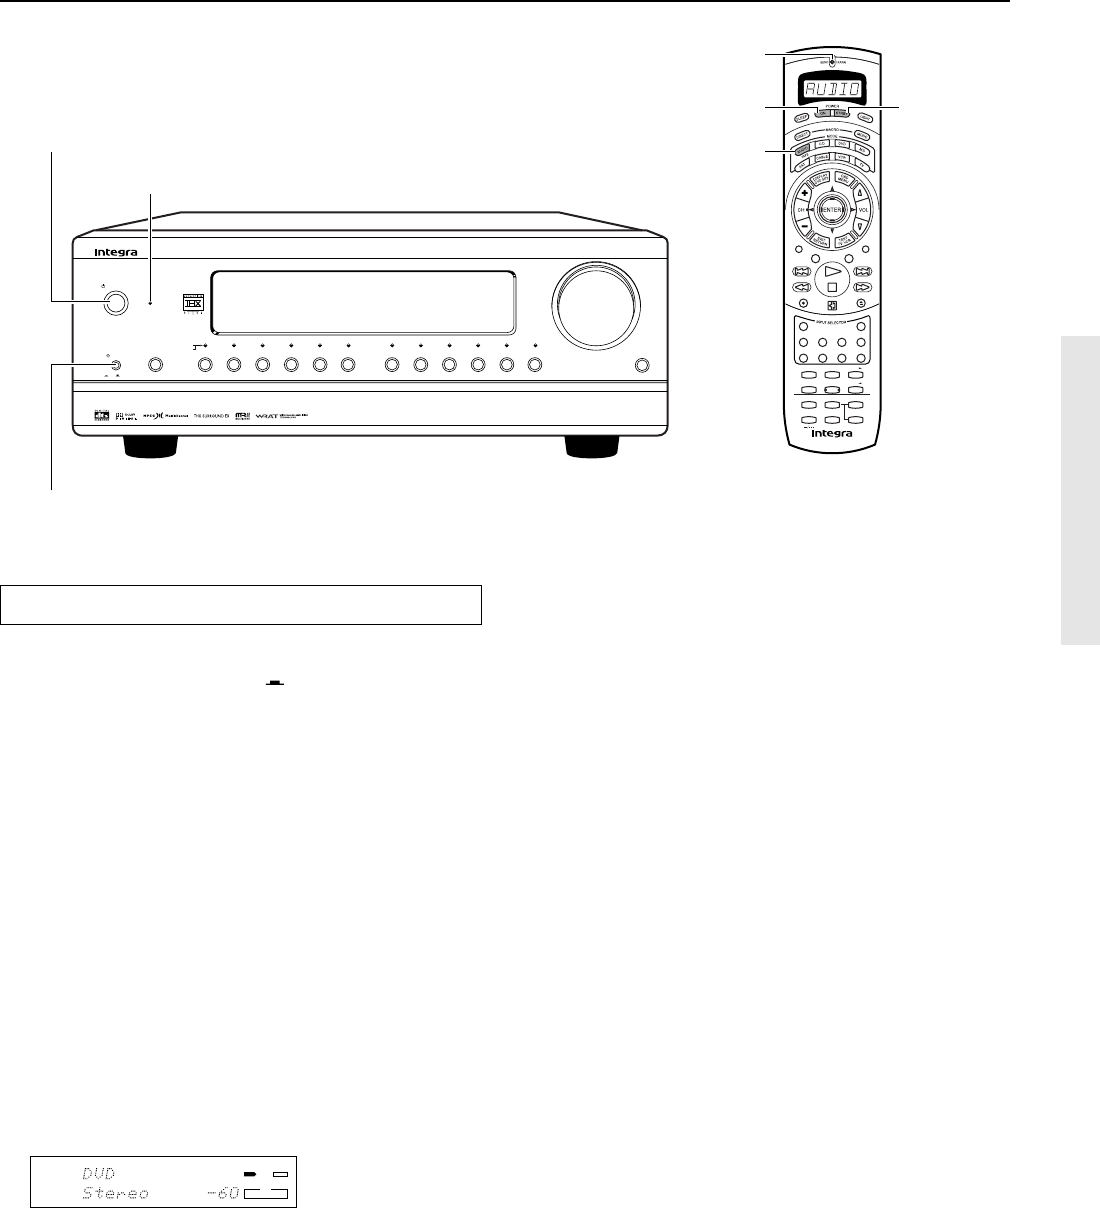
Display DVD Video
1
Video
2
Video
3
Video
4
Video
5
Tape
1
Tape
2
AM
FM
Phono
C D
Open/Close
Zone
2
()
GRN
Rec
()
RED
Standby
Master Volume
DTR-9.1
OPEN/COLSEREC
AUDIO MUTING
DISCTRACK
DVD
CD
PH
TUN
T2T1
V1
STEREO
123
654
7
+
10 0
ENT
89
SURROUND TH X DSP
LEVEL
+
CH SELRe-EQ
LEVEL
–
DIMMER
HOME THEATER CONTROLLER
RC-418M
LATE NIGHT
DIRECT DSP
V2 V3 V
–
SEND/LEARN
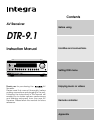
indicator
POWER ON
AUDIO MODE
Standby indicator
Standby/On
Power
POWER
STNBY
Connecting the power
Connecting the power
• The DTR-9.1 is shipped with the main power (POWER)
switch in the on position (
ON
). When the power
cord is plugged in for the first time, the DTR-9.1 will
automatically enter the standby state and the
STANDBY indicator will light (same condition after
step 2 below).
• Before you plug in the DTR-9.1, confirm that all con-
nections have been made properly.
• Turning on the power may cause a momentary
power surge, which might interfere with other elec-
trical equipment on the same circuit, such as com-
puters. If this happens, use a wall outlet on a differ-
ent circuit.
1. Plug the power cord into an AC wall outlet.
2. Press the POWER switch to set the DTR-9.1 to
standby state.
The STANDBY indicator will light up.
3. Press the STANDBY/ON button to turn on the
DTR-9.1. The display will light up and the
STANDBY indicator will turn off.
Display
DVD
VIDEO
COMPONENT
ANALO
G
1
INPUT
If you press the STANDBY/ON button again, the re-
ceiver returns to Standby mode.
Turning the power on from the remote controller:
Before you can use the remote controller, you must
perform steps 1 and 2 above and place the DTR-9.1 in
the standby state.
1. Press the AUDIO MODE button.
2. Press the POWER ON button to turn on the DTR-
9.1 (take it out of the standby state).
• To return the DTR-9.1 to the standby state, press
the POWER STNBY button.