242
1. Select the [Start] menu - [All Programs] - [iScanner Central Admin] - [iScanner Central
Admin Console].
The Central Admin Console starts.
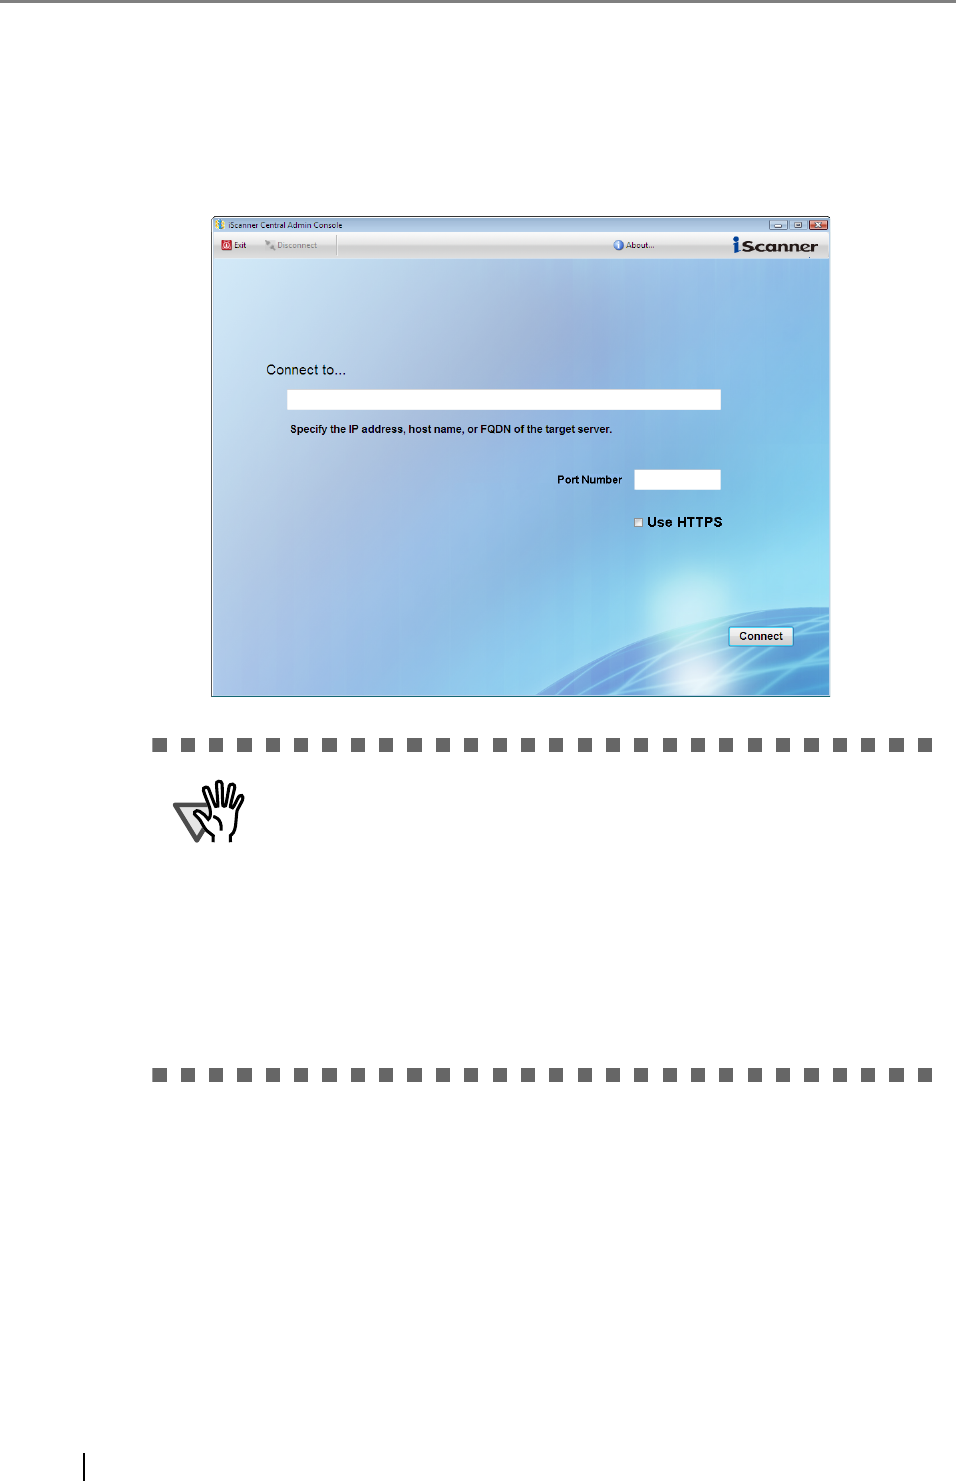
2. Set the "Connect to" field.
Enter the Central Admin Server IP address, host name, or FQDN.
3. Press the [Connect] button.
The Central Admin Console login screen appears.
z If the port number was changed in "5.6 Setting the Central Admin
Server" (page 244), enter the port number changed for Port Number.
z To use SSL, select the [Use HTTPS] checkbox.
z If Central Admin Console is started while there is insufficient free
memory, a script error may occur. Try again after ensuring that there is
enough free memory.
z For Windows Server 2003 and Windows Server 2008, when first con-
necting to the Central Admin Server, a confirmation screen for whether
or not to add the specified URL to the trusted site zone may appear. In
this case, after adding the Central Admin Server URL as a trusted site,
close the Central Admin Console once, and re-open.


