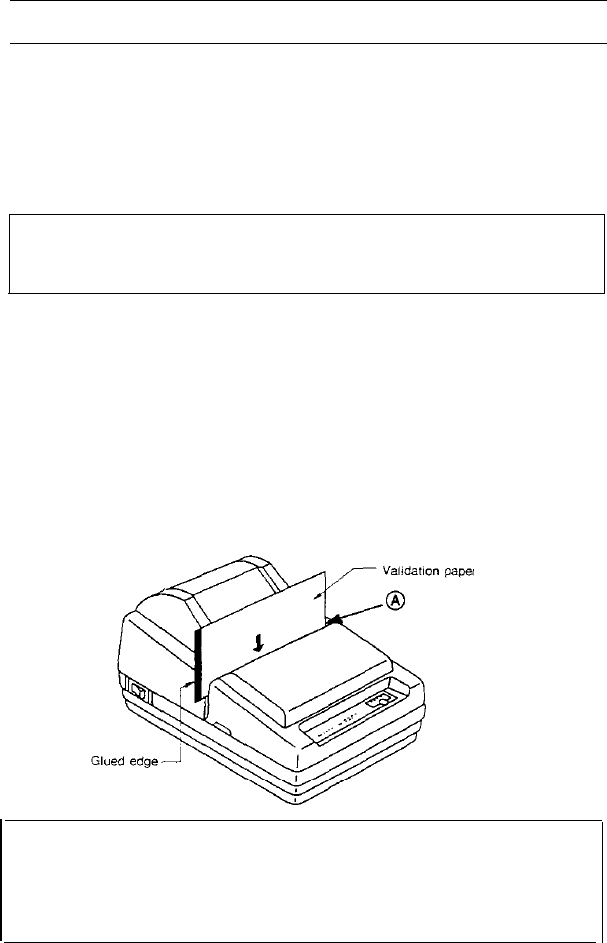
3-4 Inserting a Cut Sheet (Validation Paper)
Be sure to use a validation paper that matches the printer’s specifications. Refer
to Appendix A, Specifications.
➀
Check that the paper is not wrinkled.
Using creased or wrinkled paper may
cause a paper jam.
➁
Check that the paper roll is already installed.
If not, install it first.
CAUTION:
l
Printing with no roll paper installed in the printer may cause damage
to the print head pin.
➂
After checking that no validation paper is inserted, turn on the power switch.
The POWER LED light goes on.
➃ Using printer control command, select validation paper mode. The PAPER
LED begins blinking.
➄
Insert the paper straight into the printer using the guide marked with an A in the
following illustration.
CAUTIONS:
l When printing on copy sheets, make sure the glued (fixed) edge is
may cause the paper to slip.
positioned as shown in the illustration above.
l
After you insert validation paper, do not move the paper. Moving the paper
21


