EPSON Stylus Pro 7000 series
8 - EPSON Stylus Pro 7000 series 8/00
4. Press the
Enter
button. The status check prints. The
amount of ink left or component life is indicated as follows:
E*****F
= full (or full life remaining)
E**** F
= 3/4 full (or 3/4 life remaining)
E*** F
= 1/2 full (or 1/2 life remaining)
E** F
= 1/4 full (or 1/4 life remaining)
E* F
= nearly empty (or sevice life near end)
EF
= empty (or service life ended)
5. Press the
SelecType
button to exit the Test Print menu.
Checking Ink Levels and
Component Life
You can view printer status information on the control panel
display without printing a status check. Follow these steps:
1. Press the
SelecType
button on the control panel. Press it
several times until you see
PRINTER STATUS MENU
on
the display.
2. Press the
Item
button. You see
VERSION <number>
on
the display. This indicates the firmware version installed in
your printer.
3. Continue pressing the
Item
button to display the amount
remaining for each of the 6 inks or service life remaining for
a number of printer parts. The indicators read as follows:
E*****F
= full (or full life remaining)
E**** F
= 3/4 full (or 3/4 life remaining)
E*** F
= 1/2 full (or 1/2 life remaining)
E** F
= 1/4 full (or 1/4 life remaining)
E* F
= nearly empty (or service life near end)
<nn>% F
= less than 10% of ink or service life remaining
Following is a list of the items displayed. Note that all parts
on the list (except the ink cartridges and paper cutter) need
to be replaced by an authorized EPSON service center.
4. Press the
SelecType
button to exit the Printer Status
menu.
Replacing an Ink Cartridge
When one of the
Ink Out
lights is flashing (and
INK LOW
is
displayed on the control panel), the corresponding cartridge is
almost out of ink. Make sure you have a replacement
cartridge. When the light stays on and
INK OUT
is displayed,
the cartridge is empty. You must replace the cartridge before
you can continue printing.
Caution:
For best results, use genuine EPSON cartridges and do not refill
them. Damage to your printer attributable to the use of other
consumables is not covered by EPSON’s warranty. Color accuracy
may vary considerably if you use non-EPSON inks.
Use only the following 110 ml EPSON ink cartridges:
EPSON Stylus Pro 7000 graphic arts (dye-based)
ink
EPSON Stylus Pro 7500 Archival (pigment) ink
Before you start, make sure the printer is turned on. Then
follow these steps to replace an ink cartridge:
1. Note the color of the
Ink Out
light that is on or flashing.
This is the cartridge that you need to replace.
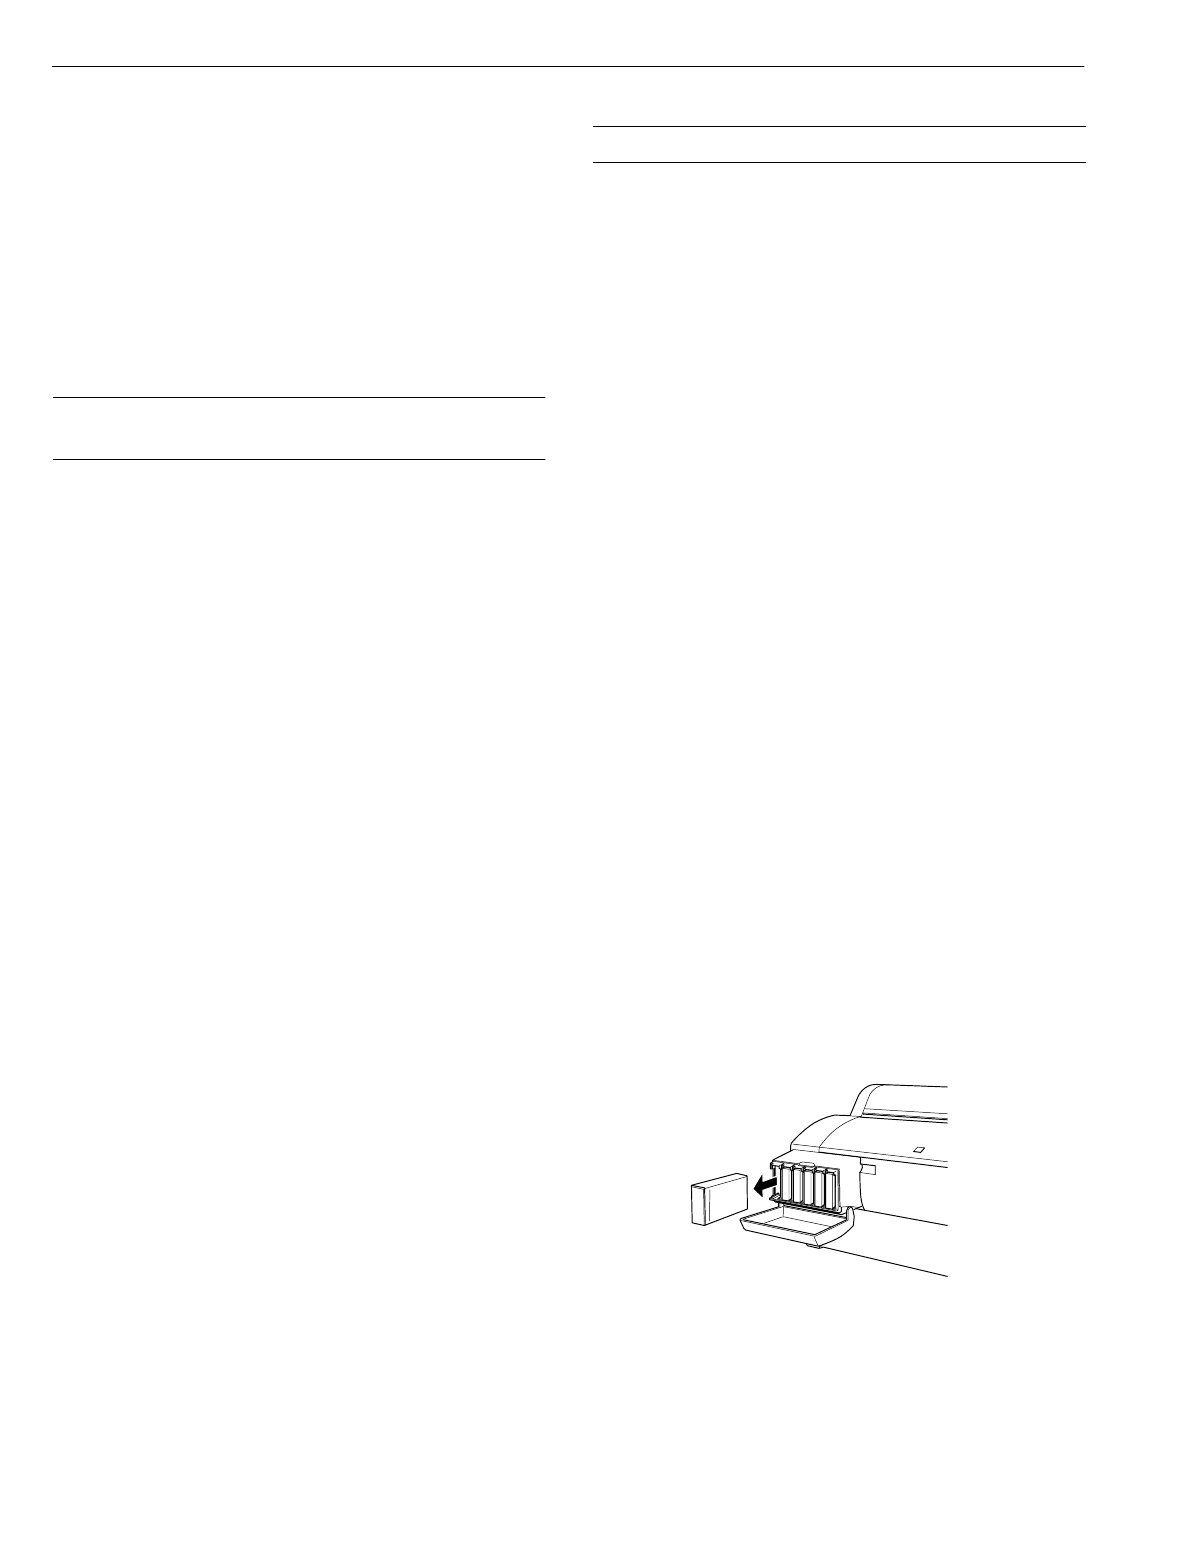
2. Open the ink compartment cover.
3. Locate the slot containing the empty ink cartridge
(corresponding to the
Ink Out
light). Carefully pull the
empty cartridge straight out of the printer.
4. Make sure the replacement cartridge is the correct color,
and remove it from its package.
INK LEFT-K
(black)
TOTAL PRINTS
INK LEFT-C
(cyan)
WASTE INK
(waste ink system)
INK LEFT-M
(magenta)
CR MOTOR
(carriage motor)
INK LEFT-LC
(light cyan)
PF MOTOR
(paper feed motor)
INK LEFT-LM
(light magenta)
HEAD UNIT
(print head)
INK LEFT-Y
(yellow)
CLEANER
(cleaning unit)
CUTTER
LIFE
(paper cutter)
❏
Black: T460011
❏
Magenta: T462011
❏
Cyan: T463011
❏
Light Magenta: T464011
❏
Light Cyan: T465011
❏
Yellow: T461011
❏
Black: T480011
❏
Magenta: T482011
❏
Cyan: T483011
❏
Light Magenta: T484011
❏
Light Cyan: T485011
❏
Yellow: T481011


