OPERATION
Power On
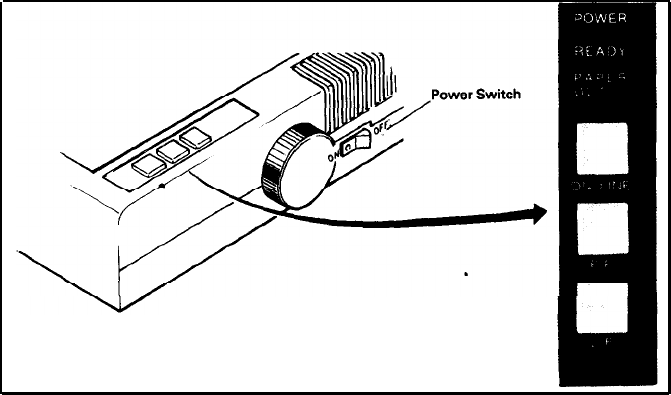
1. Plug in AC power cord.
2. Turn on the Printer - switch located to the rear on the right side of the Printer.
1) Buzzer will sound.
2) Print head will return to the left side of the Printer.
3) The “Power”,
“Ready” and “On-Line” indicators should be lit on the control
panel. “Paper-Out” indicator will be off.
1. LF/FF Functions
1. Depress the Line Feed (LF) button. Paper will be fed one line at a time while the
switch is held depressed.
2. Depress the Form Feed (FF) button. Paper will be fed either 10 lines (l/S” spacing)
or 5 lines (1/3” spacing). This is preset by the position of DIP Switch A-5.
Depression of this switch will position the last line printed above the tear-off
blade.
NOTE:
Both of these switches will function while On-line. If used while a message is
being received, printing will be interrupted and the LF or FF function will be
performed. Normal printing will resume automatically.
Fig. 20
Switches and Indicators of Control Panel
-20-


