©2011 Edelbrock LLC
Part #1596, 1597, 1598 & 1599
Brochure #63-1598
Rev. 2/11 - AJ/mc
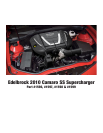
Edelbrock E-Force Supercharger System for
the 2010 Camaro SS
Installation Instructions
Page 15
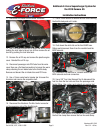
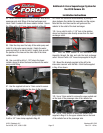
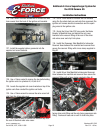
94. Install the water pump to heat exchanger hose on the
passenger side inlet fitting of the heat exchanger and
clock it until it contacts the lower radiator shroud. Secure
the fitting with a 3/4” hose clamp supplied in Bag #2.
95. Slide the strap over the body of the water pump and
install it in the water pump bracket. Rotate the water
pump and slide it in and out until it roughly lines up with
the position of the hose on the other side of the lower
radiator shroud.
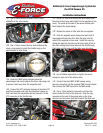
96. Use a uni-bit to drill a 1-1/8” hole in the lower
radiator shroud to allow the hose to slide onto the water
pump outlet fitting.
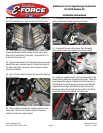
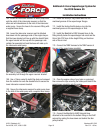
97. Use the supplied bolt and a 13mm socket to secure
the water pump by tightening the strap to the bracket.
98. Slide the hose onto the water pump outlet and secure
it with a 3/4” hose clamp supplied in Bag #2.
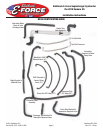
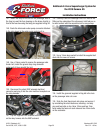
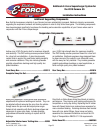
99. Install the Intercooler Hose Assembly by sliding it
down between the radiator fan assembly and the engine.
Note that the short hose section will go around the
radiator to the outlet of the heat exchanger.
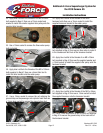
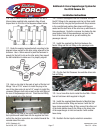
100. Use a unibit to drill a 1-1/8” hole in the radiator
shroud on the driver side directly across from the heat
exchanger outlet.
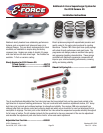
101. Slide the short section of the Intercooler Hose
Assembly through the hole and onto the heat exchanger
outlet. Secure it with a 3/4” hose clamp supplied in Bag #2.
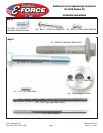
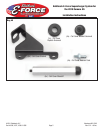
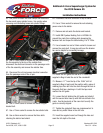
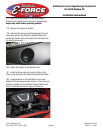
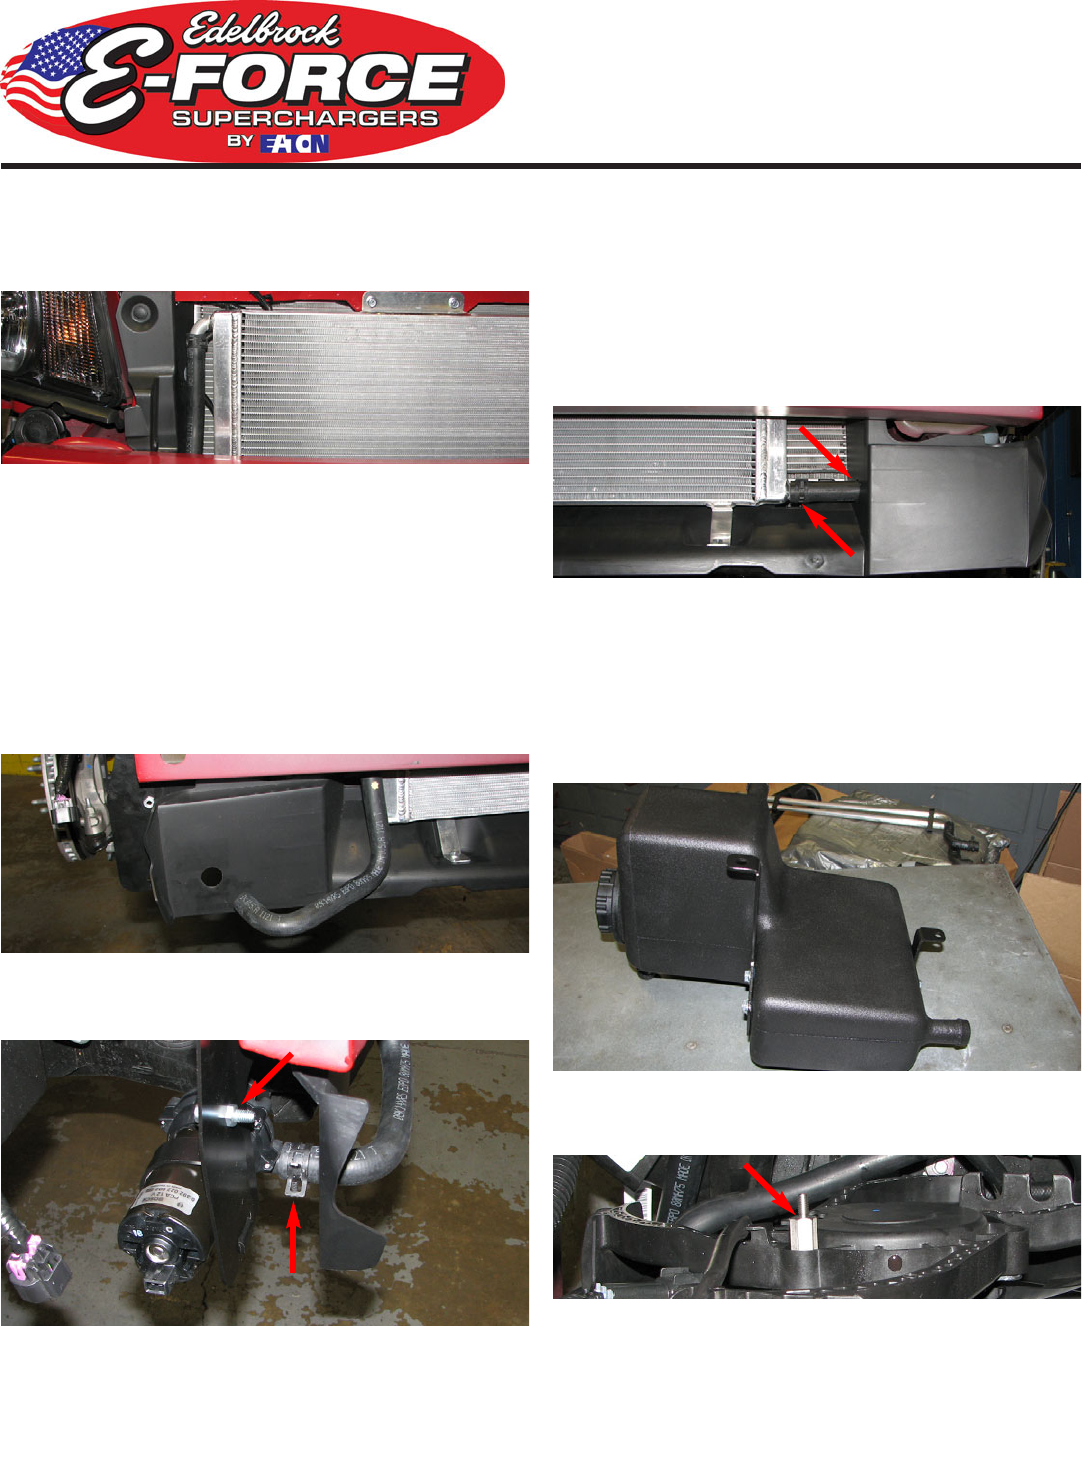
102. Mount the brackets supplied in Bag #2 to the
intercooler reservoir with the M6 x 16mm bolts supplied
in Bag #2 as shown.
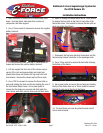
103. Use a 10mm socket to remove the upper outside nut
on the back of the passenger side of the radiator fan.
104. Use a 13mm wrench to install the standoff stud
supplied in Bag #2 to the upper outside stud on the back
of the radiator fan on the passenger side.