Optical RPM Sensor Installation Guide
CHAPTER 1
Running WinPEP
1-14
ENGINE WARM UP
3 Warm the vehicle’s engine and drivetrain before beginning testing. Consistent
engine temperatures will assure your runs are repeatable.
FOLLOWING ENGINE WARM UP
4 When you exit a vehicle while still on the dyno, always leave the vehicle in Park
(automatic transmission) or in first gear (manual transmission); turn the engine
off; and make sure both the vehicle emergency brake and the dyno brake are on.
5 Repair any fuel, oil, or coolant leaks that may have appeared after engine warm
up. Check the carburetor for leaks.
6 Inspect any loud or unusual engine noises or excessive exhaust smoke. These
issues must be resolved before continuing.
MAKING A TEST RUN
Make sure that the vehicle is secured properly.
1 Accelerate the vehicle.
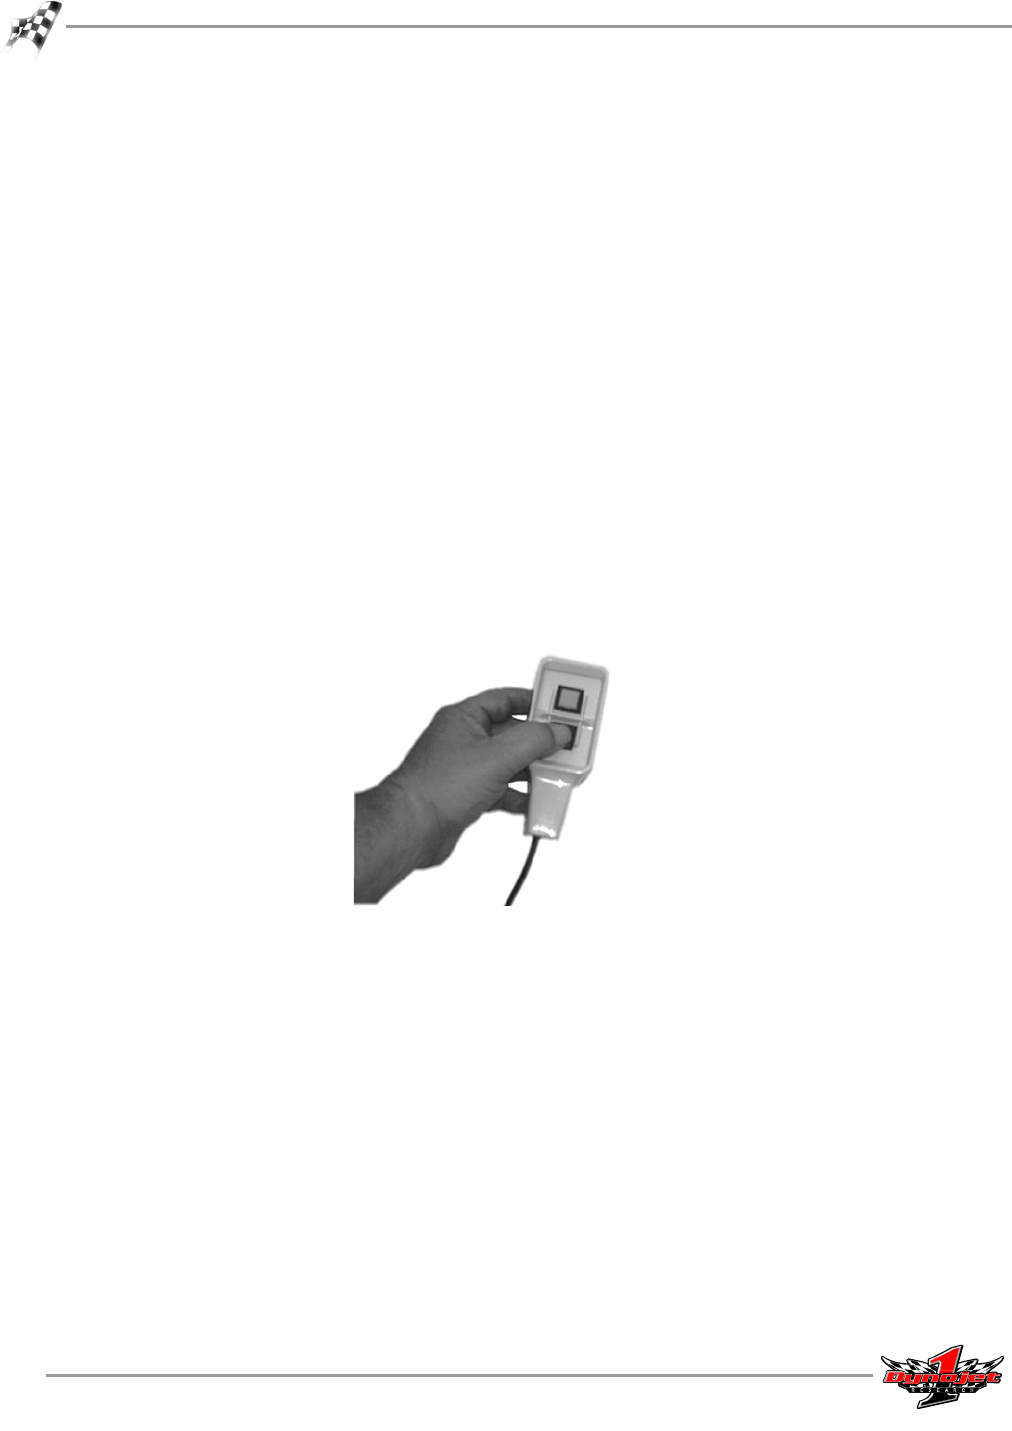
1a Place the vehicle in a low gear and release the dyno brake using the
hand-held pendant.
1b Slowly accelerate the vehicle to about 20 mph.
Figure 1-17: Test Run—Hand-Held Pendant
2 Test the tachometer.
If the tachometer does not move, you will need to adjust the optical RPM sensor.
Refer to “Optical Sensor Set Up and Adjustment” on page 1-4 for instructions on
adjusting the sensor.
If the tachometer is moving but not registering the correct RPM values, the
number entered for Plug Fires may be incorrect. Stop the vehicle, press Escape to
return to the Make Run window and enter the correct value for the plug fires.
Refer to page 1-10 for more information about plug fires.
Note: You should now be able to use the optical RPM sensor. Continue with step
3 to stop the vehicle and step 4 if you are planning to perform a high speed run
on the dyno.


