74
| Setting the IP Address
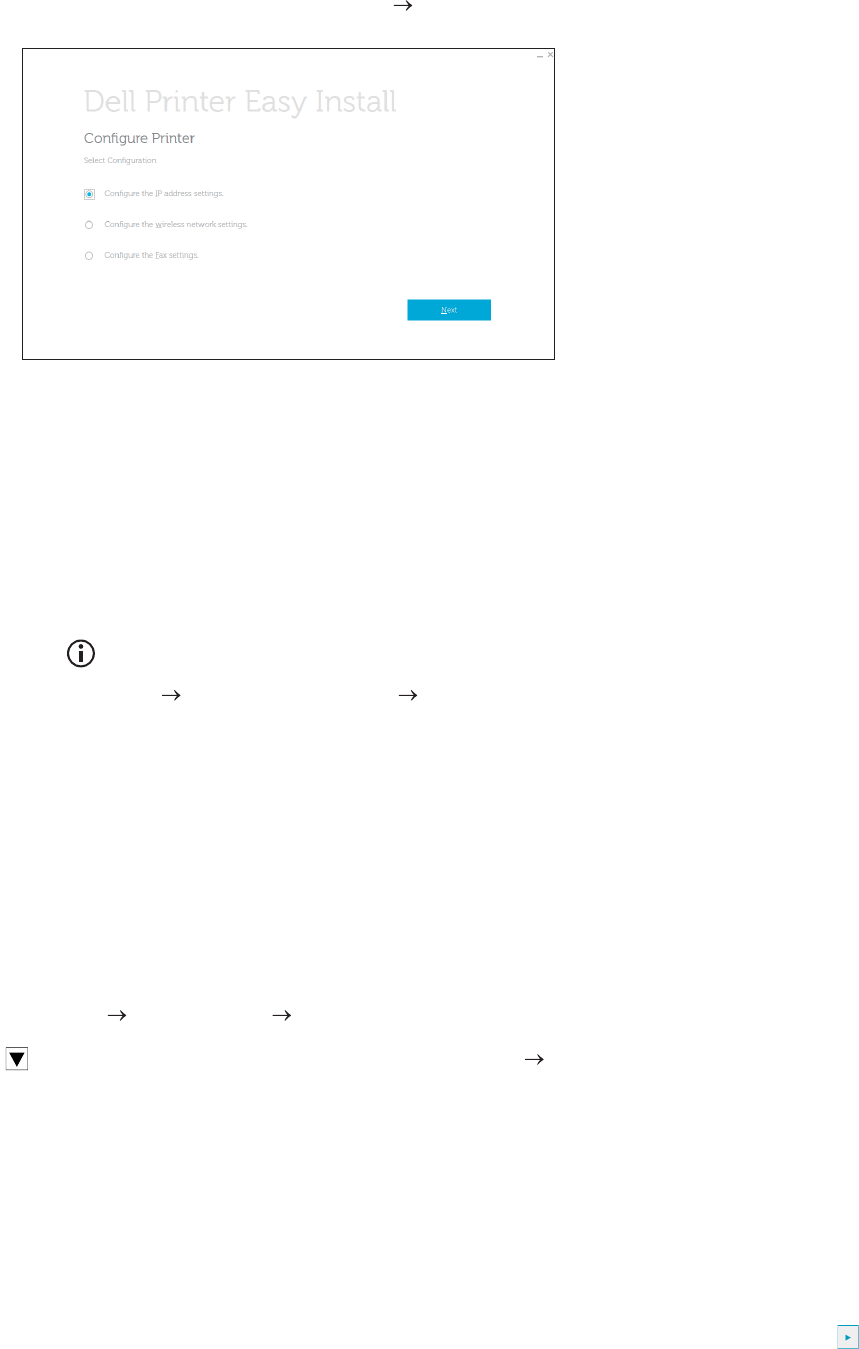
4 Click Configure the IP address settings Next.
5 Follow the on-screen instructions until the Configure Printer screen appears.
6 Click Advanced.
7 Specify the IP address settings according to your network environment.
8 Click Next, and then follow the on-screen instructions.
When Using the Operator Panel
1 Press the (Information) button.
2 Tap the Tools tab Admin Settings Network.
If Panel Lock Control is set to Enable, enter the password. See "Panel Lock."
3 Perform either of the following:
If the printer is connected to a network with the Ethernet cable:
Tap Ethernet.
For Dell H625cdw and Dell H825cdw:
If the printer is connected to a wireless network:
Tap Wi-Fi.
4 Tap IP Mode IPv4 Mode OK.
5 Tap until TCP/IP appears, and then tap TCP/IP Get IP Address.
6 Select how the IP address is assigned.
• To set the IP address automatically, select AutoIP, DHCP, BOOTP, RARP, or Panel,
and then click OK. Proceed to step 7.
• To set the IP address manually, select Panel, and then click OK. Perform the
following:
a Tap IP Address.
The cursor is located at the first octet of the IP address.
b Use the number pad to enter the first octet of the IP address, and then tap .


