CHAPTER 4: BASIC OPERATIONS
39
• Select the check box next to the target devices that you want to scan.
• Double-click on a target device name or port.
• Press Alt and the eID number of the target device that you want to scan. You can
select up to 16 target devices from the list.
3. In the Time field, type the number of seconds (from 3 to 255) of time before the scan
moves to the next target device in the sequence.
4. Click OK.
To remove a target device from the scan list, complete the following steps:
1. To select a target device to be removed from the scan list, complete one of the follow-
ing steps:
• In the Scan window, clear the check box next to the target device to be removed.
• Double-click on the target device name or port.
• Press Shift + Delete to remove the selected target device and all entries below it.
• Click the Clear button to remove all target devices from the scan list.
2. Click OK.
To start the Scan mode, complete the following steps:
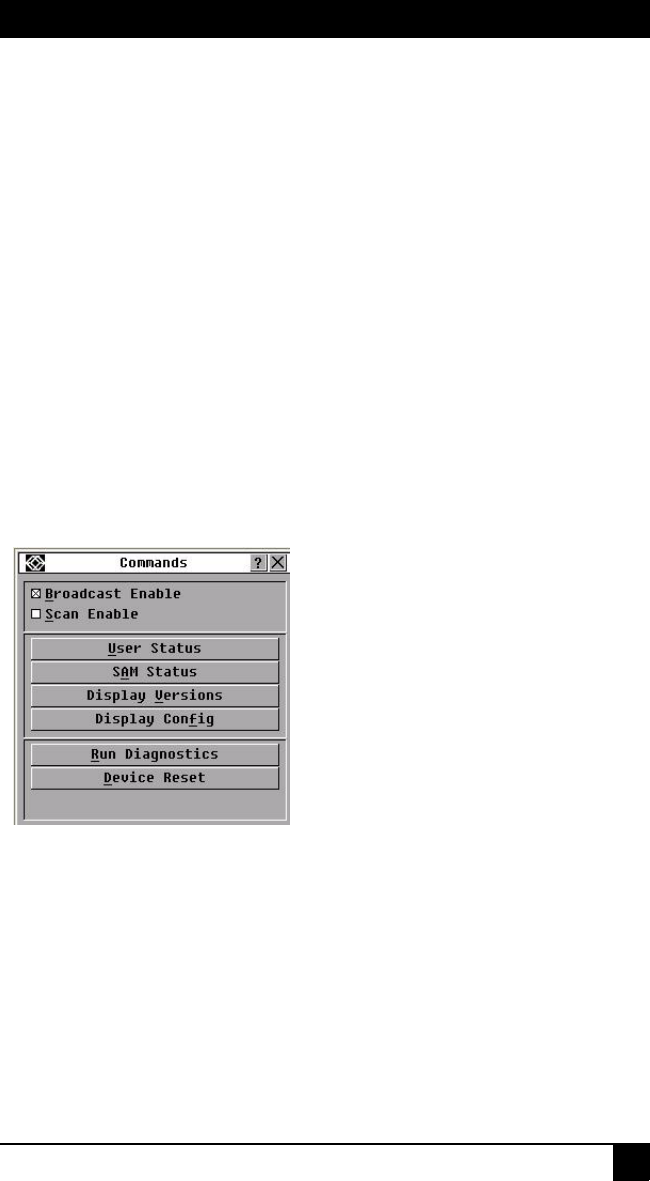
1. Click Commands. The Commands window opens.
Figure 4-19. Commands window
2. Select Scan Enable in the Commands window. Scanning will begin immediately.
3. Click X to close the Commands window.
To cancel scan mode, complete one of the following steps:
• If the OSD interface is open, select a target device.
• If the OSD interface is not open, move the mouse or press any key on the keyboard to
stop scanning at the currently selected target device.
4.10 Running switching system diagnostics
You can validate the integrity of the switching system through the Run Diagnostics
command. This command checks the main board functional sub-systems (memory,


