


www.Thunder-Max.com 309-360 Installation / Setup Guide V2009.04.23 ProductSupport@ZippersPerformance.com
1
Part # 309-360 for Big Twin Models
Thank you for purchasing a ThunderMax ECM!
Please read through the following instructions before
beginning the installation procedure. Following these
instructions will ensure that the ECM is installed and
setup properly for optimal results. If you have any
problems or questions, please refer to the SmartLink
Tuning .pdf Manual, included on the CD (Help Menu)
with this package.
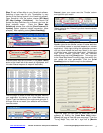
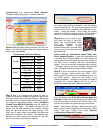
Step 1 Inse the SmartLink
CD into your computer.
SmartLink will automatically
open the InstallShield
Wizard when the computer
finds the CD-Rom. Follow
the instructions and install
the software on your
computer. If you do not have a serial port on your
computer for the communication cable, you will need to
use a USB to Serial converter (an inexpensive converter
is available from Zipper’s, #372-000). Install the included
driver disc at this time; follow the instructions given by
the manufacturer of the converter for installation.
Install the Th
rt
underMax and AutoTune (if
CM
Step 2
equipped) modules. Special Note: Module location on
some model motorcycles (notably all Dyna® and
Softail® Rocker® models) makes it difficult to insert the
communication cable once the module is installed. An
8” ‘pigtail’ harness is available (# 309-324) that can be
permanently connected to the bike’s ECM harness plug,
allowing a remote port for the communication cable if
desired. Compatible with ThunderMax ECM serial
number 114000 or higher (starting August 2008).
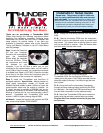
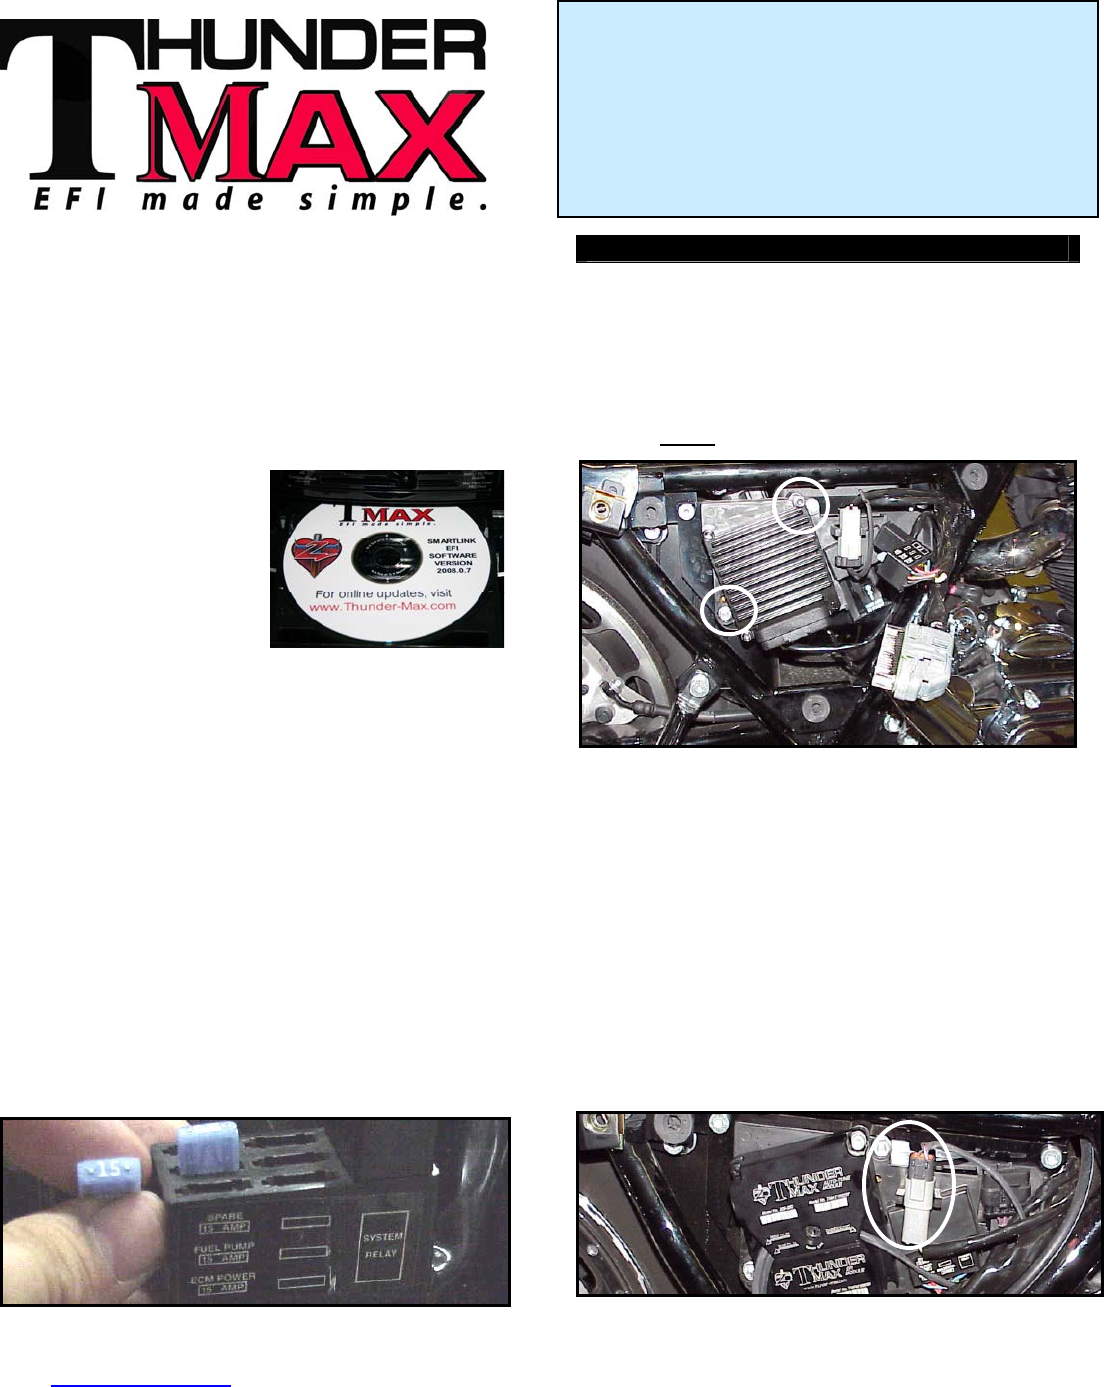
- Locate the fuse box that contains the EAll Models
fuse, remove fuse labeled “ECM POWER”.
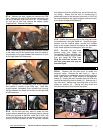
Touring Models
FL-A. Unplug the ECM wiring harness from the factor
CM.
L-B: Remove the factory ECM from the motorcycle
e ECM is held to the electrical caddy by socket he
p screws. The screws have a locking agent on th
y
,
ad
a em
nd can be difficult to remove. Work the screws back
and forth slowly
E
F
th
c
a
to break them loose.
FL-C: Install the ECM wiring harness to the
ThunderMax ECM. Do not install the ECM onto the
motorcycle at this point. If the ECM is mounted onto the
electrical caddy at this step, it is difficult to get the fuse
box in place.
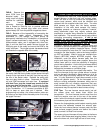
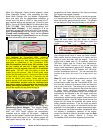
FL-D: Route the AutoTune harnesses (if equipped)
through the frame opening before positioning the ECM
e
Tune harness into the 4-pin gray data
for installation. Re-install the ECM fuse and secure th
fuse box back into position on the electrical caddy.
FL-E: Mount the ThunderMax ECM onto the electrical
caddy using the two factory socket head cap screws.
Plug the Auto
port (shown).
Installation / Setup Guide
Please Note: This product is Legal in California
only for racing vehicles which may never be used
upon a highway.
The user shall determine suitability of the
product for his or her use. Installation and use on a pollution-
controlled vehicle constitutes tampering under the U.S. EPA
guidelines and can lead to substantial fines. Review your
application and check your local laws before installing.