


PERIODIC MAINTENANCE AND ADJUSTMENT
7-18
7
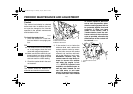
8. After the coolant is completely
drained, thoroughly flush the cool-
ing system with clean tap water.
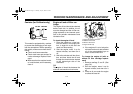
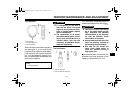
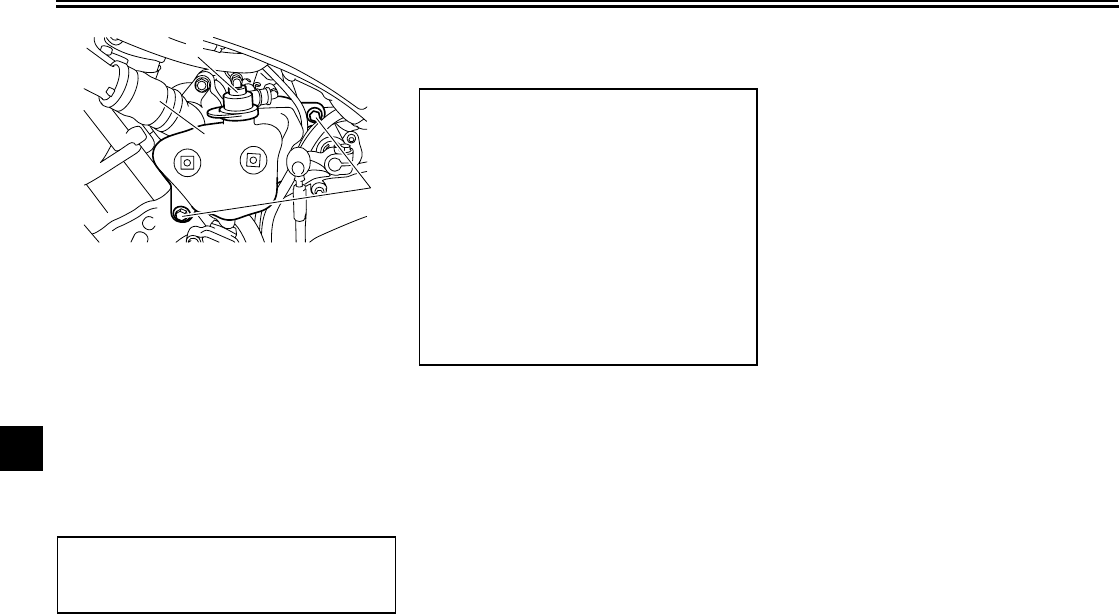
9. Install the coolant reservoir by in-
stalling the bolts.
10. Install the coolant drain bolt and its
new gasket, and then tighten the
bolt to the specified torque.
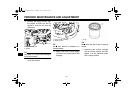
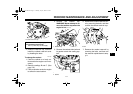
11. Pour the recommended coolant
into the reservoir to the maximum
level mark, and then install the
coolant reservoir cap.
12. Pour the recommended coolant
into the radiator until it is full.
13. Install the radiator cap, start the
engine, let it idle for several min-
utes, and then turn it off.
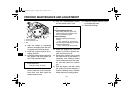
14. Remove the radiator cap to check
the coolant level in the radiator. If
necessary, add sufficient coolant
until it reaches the top of the radia-
tor, and then install the radiator
cap.
15. Start the engine, and then check
the vehicle for coolant leakage. If
coolant is leaking, have a Yamaha
dealer check the cooling system.
16. Install the coolant reservoir cover
by installing the bolts.
17. Install the cowlings.
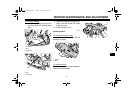
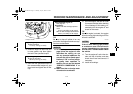
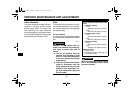
1. Coolant reservoir
2. Coolant reservoir cap
3. Bolt
Tightening torque:
Coolant drain bolt:
7 Nm (0.7 m·kgf, 5.1 ft·lbf)
1
2
3
Antifreeze/water mixture ratio:
1:1
Recommended antifreeze:
High-quality ethylene glycol anti-
freeze containing corrosion inhibi-
tors for aluminum engines
Coolant quantity:
Radiator capacity (including all
routes):
2.73 L (2.89 US qt, 2.40 Imp.qt)
Coolant reservoir capacity (up to the
maximum level mark):
0.25 L (0.26 US qt, 0.22 Imp.qt)
U14B11E0.book Page 18 Thursday, July 16, 2009 8:46 AM