


Mounting Guidelines
• Mount the unit as low as possible near the
center of the windshield.
• Do not mount your unit behind wipers,
ornaments, mirrored sunscreens, etc. These
obstructions have metal surfaces which can
affect radar and laser signals and reduce
critical warning time. (Regular tinted glass
does not affect reception.)
• Some windshields have an Instaclear
™
or
Electriclear
™
type coating, which affect radar
signals. Consult your dealer or the owner’s
manual supplied with your vehicle to determine
if your windshield has this coating.
• Avoid placing unit in direct contact with wind
shield.
• To reduce the possibility of theft, conceal your
unit when not in use.
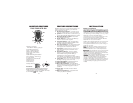
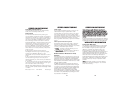
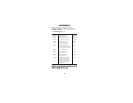
Windshield Mounting
• Install the two suction cups and rubber bumper
onto the bracket by fitting them into their holes.
• Press the suction cups onto the windshield at the
location you have chosen.
INSTALLATION
• Slide the detector onto the bracket until it locks into
place.
• If necessary, the unit may be leveled by bending the
windshield bracket.
• Press the bracket release button and remove the
detector before bending.
Power Cord Connection
• Plug the small end of the power cord into the
unit’s power jack.
• Plug the large end into the vehicle’s cigarette lighter.
N
N
o
o
t
t
e
e
:
:
Cord fits tightly into detector. When
installing the cord, expect some resistance.
Do
N
N
O
O
T
T
put alkaline batteries in the detector if
using the power cord.
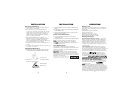
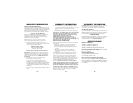
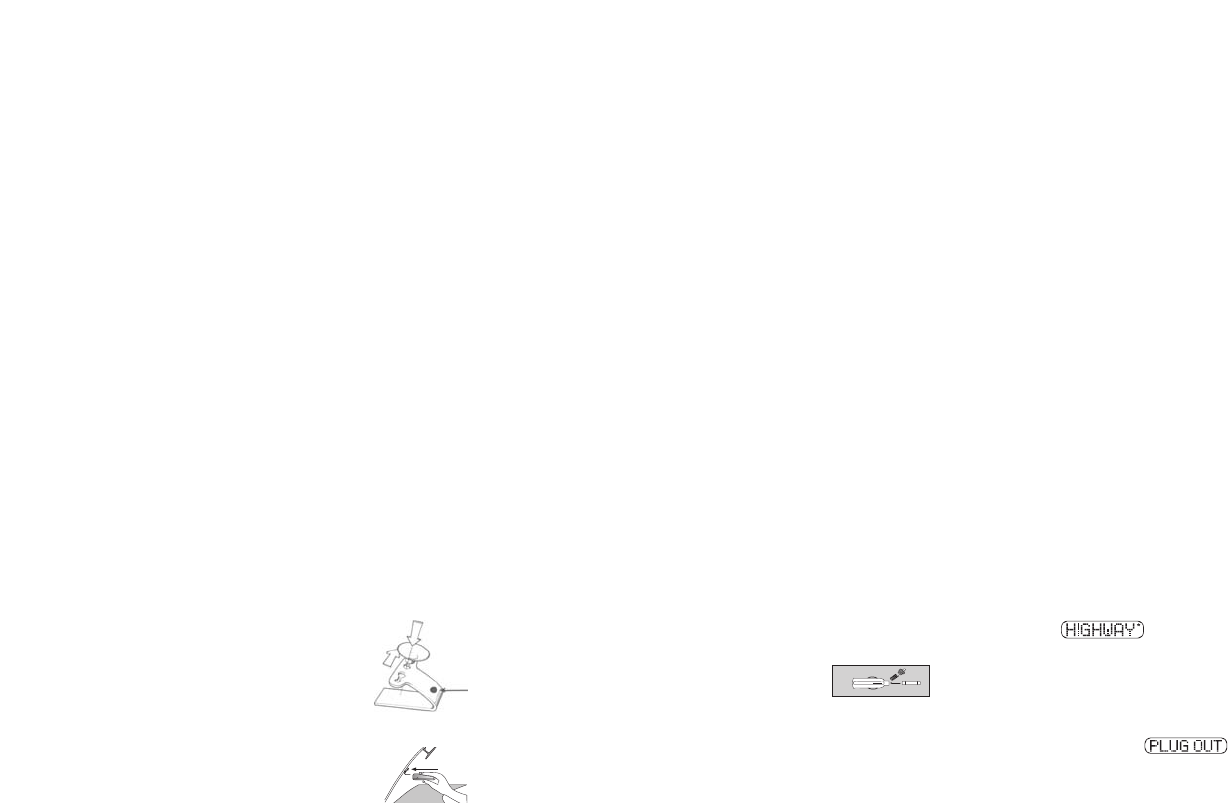
Fuse Replacement
The lighter socket plug is equipped with a
replaceable 2 amp 3AG fuse located behind the
silver tip. To replace the fuse, carefully unscrew
the tip of the plug.
I
I
m
m
p
p
o
o
r
r
t
t
a
a
n
n
t
t
:
:
Unscrew slowly. The tip contains a
spring which may fly out when disassembling.
Insert the new fuse with the spring and screw on
the tip. With use, screw cap on plug may loosen.
Retighten occasionally.
Unscrew the tip of the lighter socket plug
car
efully when replacing the 2 amp fuse.
INSTALLATION
Windshield
Mounting
56
Rubber Bumper
Battery Life
The unit can provide over 20 hours of laser/radar
detection. There are settings that can maximize
battery life.
1) Backlighting set to OFF-OFF
2) Auto Quiet to ON
3) Battery saver set to 1 hour
4) Using a lower volume setting
5) Using Mute whenever possible
Battery Charging
External/Home Battery Charger - The home
battery charger (optional with the 1788R) pro-
vides approximately 10 hour recharge time for
Ni-MH batteries. Simply observe the battery
polarity when installing the batteries into the
charger and plug the home charger into a con-
venient outlet.
Internal/Power Cord - While traveling, plug
your included power cord into your detector
and into your lighter socket to slowly charge the
rechargeable batteries. This will also provide
power to the detector. The display will show an
asterisk, i.e., when the unit is
charging the batteries. The asterisk will flash
during charging and go out when charging is
complete.*
N
N
o
o
t
t
e
e
:
:
R
R
e
e
g
g
u
u
l
l
a
a
r
r
b
b
a
a
t
t
t
t
e
e
r
r
i
i
e
e
s
s
(
(
n
n
o
o
t
t
N
N
i
i
-
-
C
C
d
d
)
)
c
c
a
a
n
n
b
b
e
e
u
u
s
s
e
e
d
d
b
b
u
u
t
t
N
N
O
O
T
T
w
w
i
i
t
t
h
h
t
t
h
h
e
e
p
p
o
o
w
w
e
e
r
r
c
c
o
o
r
r
d
d
a
a
n
n
d
d
N
N
O
O
T
T
w
w
i
i
t
t
h
h
t
t
h
h
e
e
h
h
o
o
m
m
e
e
b
b
a
a
t
t
t
t
e
e
r
r
y
y
c
c
h
h
a
a
r
r
g
g
e
e
r
r
.
.
When the
power cable is removed from the detector or
the vehicle’s lighter socket is switched off, the
unit will alarm and display then
simply turns off.
N
N
o
o
t
t
e
e
:
:
As with all battery operated devices,
remove the batteries when this unit will not be
used for an extended period of time. Damage
caused by leaky or improperly charged batteries
are not covered under warranty. Check with the
battery manufacturer about their specific prod-
uct warranty and disposal recommendations.
OPERATION
7