6
2
CYLINDER BLOCK INSPECTION AND REPAIR
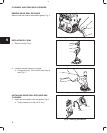
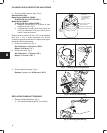
3. Check cylinder bores for wear, Fig. 3.
Standard Bore Size:
Model Series 430000 & 520000:
68.00-68.030 mm (2.6770-2.6783”)
Model Series 580000:
72.00-72.030 mm (2.8346-2.8358”)
a. Measure cylinder bore in 6 points at right
angles as shown, Fig. 3.
b. If cylinder bore is worn more than 0.075 mm
(.003”) or more than 0.035 mm (.0015”) out of
round, it must be resized.
Always resize to exactly .25 mm (.010”) over standard
bore size. If this is done accurately, the service
oversize rings and pistons will fit perfectly and proper
clearances will be maintained.
Fig. 3 – Checking Cylinder Bore
MEASURE CYLINDER
BORE IN SIX
POSITIONS SHOWN
TO DETERMINE
TAPER & OUT OF
ROUND.
AREA OF
NORMAL
WEAR
TOP OF RING TRAVEL
(BELOW RIDGE)
CENTER OF RING TRAVEL
BOTTOM OF RING TRAVEL
4. Check valve lifter bore, Fig. 4.
Std. Dimension: 18.018 mm (.7094”)
Reject: 18.05 mm (.711”)
5. Check valve lifter, Fig. 4.
Std. Dimension: 17.98 mm (.708”)
Reject: 17.91 mm (.7051”)
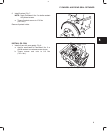
Fig. 4 – Checking Valve Lifter And Bore
6. Check camshaft bearing, Fig. 5.
Replace if greater than 36.06 mm (1.420”).
Fig. 5 – Checking Cam Bearing
REPLACING CAMSHAFT BEARING
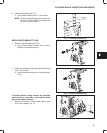
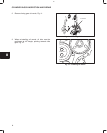
1. Remove camshaft bearing, Fig. 6.
a. Use camshaft bearing puller, Tool #19421.
Fig. 6 – Removing Cam Bearing


