


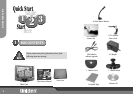

QUICKSTART GUIDE
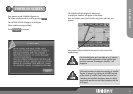
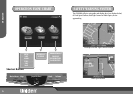
MOUNT & CONNECT
Once a suitable mount location has been decided place the Mount Stand
as follows:
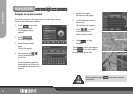
i. Slide the GNS8600 onto the mount clip from the rear
(see fig 1; & ).
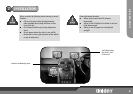
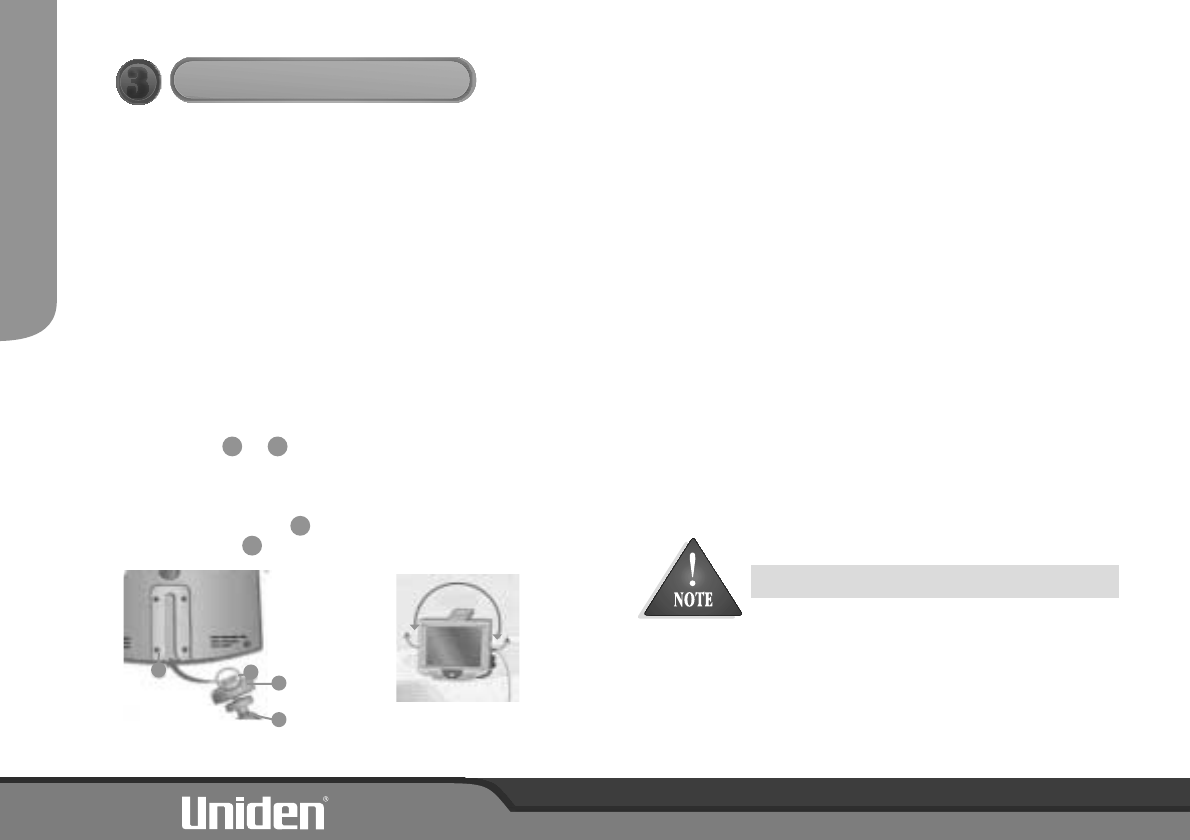
ii. Once mounted on the swivel clip the GNS8600 can be rotated
360 degrees or tilted forward or backwards (see fig 2).
iii. Once a viewing angle is set, rotate mount clip knob clockwise to
secure mount height .
iv. Rotate base knob to secure view angle.
Mount the GNS8600 onto the stand
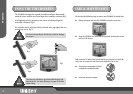
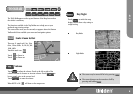
Mount Stand Preparation
i. Clean the surface area of the location you wish to place the mount
stand. Use the alcohol wipe supplied.
ii. Peel adhesive cover off bottom of mount stand.
iii Place the mount stand in the desired location and press down
firmly.
iv. Remove adhesive cover off mount cover and locate over mount
stand base, pressing down evenly to remove any air bubbles.
Fig 1. Fig 2.
Slide onto mount clip Turn or angle the unit to view
the display.
3
iv
1
2
3
4
3
4
1
2
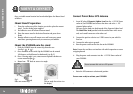
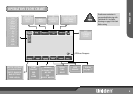
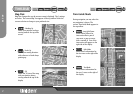
Connect Power/Raise GPS Antenna
Do not connect this unit to a 24V system.
You are now ready to activate your GNS8600.
i. Insert DC plug of into the +12V DC Power
socket of your GNS8600 and connect the other end to the +12V
cigarette lighter socket.
You may use the hard wire lead instead of the Cigarette Lighter lead.
The provided with the unit has bare wires at one
end, and a small connector at the other end.
ii. Connect the positive red wire to a 12VDC source in your vehicle's
fuse box.
iii. Connect the other wire to ground.
iv. Run the power cord from the fuse box to the GNS8600.
Ensure the cord does not interfere with vehicle operation or cause
a tripping hazard.
iv. Plug the power cord connector into the +12V DC Power socket of
your GNS8600.
v. Raise the GPS antenna to a horizontal position.
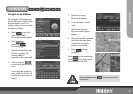
\
Cigarette Lighter Lead
Hard Wire Lead
Note: