78/83/90 Series Horizontal Shaft Engines
108
Crankshaft inspection
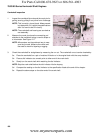
1. Inspect the crankshaft journals and the crank pin for
galling, scoring, pitting or any other form of damage.
NOTE: This is mostly a visual check. Measurement
is to determine if it is within the specifications
after it is found to be OK visually.
NOTE: The crankshaft and bearing are serviced as
one assembly.
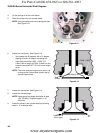
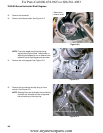
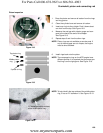
2. Measure the crank pin where the connecting rod
attaches to the crankshaft using a vernier caliper or
a micrometer.
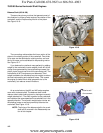
See Figure 10.7.
NOTE: Micrometers are the preferred way to mea-
sure the journals. Measure the center and
the ends to check for tapering or egging.
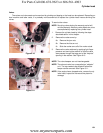
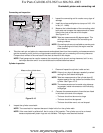
3. Check the crankshaft for straightness by measuring the run out. The crankshaft run out can be checked by:
3a. Place the crankshaft on a pair of matched V-blocks or in the engine block with the sump installed.
3b. Place a dial indicator at a smooth point at either end of the crank shaft.
3c. Slowly turn the crank shaft while watching the dial indicator.
NOTE: Stop the crank shaft before the dial indicator hits the keyway.
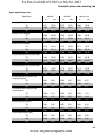
3d. Compare the reading on the dial indicator to the specification listed at the end of this chapter.
3e. Repeat the above steps on the other end of the crank shaft.
Figure 10.7
micrometer
Crank pin
For Parts Call 606-678-9623 or 606-561-4983
www.mymowerparts.com


