181-630-14 Four-Cycle Engine • L-Head • Horizontal Crankshaft • Air-Cooled Page 5
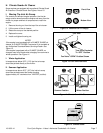
B. Filling Oil Sump
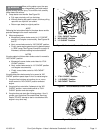
1. Be sure engine is upright and level.
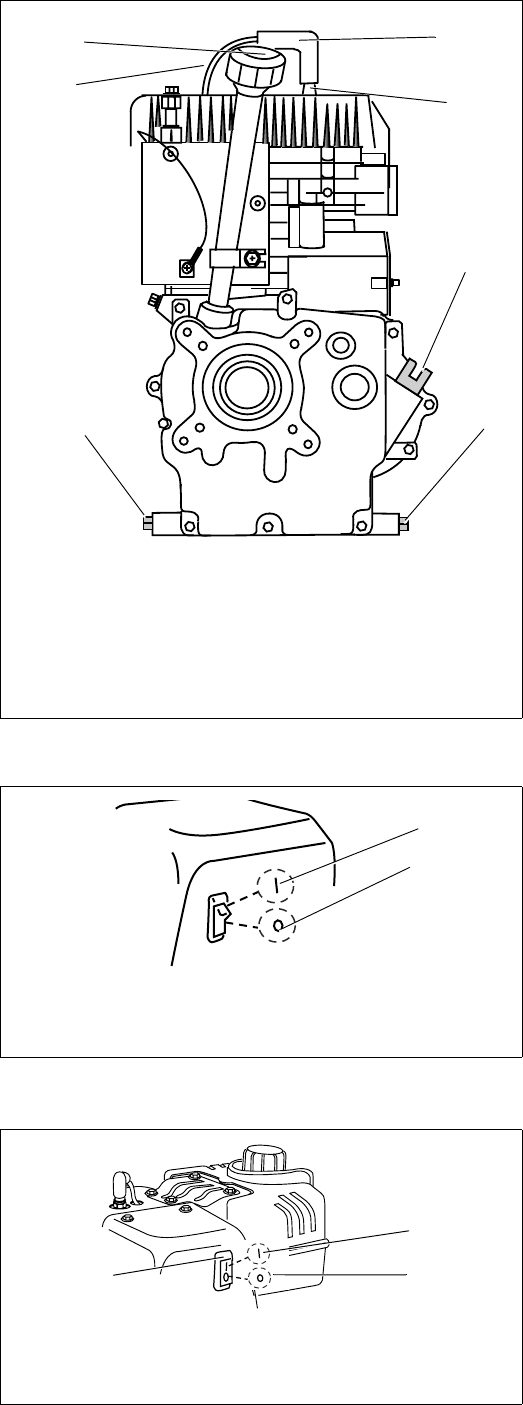
2. Unscrew oil fill cap/dipstick from oil filler tube and wipe
dipstick clean. See Figure 8.
3. Screw oil fill cap/dipstick back into oil filler tube.
Tighten securely.
4. Unscrew and remove oil fill cap/dipstick from oil filler
tube. Note oil level. If oil reading on dipstick is below
“ADD” mark, slowly add oil to reach “FULL” level. See
Figure 7 on page 4. Afterward, continue reading
instructions below.
5. Screw oil fill cap/dipstick back into oil filler tube.
Tighten securely.
6. Wipe away any spilled oil.
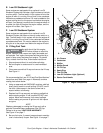
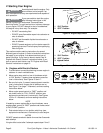
C. Engine Stop Switch
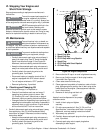
Some engines are equipped with an optional Stop Switch.
This rocker switch is used to shut off the ignition that
supplies the spark plug with power. Pressing the "OFF"
position will turn the engine off when it is running. This
switch must be in the “ON” position or the engine will not
start. See Figure 9.
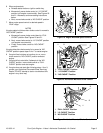
D. Low Oil Shutdown Switch
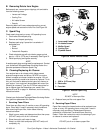
Some engines are equipped with an optional Low Oil
Shutdown Switch. This is a lighted rocker switch that is
connected to a float switch in the engine crankcase. When
oil level drops below a predetermined level, the float switch
cuts off current to the spark plug and the engine stops
running. Oil must be added to the engine to bring the oil to
the proper level before the engine will start. If an attempt is
made to start the engine before oil is added, the switch will
flash as the engine rotates, and the engine will not start.
See Figure 10.
Pressing the “OFF” position of the Shutdown Switch while
the engine is running, will turn the engine off. The engine
will not start with the switch in the “OFF” position.
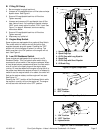
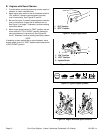
Figure 8. Engine Components
Figure 9. Engine Stop Switch
Figure 10. Low Oil Shutdown Switch
6
2
5
1
4
1. Spark Plug Wire
2. Spark Plug Cap
3. Oil Fill Cap with Long Dipstick
4. Spark Plug
5. Oil Fill Cap with Short Dipstick
6. Oil Drain Plug
3
6
1. “ON” Position
2. “OFF” Position
1
2
1
2
3
1. “ON” Position
2. “OFF” Position
3. Lighted Switch


