


Northstar Explorer 538i/538 Installation and Operation Manual
8
Handle plug-in cards carefully. Keep them in their protective cases when not plugged into the
Explorer 538/538i.
Keep the holder in place in the Explorer 538/538i at all times to prevent moisture from entering the
card compartment.
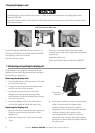
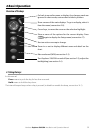
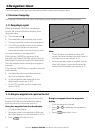
1-4 Removing and replacing the display unit
If the display unit is bracket mounted then the
display unit can easily be removed and replaced
for security or protection.
Removing the display unit:
1 Turn the display unit off (see section 2-3) and
put the dust cover on.
2 Loosen the knob on the mounting bracket
and lift the unit off the bracket.
3 Unplug the connectors from from the
display unit, turning each locking collar
anticlockwise. Push the attached dust covers
over the connectors.
4 Store the display unit in a dry clean place,
such as the optional Northstar carry bag.
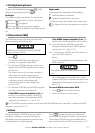
Replacing the display unit
1 Remove the dust covers from the connectors.
Plug the connectors into the back of the
display unit:
Match the connector’s Color to the socket
Color.
Knob
Mounting
bracket
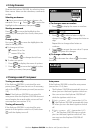
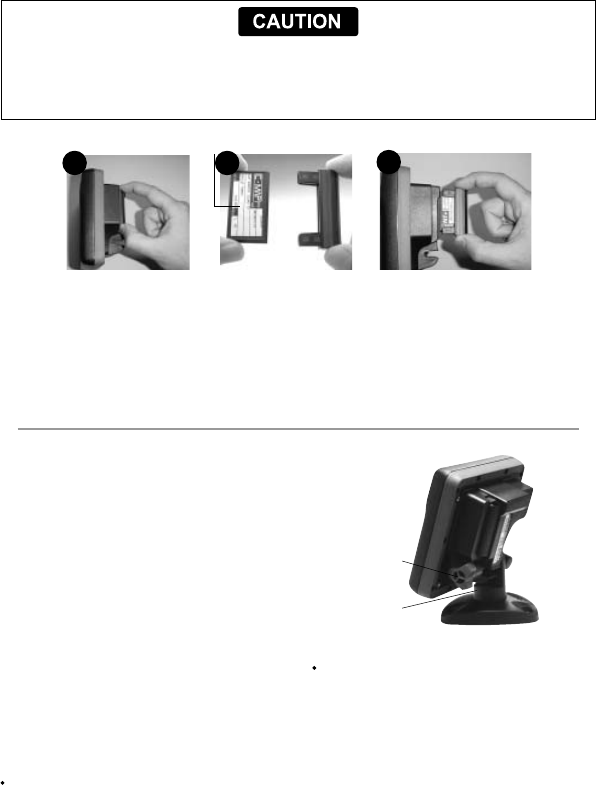
Changing the plug-in card
Turn the Explorer 538/538i off (see section 2-3).
Pull the card holder out of the Explorer 538/538i
and pull any card out of holder.
Put the card in its case.
Push new card into holder. Ensure the gold
contacts are on the outer edge and underneath
(see above).
Keep the card’s case.
Push card holder fully into Explorer 538/538i
1
2
3
Insert each connector and turn the locking
collar clockwise until it is finger tight.
Nothing will be damaged if a cable is
plugged into the wrong socket by mistake.
2 Hold the display unit in place on the
mounting bracket. Adjust the tilt of the
display for best viewing, then hand tighten
the knob on the mounting bracket. Remove
the dust cover.
Gold contacts under here
Card
Holder